
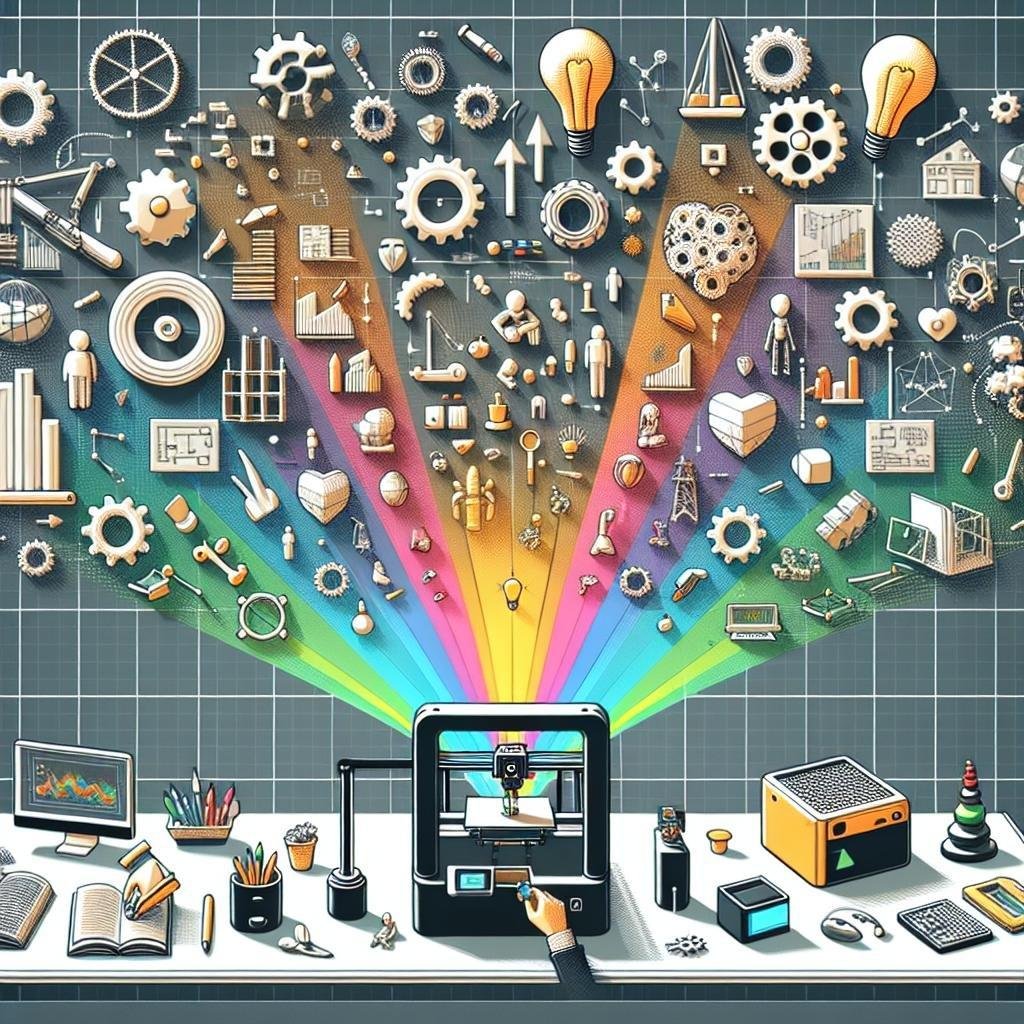
In a world where creativity meets innovation, 3D printing stands as a testament too human creativity and technological prowess. Whether you’re a seasoned veteran of this revolutionary craft or a curious novice dipping your toes into the world of filaments and layer heights, mastering the art of 3D printing can feel like unlocking a treasure chest of possibilities. Though, as with any great endeavor, mastering the details can make all the difference. in this article, we’re rolling out the red carpet to welcome you into the dazzling universe of 3D creation with our top 10 tips and tricks. So, don your explorer’s hat and prepare to embark on a journey filled with ingenuity and inspiration, because these insights are your map to success in the ever-evolving landscape of 3D printing.
Mastering the Art of Layer Adhesion
Achieving impeccable layer adhesion is the holy grail of 3D printing. The secret lies not just in the filament but in the combination of several critical elements. Firstly, ensuring that your bed leveling is on point can transform mediocre prints into professional-grade masterpieces. A meticulously calibrated level guarantees consistent, first-layer traction that supports the rows above like a perfectly tailored suit stitched seamlessly. Equally important is your choice of adhesion aides: a dab of glue stick, a spritz of hairspray, or a dash of painter’s tape can fortify your bed’s grip on that elusive first layer.
The bed temperature setting is another crucial cog in the wheel of adhesion. Different materials have their sweet spots; mastering these helps ensure the layers fuse together cohesively. Consider this cheat sheet for some common materials:
| Material | Optimal Bed Temperature (°C) |
|---|---|
| PLA | 50-60 |
| ABS | 90-110 |
| PETG | 70-80 |
In addition, fine-tuning the printing speed ensures the layers have adequate time to cool and bond, like letting leaves gently settle onto the forest floor. Keep these key practices in your toolkit, and you’ll find your creations thriving with structural integrity and grace.

unlocking the Secrets of Filament Choice
Choosing the right filament can feel a bit like solving a mystery, but once you get the hang of it, the world of 3D printing becomes much more exciting. There’s a vast array of filament materials to choose from, each offering unique characteristics that can significantly impact the final product. PLA is perfect for beginners with its ease of use and minimal warping. PETG bridges the gap between flexibility and durability, making it ideal for objects that need to withstand a bit of wear and tear.For those looking to create truly robust items, ABS offers heat resistance and strength, though it does require a bit more finesse to handle its warping tendencies. Each filament can be seen as a tool in your creative workshop, waiting to be wielded.
Consider the following to guide your filament selection:
- Project requirements: What are the environmental conditions where the product will be used?
- Printer compatibility: Does your printer support the filament type you’re eyeing?
- Finish and color: Each filament type often comes in a vast spectrum of colors and can influence the final look.
| Filament | Pros | Cons |
|---|---|---|
| PLA | Easy to print, biodegradable | Less heat-resistant |
| PETG | Durable, flexible | Slightly more challenging to print |
| ABS | Strong, heat-resistant | High warp potential, emits fumes |

Navigating the World of Print Speeds
Understanding the nuances of print speeds can be a game-changer in fine-tuning your 3D printing workflow. Too slow, and your project might take forever; too fast, and you risk compromising the quality. aiming for optimal print speeds requires a delicate balance. Here’s a rule of thumb-start with the recommended baseline speeds provided by your printer’s manufacturer and adjust slightly based on the material you’re using. For instance,PLA often tolerates higher speeds,while ABS may require a more moderate pace to minimize issues like warping.
- Test Small First: Before diving into a lengthy print, try a small test piece to avoid material waste and time when experimenting with speeds.
- Material Matters: Customize speeds for different materials, as they each react uniquely to speed adjustments.
- Elaborate Designs: For intricate models, slower speeds tend to yield better precision and detail.
Consider keeping a handy reference of speeds for various materials, especially if you frequently switch between them. Here’s a quick guide to start with:
| Material | Recommended Speed Range |
|---|---|
| PLA | 60 – 100 mm/s |
| ABS | 40 – 60 mm/s |
| PETG | 50 – 70 mm/s |

Fine-Tuning Your Printer for Precision
Achieving perfection in your 3D prints requires a blend of precision and artistry. Just like a painter tweaks their brushstrokes, you’ll uncover the nuances of your printer’s settings for ideal results. Start by carefully calibrating your machine. Many enthusiasts swear by the magic of tuning the print bed for level perfection. Adjusting the nozzle height is critical to ensure that the first layer adheres beautifully. Experiment with print speed-while slower speeds bolster accuracy,they also test your dreams of mass production. And, let’s not forget the wonders of Advanced printer firmware updates; keeping your software up-to-date is akin to giving your printing maestro a new symphony to work with.
- Check belt tension regularly for smoother motion.
- Optimize slicer settings for filament-specific profiles.
- Utilize brims or rafts for better adhesion to the print bed.
Visualize each print layer in harmony as you experiment with advanced infill patterns to strike the balance between durability and material efficiency. Rich, intricate designs often require a delicate dance with layer heights. Smaller increments invite detailed finishes but take heed-they also extend print times.For tech aficionados, delve into the printer’s G-code, the elegant language that orchestrates movements. Herein lies a powerful instrument, directing minute forces with precision. Refer to the table below for some common tweaks and their effects:
| Adjustment | Effect |
|---|---|
| Layer Height | Smoother surface finishes |
| Nozzle temperature | Better filament flow |
| Print Speed | Enhances detail precision |
Q&A
Article Title: Crafting Masterpieces: Top 10 3D Printing Tips and tricks
Q: What is the first and most important tip for 3D printing success?
A: Meet Your Printer!
Think of your 3D printer as your new best friend. Spend some quality time getting to know its features, quirks, and capabilities.This bonding session will pay off tenfold when you’re deep in the creation process. As an example, read the manual (I know, I know-manuals can be as dry as toast, but they’re invaluable), watch a few tutorial videos, and understand its maintenance needs.
Q: Is there a secret trick for avoiding the dreaded print warp?
A: Stick to the Bedrock!
No one likes print warping-it’s like a bad hair day for your masterpiece! Keep your prints grounded by ensuring your build plate is clean and level. Use adhesives like glue sticks or painter’s tape to help your design cling to the surface like a shy child. For higher-end solutions, consider specialty build surface stickers.
Q: How can I make sure my prints are of high quality without constant supervision?
A: Slicer Magic!
Slicers are your digital wand,transforming dreamy designs into printer-pleasant language. Be sure to experiment with different slicer settings to strike a balance between speed and quality. Delve into adjustable settings like layer height, print speed, and infill percentage-your high-quality print moments of freedom await!
Q: Any tips for preventing filament jams?
A: The art of Filament Feng Shui!
Jams are the arch-nemesis of smooth operation. To prevent them, store your filament in a dry, cool place, and always check for tangles before printing. Regularly clean the nozzle with a filament cleaner or cold pull technique-think of it as a spa day for your equipment.
Q: What can I do to enhance the intricacy of my prints?
A: Micro-Precision Mode Activated!
For those moments when details matter, consider reducing the layer height. Yes, it might take a bit longer, but the fidelity and beauty of tiny details will astound you. Remember, patience is a virtue that pays off with intricate and impressive results.
Q: Are there techniques to improve the strength of 3D printed parts?
A: Layer by Layer: The Strength Game!
Boost your print’s durability by adjusting the infill pattern and percentage. Grid or honeycomb patterns are great for optimal strength-to-weight ratio. Also, consider the orientation of your model during printing-the strategic alignment of layers can significantly enhance strength.
Q: How do I choose the right type of filament for my projects?
A: The Filament Decision Dance!
Get acquainted with PLA, ABS, PETG, and more by understanding their unique properties. PLA is the easy-going option for beginners while ABS shines in more demanding projects.PETG offers a sweet spot for versatility. Tailor your choice based on your project needs, and dance your way to success!
Q: What can be done when a print doesn’t stick to the bed?
A: Tackling the Stickiness Challenge!
For those stubborn first layers that refuse to stick, start by adjusting bed temperature and leveling. It’s like Goldilocks-finding the temperature that’s “just right”.Adding a brim or raft can also give attachments an extra boost. Experiment and listen to your print’s needs!
Q: Can supports be made easier to remove?
A: The Support Liberation Technique!
Reduce that post-printing frustration by using a dual extrusion printer or creating custom support structures. Use the ‘zig-zag’ or ‘tree’ support styles if your slicer has them-they’re much easier on the breaking-away process. It’s liberation with very minimal rebellion!
Q: What’s the best mindset for a 3D printing enthusiast to have?
A: Embrace the 3D Journey!
Above all,cultivate a sense of adventure and curiosity. 3D printing is as much about the journey as it is about the final product. Be open to learning from each and every print-success or fail-and soon you’ll be ushering in an era of personal masterpieces, one layer at a time. Happy printing!
Feel free to experiment and let creativity guide your way through the 3D printing cosmos! The endless possibilities are just one print away.
Insights and Conclusions
As the layers of creativity and innovation come together, we hope these top 10 tips and tricks add a new dimension to your 3D printing journey. Whether you’re a seasoned designer or just starting to mold your ideas into reality, each nugget of advice is a stepping stone towards crafting prints that not only meet your expectations but also surpass them. Remember, every print is a possibility, an opportunity for imagination to flourish. So, fire up your printers, fine-tune those settings, and let your creative spirit soar.With these tips in your toolkit, the sky-or perhaps a finely printed ceiling-is truly the limit.Happy printing!