
In this comprehensive guide, you will discover all the essential steps and tips to successfully build your own DIY electronics kits. From understanding the basics of electronic components to assembling circuits and troubleshooting, this guide will equip you with the knowledge and skills to embark on your very own electronics projects. Whether you are a beginner or an experienced hobbyist, this ultimate guide will take you on a friendly journey into the world of DIY electronics and empower you to bring your ideas to life. So, grab your soldering iron and get ready to unleash your creativity!

Choosing the Right DIY Electronics Kit
When it comes to choosing a DIY electronics kit, it’s important to consider your experience level. If you’re just starting out, it’s best to opt for a beginner-friendly kit that provides thorough instructions and guides. These kits often come with simple projects that will help you understand the basics of electronics. On the other hand, if you have some experience with electronics, you might want to challenge yourself with a more advanced kit that offers complex projects and opportunities for experimentation.
In addition to considering your experience level, it’s also essential to identify your interests. Are you more intrigued by building circuits, programming microcontrollers, or working on robotics projects? Different DIY electronics kits cater to various interests, so it’s crucial to choose one that aligns with your passion. This will not only make the learning process more enjoyable but also ensure that you stay motivated throughout the project.
Before making a purchase, it’s highly recommended to research the components included in the DIY electronics kit. Look for kits that provide a detailed list of components, along with descriptions and explanations of their functionalities. By familiarizing yourself with the components in advance, you’ll have a better understanding of what you’re working with, and it’ll be easier to troubleshoot and experiment in the future.
Essential Tools for DIY Electronics Kits
To successfully build DIY electronics kits, you’ll need a few essential tools. These tools will not only help you assemble your projects but also allow you to gain hands-on experience and develop your skills. Here are some tools that you should consider incorporating into your DIY electronics toolkit:
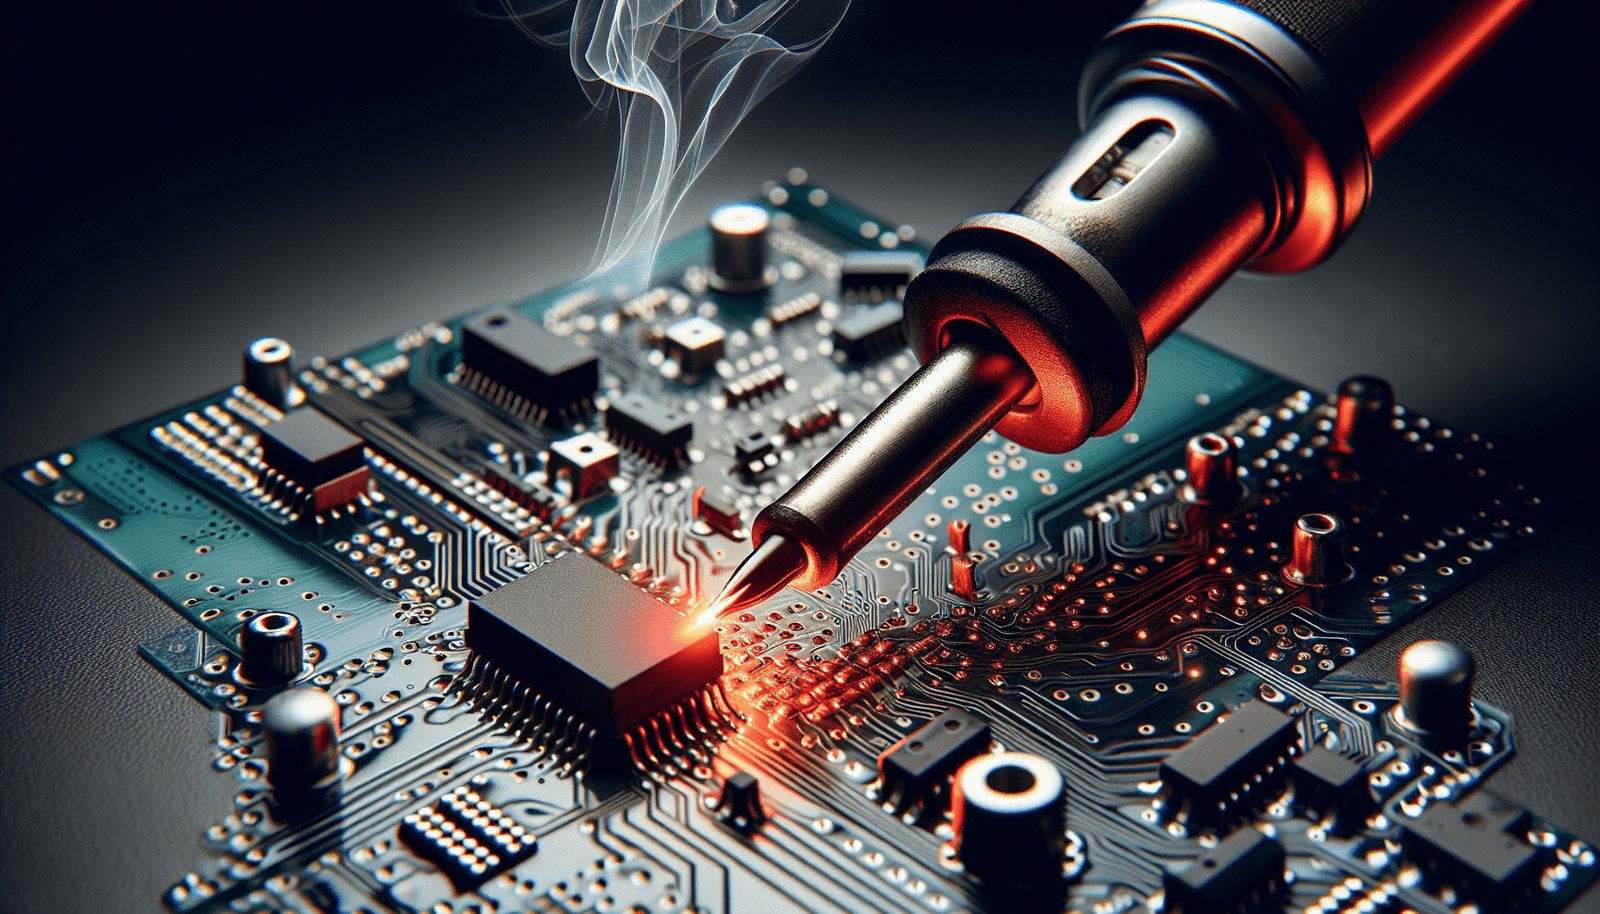
Soldering iron and solder
A soldering iron is a must-have tool for anyone interested in electronics. It allows you to join components together and create secure connections. Make sure to choose a soldering iron with adjustable temperature settings to suit different types of projects. Additionally, invest in high-quality solder that will provide reliable and durable connections.
Wire cutters and strippers
Wire cutters and strippers are necessary for cutting and preparing wires during projects. These tools allow you to trim wires to the desired length and remove insulation from the ends. Having a set of wire cutters and strippers with varying sizes will ensure that you can work with different wire gauges effectively.
Multimeter
A multimeter is a versatile tool that measures voltage, current, and resistance. It’s essential for troubleshooting circuits, testing components, and verifying connections. Look for a multimeter with basic functionalities like measuring DC and AC voltage, current, and resistance. A multimeter with additional features such as diode testing and continuity checking can be beneficial for more advanced projects.
Breadboard
A breadboard is a valuable tool for prototyping circuits without soldering. It allows you to quickly and easily connect components together using jumper wires. By using a breadboard, you can experiment with different circuit configurations and test your ideas before finalizing a design. Invest in a high-quality breadboard that provides ample space and reliable connections for your projects.
Screwdriver set
While not directly related to electronics, a good screwdriver set is essential for assembling projects that involve electronics enclosures or mounting components. Make sure to choose a set that includes various screwdriver types and sizes to accommodate different types of screws commonly used in electronics.
Understanding Electronics Components
Before delving into DIY electronics kits, it’s important to have a basic understanding of the components commonly used in electronic circuits. Here are some key components to familiarize yourself with:
Resistors
Resistors are passive electronic components that limit or control the flow of electrical current in a circuit. They are widely used to create specific voltage drops, set proper voltages, and manage current flow. There are different types of resistors, including fixed resistors, variable resistors (potentiometers), and light-dependent resistors (LDRs).
Capacitors
Capacitors store electrical energy and release it when needed. They are commonly used to stabilize power supplies, filter out noise, and smooth voltage fluctuations. Capacitors come in various types, such as ceramic, electrolytic, and tantalum capacitors, each with specific characteristics suited for different applications.
Diodes
Diodes are electronic components that allow current to flow in one direction while blocking it in the opposite direction. They are crucial for rectifying AC to DC, protecting circuits from reverse voltage, and controlling the flow of current. Common types of diodes include the standard pn-junction diode, Schottky diode, and Zener diode.
Transistors
Transistors are active electronic components that amplify or switch electronic signals and current. They are fundamental elements in amplifiers, oscillators, and digital circuits. Common types of transistors include bipolar junction transistors (BJTs) and field-effect transistors (FETs), each with different characteristics and applications.
Integrated Circuits (ICs)
Integrated circuits, also known as ICs or chips, are miniaturized electronic circuits that contain multiple components, such as transistors, resistors, and capacitors, on a single chip. They can perform various functions, including amplification, signal processing, digital logic, and microcontroller control. Common examples of ICs include microcontrollers, operational amplifiers, and digital logic gates.

Basic Circuit Design Principles
To build and understand DIY electronics kits, it’s crucial to grasp some basic circuit design principles. Here are a few fundamental concepts:
Voltage and current
Voltage is the electrical potential difference between two points in a circuit and is measured in volts (V). Current is the flow of electric charge, usually through a wire, and is measured in amperes (A). Understanding the relationship between voltage and current is essential for designing and analyzing circuits.
Series and parallel circuits
In series circuits, components are connected end to end, creating a single path for the current to flow. The total resistance in a series circuit is the sum of the individual resistances. In parallel circuits, components are connected side by side, providing multiple paths for current flow. The total resistance in a parallel circuit is calculated differently, resulting in a lower overall resistance compared to a series circuit.
Ohm’s Law
Ohm’s Law states that the current flowing through a conductor between two points is directly proportional to the voltage across the two points, and inversely proportional to the resistance. This fundamental law can be expressed as I = V/R, where I represents current, V represents voltage, and R represents resistance.
Building a Simple LED Circuit
A simple LED circuit is an excellent starting point for beginners interested in DIY electronics. Here’s a step-by-step guide to building a basic LED circuit:
Gathering the components
To build a simple LED circuit, you’ll need an LED (light-emitting diode), a resistor, a battery or power supply, and some jumper wires. Make sure to choose an LED of your desired color and a resistor with an appropriate value to limit the current through the LED. Consult the datasheet of the LED for the recommended forward voltage and current rating.
Soldering the circuit
Start by connecting the positive (+) leg of the LED to one end of the resistor. Then, solder the other end of the resistor to the positive terminal of the battery or power supply. Finally, connect the negative (-) leg of the LED to the negative terminal of the battery or power supply.
Testing the LED circuit
After soldering the circuit, it’s time to test your LED circuit. Connect the battery or power supply to the circuit and observe if the LED lights up. If it does, congratulations! You have successfully built a basic LED circuit. If not, double-check your connections and component values, making sure the LED is correctly oriented.
Building a Breadboard Prototype
Breadboards are versatile tools that allow you to prototype electronic circuits without soldering. Here’s a guide to building a breadboard prototype:
Assembling the breadboard
Start by selecting a breadboard with the desired size and layout. Most breadboards consist of multiple rows and columns of interconnected metal strips, with power rails on the sides. Insert your components into the breadboard, making sure to place them in the desired positions and orientations.
Connecting components
To connect components on the breadboard, use jumper wires. Insert one end of a wire into a component pin and the other end into a desired connection point on the breadboard. Follow the desired circuit diagram or schematic, ensuring that the connections are accurate and secure.
Testing the prototype
Once you have connected the components, it’s time to test your breadboard prototype. Apply power to the circuit by connecting a battery or power supply to the breadboard’s power rails. Verify that the circuit functions as intended and make any necessary adjustments or modifications.
Advanced DIY Electronics Kits
For those looking to delve deeper into DIY electronics, there are advanced kits available that provide opportunities to work on more complex projects. Here are a few examples of advanced DIY electronics kits:
Arduino kits
Arduino kits are perfect for those interested in programming microcontrollers and building interactive projects. Arduino boards are versatile development platforms that allow you to create a wide range of projects, from home automation systems to robotic devices. Arduino kits usually come with a microcontroller board, various sensors, actuators, and detailed tutorials to get you started.
Raspberry Pi kits
Raspberry Pi kits are ideal for those interested in computer programming and building small computers. Raspberry Pi is a credit-card-sized computer that can be used for projects such as media centers, home servers, and IoT (Internet of Things) devices. Raspberry Pi kits usually include the Raspberry Pi board, power supply, storage, and necessary peripherals.
Robotics kits
Robotics kits allow you to explore the world of robotics and build your own functioning robots. These kits typically include various sensors, motors, microcontrollers, and mechanical parts required for building and programming robots. Whether you’re interested in simple line-following robots or complex humanoid designs, robotics kits offer a hands-on way to dive into the fascinating world of robotics.
Troubleshooting and Debugging
While working on DIY electronics projects, it’s common to encounter issues or problems that require troubleshooting and debugging. Here are some tips to help you navigate through potential challenges:
Identifying common issues
Familiarize yourself with common issues that can arise while working with electronics, such as loose connections, incorrect component values, faulty components, or power supply problems. By understanding these common issues, you can quickly identify and resolve them.
Using a multimeter for troubleshooting
A multimeter is an invaluable tool when it comes to troubleshooting and diagnosing electronic circuits. You can use a multimeter to measure voltage, resistance, and continuity, helping you identify faulty connections, short circuits, or components that are not functioning correctly.
Revisiting circuit design
If you’re facing persistent issues with a circuit, it may be necessary to revisit your circuit design. Double-check your circuit diagram, component values, and connections. Make sure that all components are correctly mounted, and that you haven’t missed any essential connections.
Expanding Your Skills
Building DIY electronics kits is a great way to learn and develop new skills. Here are some tips to help you expand your electronics knowledge:
Experimenting with different projects
Once you’re comfortable with basic circuit building, start exploring different projects and experiment with new components and concepts. Challenge yourself by tackling projects that push your boundaries and allow you to apply what you’ve learned.
Learning from online resources
There is a wealth of online resources available to help you expand your knowledge of DIY electronics. Websites, forums, and video tutorials provide a platform to learn from experienced hobbyists and professionals. Take advantage of these resources to gain new insights, explore advanced techniques, and connect with like-minded individuals.
Joining a maker community
Consider joining a maker community or local electronics club. Engaging with fellow enthusiasts can provide opportunities for collaboration, knowledge sharing, and mentorship. These communities often organize workshops, events, and competitions, enabling you to further develop your skills and form valuable connections.
Tips and Tricks for Successful DIY Electronics Kits
Here are some handy tips and tricks to enhance your experience and ensure successful DIY electronics projects:
Double-checking component values
Before incorporating components into your circuit, always double-check their values. Ensure that resistors, capacitors, and other components are of the correct rating and type. Utilize color codes, datasheets, or component markings to verify their values and prevent costly mistakes.
Organizing your workspace
Maintaining an organized workspace is essential for efficient and stress-free electronics projects. Keep your tools, components, and manuals neatly arranged and easily accessible. Use storage containers, boxes, and labels to categorize and store your components, minimizing the chances of misplacing or losing them.
Taking breaks to avoid fatigue
Working on DIY electronics projects can be mentally and physically demanding. It’s important to take regular breaks to prevent fatigue, mental strain, and eye strain. Set aside dedicated time for breaks, stretch your muscles, and relax your eyes to maintain focus and productivity throughout your projects.
With the right approach, DIY electronics kits can be an exciting and rewarding journey. By choosing the appropriate kit, acquiring the essential tools, and expanding your knowledge, you’ll be well-equipped to take on various projects and explore the fascinating world of electronics. So, roll up your sleeves, grab your soldering iron, and let your creativity soar as you embark on your DIY electronics adventure!