
In this article, you’ll discover the best practices for post-processing 3D printed parts. Whether you’re a beginner or an experienced enthusiast, these tips and techniques will help you achieve the perfect finish for your 3D printed creations. From smoothing rough surfaces to creating intricate designs, we’ll take you through step-by-step instructions and expert advice on how to enhance the quality and appearance of your printed objects. Get ready to elevate your 3D printing game with these essential post-processing techniques!

Planning for Post-Processing
Understanding the design requirements
Before starting the post-processing of a 3D printed part, it is important to thoroughly understand the design requirements. This includes considering the intended use of the part, any specific aesthetic or functional requirements, and any limitations of the printing process that may affect the post-processing techniques that can be applied.
By understanding the design requirements, you can ensure that the post-processing techniques used will enhance the final appearance and functionality of the part, while also addressing any potential challenges that may arise during the post-processing process.
Considering the post-processing techniques
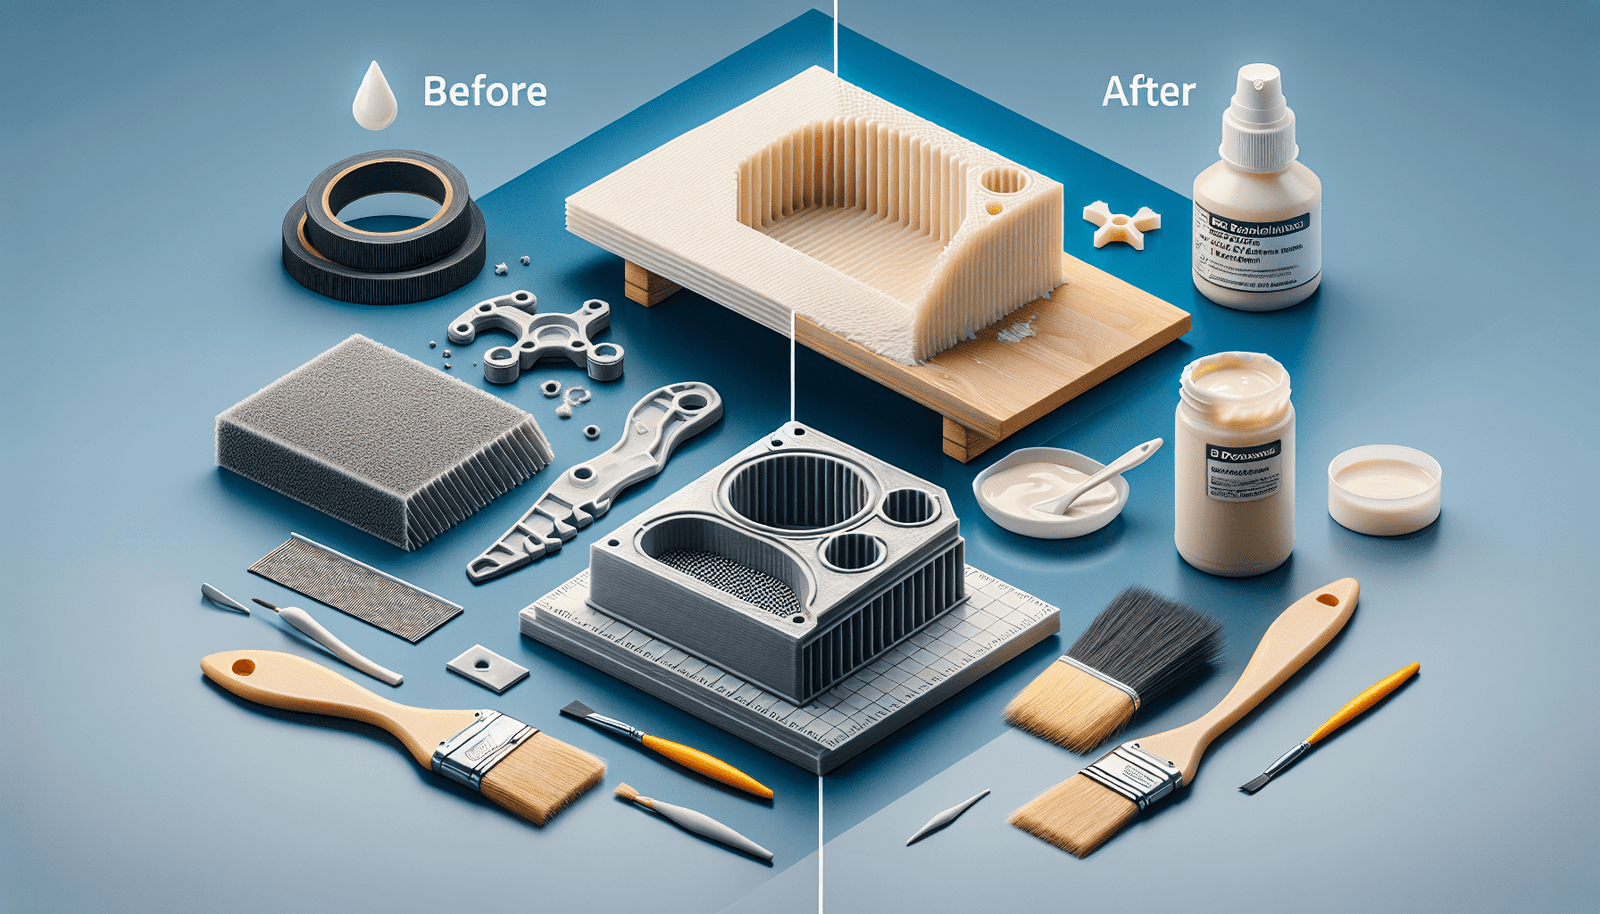
There are a variety of post-processing techniques available for 3D printed parts, each with its own advantages and considerations. It is important to consider these techniques and choose the most appropriate ones based on the design requirements and the desired outcome.
Some common post-processing techniques include surface smoothing, painting and coloring, surface texturing, assembly and integration, functional enhancement, and quality control. By considering these techniques from the start, you can better plan and prioritize the post-processing steps to achieve the desired results.
Identifying potential post-processing challenges
Post-processing 3D printed parts can come with its own set of challenges. It is important to identify these potential challenges upfront to ensure that adequate time and resources are allocated to overcome them.
Examples of potential challenges can include the removal of support structures without damaging the part, achieving a smooth surface finish, ensuring proper alignment and fit during assembly, and testing mechanical strength and durability. By identifying these challenges, you can proactively plan and implement strategies to address them effectively.
Preparing the 3D Printed Part
Removing support structures
Most 3D printed parts require support structures during the printing process to ensure proper printing of overhangs and intricate details. However, these support structures need to be removed after printing for a clean and functional final product.
To remove support structures, you can use a combination of tools such as pliers, snips, or flush cutters. Care should be taken to remove the supports without damaging the main part. It may be necessary to sand or file down any rough edges left behind by the supports.
Cleaning the part
After removing the support structures, it is important to thoroughly clean the 3D printed part. This helps to remove any residue or debris left behind during the printing and support removal process.
Cleaning can be done using a mild detergent and water solution, followed by rinsing and drying the part thoroughly. Alternatively, isopropyl alcohol can be used to clean the part, especially for resin-based prints. Ensuring a clean part will provide a better surface for subsequent post-processing steps.
Sanding or filing rough surfaces
Depending on the quality of the 3D print, there may be rough surfaces or visible layer lines that need to be addressed. Sanding or filing can be used to smooth out these imperfections and create a more refined appearance.
Start with a coarse sandpaper or file to remove any high spots or rough surfaces. Gradually move to a finer grit sandpaper to achieve a smoother finish. It is important to sand evenly and avoid applying excessive pressure, as this can cause damage to the part. After sanding, the part should be thoroughly cleaned again to remove any dust or debris.
Filling and Bonding
Using fillers for surface imperfections
Even after sanding, there may still be small surface imperfections that need to be addressed. Fillers can be used to fill in these imperfections and create a smooth surface for further post-processing steps.
There are various types of fillers available, including epoxy-based fillers and automotive body fillers. Choose a filler that is appropriate for the material of the 3D printed part and follow the manufacturer’s instructions for application. Allow the filler to cure fully before proceeding to the next steps.
Applying adhesives for bonding
In some cases, multiple 3D printed parts may need to be bonded together to create a larger or more complex structure. Adhesives can be used to achieve a strong and durable bond between these parts.
Select an adhesive that is compatible with the material used for the 3D printed parts. Apply the adhesive to the surfaces that need to be bonded and carefully align and press the parts together. Follow the recommended curing or drying time specified by the adhesive manufacturer to ensure proper bonding.
Ensuring proper curing or drying
Whether using fillers or adhesives, it is important to ensure proper curing or drying of the applied substances. Rushing this step can lead to weakened bonds or compromised post-processing results.
Follow the manufacturer’s instructions for the specific filler or adhesive being used. This may involve allowing the part to cure or dry for a certain period of time, or applying heat or other curing methods if recommended. Taking the time to allow for proper curing or drying will ensure the best possible results in the final post-processed part.

Surface Smoothing
Applying primer or filler primer
For a truly smooth and polished appearance, applying a primer or filler primer can be beneficial. This helps to fill in any remaining small imperfections and creates a solid, even base for subsequent painting or coloring.
Choose a primer or filler primer that is suitable for the material of the 3D printed part. Apply a thin, even coat following the manufacturer’s instructions. Allow the primer to dry completely before proceeding to the next steps.
Sanding or polishing for smooth finish
After applying a primer or filler primer, it may be necessary to further smooth out the surface through sanding or polishing. This step helps to remove any brushstrokes or unevenness that may have occurred during the priming process.
Using a fine grit sandpaper or a polishing compound, gently sand or buff the surface in a circular motion. This will help to achieve a smooth and uniform finish. Take care to not sand too aggressively, as this can remove the primer or filler primer and expose the underlying layers.
Using solvent smoothing techniques
In addition to sanding and polishing, solvent smoothing techniques can be employed to further enhance the surface smoothness of the 3D printed part. This technique involves using specific solvents, such as acetone for ABS prints, to dissolve the outer layer of the print and create a glossy finish.
When using solvent smoothing, it is important to work in a well-ventilated area and follow appropriate safety precautions. Apply the solvent using a brush or by dipping the part, and allow sufficient drying time after application. This technique can provide a professional-looking finish to the 3D printed part.
Painting and Coloring
Choosing appropriate painting techniques
Painting is a popular post-processing technique to add color, texture, and a professional finish to 3D printed parts. There are various painting techniques to choose from, depending on the desired outcome.
Brush painting is the most common technique and allows for precise application of paint. Spray painting, on the other hand, provides a more even and uniform coat. Airbrushing can be used for intricate details and gradients. Consider the complexity of the design and the desired effect to choose the most appropriate painting technique.
Applying base coat and top coat
Before applying the actual color, it is advisable to apply a base coat primer. This helps to improve paint adhesion and provides a solid foundation for the color coats. Choose a primer that is compatible with the paint being used and apply it following the manufacturer’s instructions.
Once the primer is dry, apply the desired color coats. Multiple thin coats are usually better than a single thick coat, as they help to prevent running or drips. Allow each coat to dry fully before applying the next one. After the color coats, a top coat can be applied to protect the paint and create a glossy or matte finish, depending on preference.
Exploring different coloring options
Aside from traditional paint, there are other coloring options available for 3D printed parts. For example, dyeing or staining can be used to penetrate the material and create vibrant or translucent colors. This technique works particularly well with filament-based prints, such as those made from PLA or PETG.
Another option is using specialized coloring materials, such as metal or wood effect filaments. These filaments have particles or additives that create the desired effect without the need for additional post-processing steps. Consider these alternative coloring options to achieve unique and visually appealing results.
Surface Texturing
Using various texturing techniques
Texturing is a post-processing technique that adds visual interest and tactile appeal to 3D printed parts. There are various techniques that can be used to create different textures and patterns.
One technique is sandblasting, which involves using fine abrasive material to etch the surface of the part. This creates a frosted or matte texture. Another technique is hydro dipping, where the part is coated with a decorative film that adheres to its surface. This can create patterns or images.
Consider the desired texture and choose the appropriate technique accordingly. Experimentation and testing on sample prints can help determine the best approach for achieving the desired texture.
Creating patterns or textures
In addition to using texturing techniques, patterns or textures can also be added directly to the design of the 3D printed part. This can be achieved through CAD modeling or by 3D printing patterns that are embedded into the part.
By incorporating patterns or textures into the design stage, the need for additional post-processing steps can be minimized. However, it is important to ensure that the chosen patterns or textures are suitable for the intended use and do not compromise the structural integrity of the part.
Applying surface finishes
After texturing or adding patterns, it may be necessary to apply a surface finish to seal and protect the textured surfaces. This can be achieved through various methods, such as using clear coats or lacquers.
Choose a surface finish that is compatible with the material of the 3D printed part and follow the manufacturer’s instructions for application. Applying a surface finish helps to enhance the appearance and durability of the textured surfaces.
Assembly and Integration
Joining individual 3D printed parts
In some cases, multiple individual 3D printed parts may need to be joined together to create a larger or more complex structure. Proper assembly techniques are crucial to ensure a strong and sturdy final product.
Depending on the design and material of the parts, various joining methods can be used. This can include using adhesives, mechanical fasteners, or heat welding for thermoplastic parts. It is important to choose the appropriate joining method for the specific parts and follow best practices to achieve a secure and reliable bond.
Ensuring proper alignment and fit
When assembling 3D printed parts, ensuring proper alignment and fit is essential for achieving a functional and aesthetically pleasing final product. This can be particularly challenging if the parts were printed separately or if they have complex shapes.
To ensure proper alignment and fit, test fitting and dry assembly can be useful. This involves assembling the parts without any permanent bonding or adhesion to check for any issues. Make any necessary adjustments or modifications before proceeding with final assembly and bonding.
Integrating with non-printed components
In some cases, 3D printed parts may need to be integrated with non-printed components, such as electronics or mechanical parts. This integration requires careful planning and consideration to ensure compatibility and functionality.
Before integrating the 3D printed part with non-printed components, it is important to thoroughly understand the requirements and constraints of both. This may involve designing or modifying the 3D printed part to accommodate the non-printed components, or vice versa. Collaboration and communication between different teams or individuals working on the project can help achieve a successful integration.
Functional Enhancement
Adding functional elements
Post-processing can also be used to add functional elements to 3D printed parts, beyond just improving the appearance. These functional elements can enhance the performance, durability, or specific properties of the part.
For example, adding reinforcing ribs or lattice structures can increase the mechanical strength of the part. Applying specialty coatings, such as anti-static or chemical-resistant coatings, can provide specific properties to the part. Integrating electrical or mechanical components, such as sensors or motors, can add functionality.
By considering the desired function of the 3D printed part, relevant post-processing techniques can be applied to enhance its performance and capabilities.
Applying coatings for specific properties
In addition to adding functional elements, coatings can also be applied to 3D printed parts to provide specific properties. Coatings can enhance the part’s resistance to wear, improve thermal or electrical conductivity, or provide chemical resistance, among other properties.
There are various types of coatings available, such as polyurethane, epoxy, or PTFE coatings. The choice of coating will depend on the specific requirements of the part and the desired properties to be achieved. Following proper application techniques and allowing sufficient curing or drying time will ensure the effectiveness of the coatings.
Implementing electrical or mechanical components
Depending on the desired functionality of the 3D printed part, it may be necessary to incorporate electrical or mechanical components. This can range from simple switches or buttons to complex electronic circuits or mechanical mechanisms.
When integrating electrical or mechanical components, it is important to plan and design the part with the necessary cavities, mounting points, or connectors to accommodate these components. Collaboration with specialists in the respective fields may be required for proper integration and functionality.
Quality Control
Inspecting for dimensional accuracy
After completing the post-processing steps, it is important to inspect the 3D printed part for dimensional accuracy. This involves checking the part’s dimensions and comparing them to the original design or specifications.
Tools such as calipers or micrometers can be used to measure specific dimensions and ensure they meet the required tolerances. Any discrepancies should be noted and addressed, if possible, to ensure the part meets the desired dimensional accuracy.
Checking for defects and imperfections
In addition to dimensional accuracy, it is also important to check for any defects or imperfections in the 3D printed part. This can include surface blemishes, air bubbles, or warping.
Thoroughly inspect the part visually and tactically to identify any defects. If necessary, additional post-processing steps such as sanding, filling, or re-printing may be required to address these issues. Ensuring a defect-free final product is crucial for achieving the desired functionality and aesthetic appeal.
Testing mechanical strength and durability
Depending on the intended use of the 3D printed part, it may be necessary to test its mechanical strength and durability. This is particularly important for functional parts that will be subjected to stress or load.
Various testing methods can be employed, such as tension, compression, or impact testing. The specific tests will depend on the requirements of the part and the relevant standards or specifications. Conducting these tests helps to ensure that the 3D printed part meets the necessary mechanical performance criteria.
Documentation and Reporting
Recording post-processing steps
Throughout the post-processing process, it is important to record the steps taken and the techniques applied. This documentation serves as a reference for future projects and allows for quality control and traceability.
Record the specific post-processing techniques used, any adjustments or modifications made, and any challenges or findings encountered during the process. This information can help streamline future post-processing efforts and ensure consistency in the final results.
Documenting settings and parameters
In addition to recording the post-processing steps, it is also important to document the settings and parameters used during the printing and post-processing stages. This includes information such as print speed, temperature, layer height, and any specific settings for the post-processing techniques.
Documenting these settings and parameters allows for consistency and repeatability. It also provides a reference in case any issues or discrepancies arise during post-processing. This documentation can be particularly valuable when working on iterative designs or when collaborating with others on the project.
Providing detailed reports
Finally, it is important to provide detailed reports on the post-processing of 3D printed parts. These reports can be shared with clients, colleagues, or stakeholders to communicate the process and results effectively.
The reports should include an overview of the design requirements, the post-processing techniques used, any challenges encountered, and the final outcomes. Detailed descriptions, photographs, and data from any quality control or testing performed should also be included. Providing comprehensive reports demonstrates professionalism and transparency in the post-processing process.
In conclusion, post-processing 3D printed parts is a crucial step in achieving the desired appearance, functionality, and performance. By thoroughly understanding the design requirements, considering the post-processing techniques available, and identifying potential challenges, you can effectively plan and execute the necessary steps. From preparing the part through filling and bonding, surface smoothing, painting and coloring, surface texturing, assembly and integration, functional enhancement, quality control, to documentation and reporting, each stage contributes to the overall success of the post-processing process. With these best practices in mind, you can ensure that your post-processed 3D printed parts exceed expectations and meet the highest standards of quality and functionality.