
In the exhilarating world of 3D printing, watching your creation take form, layer by meticulous layer, is nothing short of magical. But as any seasoned hobbyist or professional will tell you, the journey doesn’t end when the print is complete. It’s merely a promising beginning. The next steps—post-processing and finishing—are where your ingenuity can truly shine, transforming a humble, freshly-printed object into a masterful piece of art or a precisely functional tool.
Welcome to a treasure trove of tips and tricks for breathing life into your 3D printed wonders. In this guide, we’ll walk you through the essentials of sanding, painting, and sealing, and reveal pro-level techniques to smooth out rough edges and elevate your prints to a level of polish that makes them indistinguishable from traditionally manufactured items. Whether you’re aiming for a sleek, professional finish or an eye-popping burst of creativity, get ready to unlock the full potential of your 3D printed creations!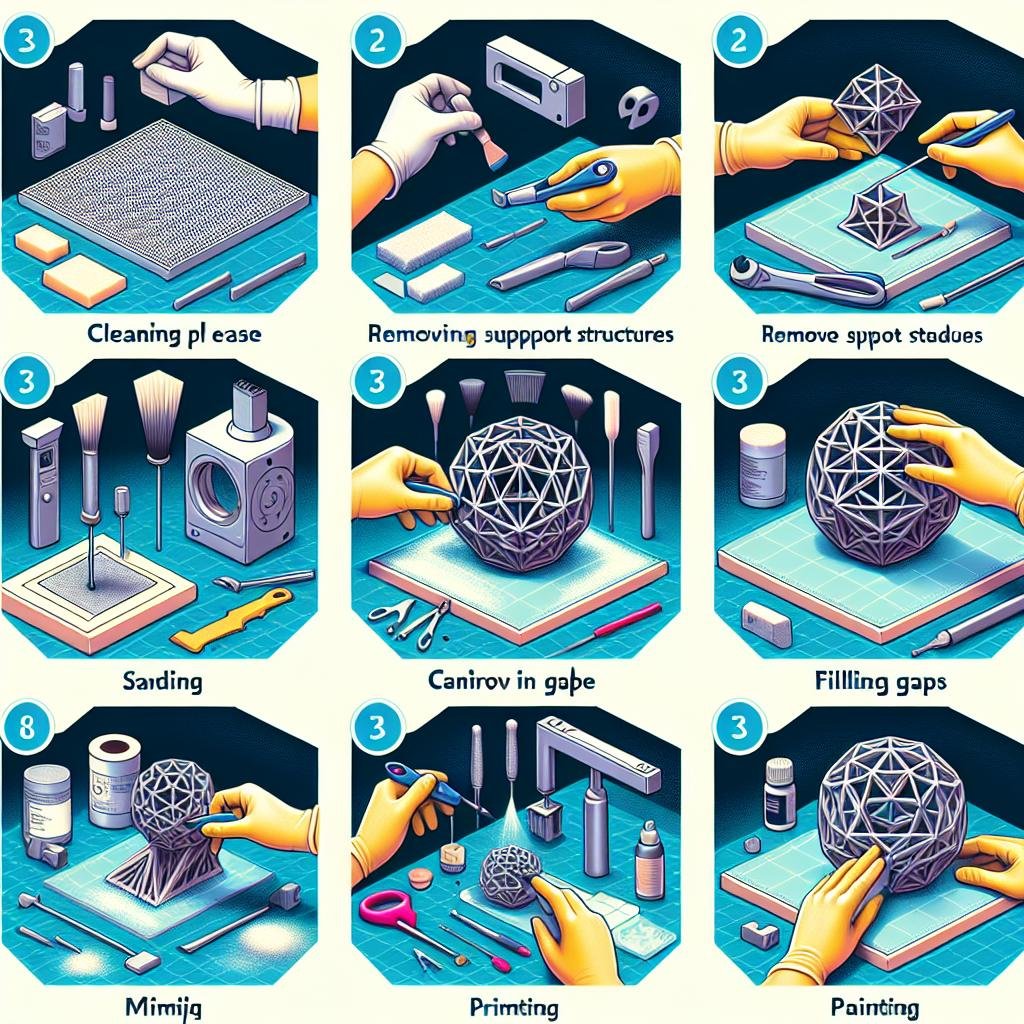
Transforming Raw Prints to Polished Masterpieces
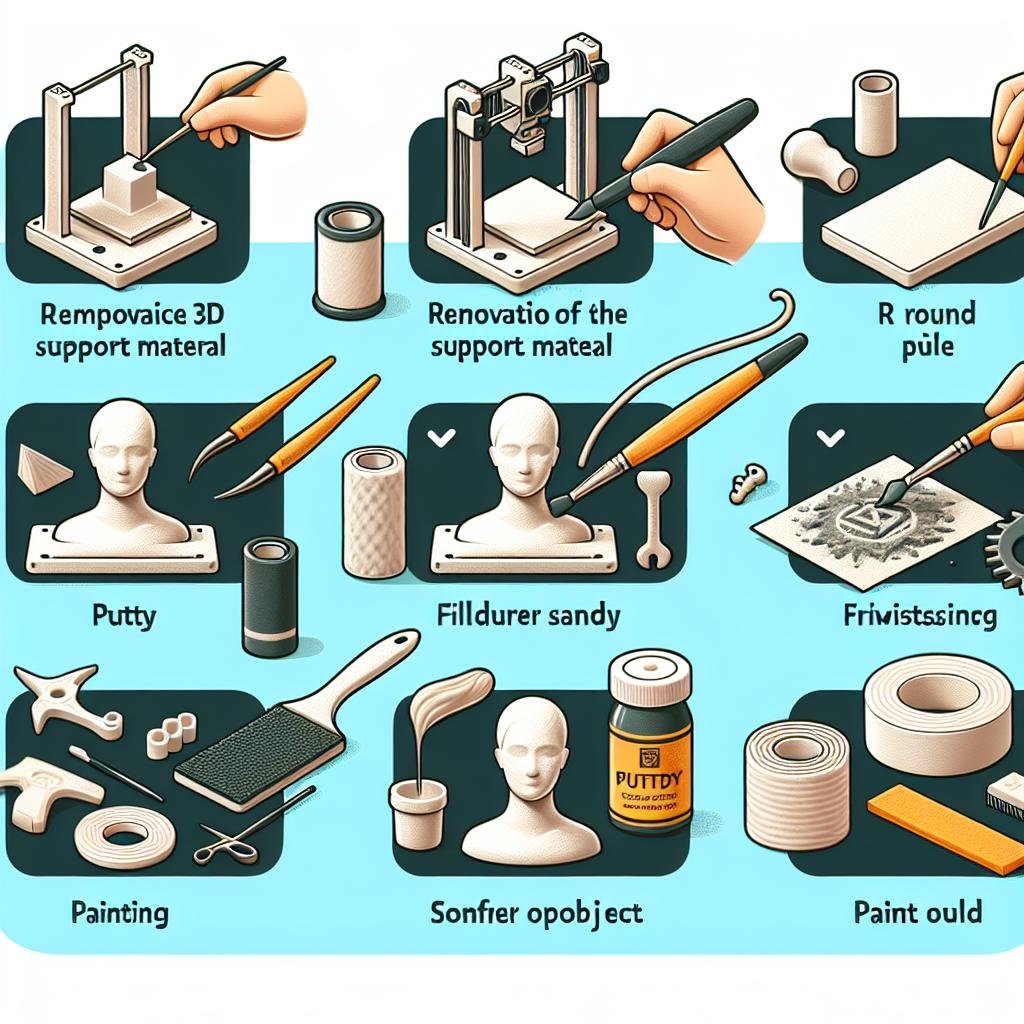
After your design leaves the 3D printer, it often bears the rough marks of creation – support structures, uneven surfaces, and tiny ridges. The first step towards perfection is removing those blemishes. Start by **carefully detaching support structures** using flush cutters or needle-nose pliers. Sanding follows next: employ a **progression of sandpapers** – start with coarse grit to strip away major imperfections, then gradually move to finer grits to smooth the surface. Think of it as refining a gemstone; each stage adds clarity and brilliance. Use **automotive filler primer** to fill in tiny gaps and achieve a buttery-smooth finish, applying thin coats and sanding between each layer for the best results.
Painting and sealing take your project from pedestrian to extraordinary. After prepping the surface, apply a **base coat of primer** to ensure your paint adheres well. Choose **high-quality acrylic or spray paints** designed for plastics, and apply multiple thin layers to avoid dripping or pooling. For finishes, **matte, satin, or gloss** coats can add the perfect final touch depending on the desired aesthetic. Protect your masterpiece with a **clear sealer** to preserve the paint and add durability. For an extra touch of sophistication, consider using **details like dry brushing or wash techniques** to bring out intricate textures and features.
| Steps | Materials |
|---|---|
| Removing Supports | Flush cutters, needle-nose pliers |
| Sanding | Sandpapers (coarse to fine grits), filler primer |
| Painting | Base coat primer, acrylic/spray paints |
| Finishing | Clear sealer, dry brushing tools |

The Art of Sanding: From Rough to Smooth
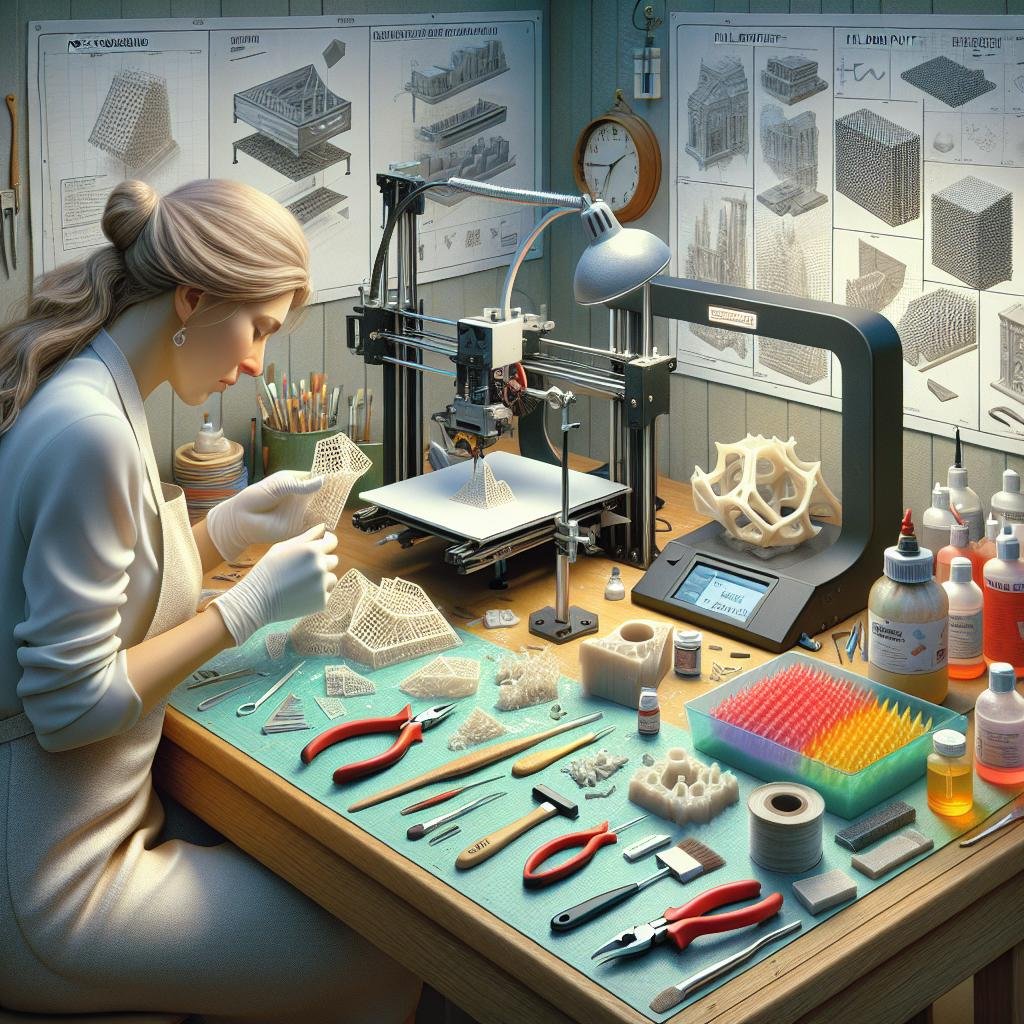
When transforming your 3D printed masterpiece from its raw state to a refined gem, sanding is your best ally. First, gather your tools: sandpaper ranging from 120 to 3000 grit, a sanding block, and **protective gear** such as gloves and a mask. Start with the coarsest grit sandpaper, usually around 120, to remove the most significant imperfections and layer lines. Move in gentle, circular motions to avoid creating deep scratches, and be patient. Each layer removed brings you one step closer to perfection. When sanding, make sure to frequently check your progress and adjust your technique accordingly. Remember, this stage is crucial for laying a smooth foundation.
Once you’ve eliminated the roughness with coarse grit, advance to finer sandpapers such as 400, 800, and 1200 grit. This progression will smooth out finer lines and prepare your object for the final, ultra-smooth finish. Some artisans prefer to wet-sand the finer grits, which reduces dust and can result in a glass-like surface. Feel free to experiment with different approaches to find what works best for you. Don’t forget to go over detailed and hard-to-reach areas with careful precision, using smaller pieces of sandpaper or even sanding needles when necessary. The result of this detailed process is a buttery smooth surface that’s ready for priming and painting or any other post-processing you have in mind!
| Grit Level | Purpose |
|---|---|
| 120 | Remove major imperfections |
| 400 | Smooth out middle layer lines |
| 800 | Prepare for ultra-smooth finish |
| 1200+ | Achieve glass-like surface |
Perfecting the Surface: Priming and Painting Techniques
After you’ve smoothed and polished your 3D printed object, it’s time to prime the surface. **Priming** helps create a uniform base, ensuring vibrant and consistent colors when you paint. To begin, select a high-quality, sandable primer that complements your project’s material. *Apply a thin coat using smooth, sweeping motions,* standing about 6-8 inches away from the surface. Allow each layer to dry completely before lightly sanding with fine-grit sandpaper. This not only improves adhesion but also brings out the finer details of your print. Repeat this process 2-3 times for an impeccable base.
When it comes to painting techniques, the sky’s the limit. For **brush painting**, choose premium acrylic paints suited to the material of your print. *Start with broad, even strokes and use smaller brushes for intricate details.* Spraying, on the other hand, offers a more uniform finish and can be more forgiving. Use light coats to avoid drips and runs, and consider a 3D rotation stand to manage angles seamlessly. Here are a few handy tips:
- **Test** your colors on a sample piece first.
- **Layer** your paint for depth and complexity.
- **Seal** your masterpiece with a clear coat for extra durability.
Sealing the Deal: The Final Touch with Varnish and Sealants
Once your 3D printed masterpiece is shaped, sanded, and primed to perfection, it’s time to add that extra layer of magic with varnish and sealants. These finishing touches don’t just bring out the aesthetic appeal but also fortify the structural integrity of your creation. Imagine giving your object a glossy sheen reminiscent of polished marble, or a matte finish that elegantly absorbs light—whichever vibe you’re going for, there’s a sealant or varnish to match. Always start by thoroughly cleaning your model to remove any dust or debris, ensuring an even application.
- Gloss Varnish: Ideal for objects needing a shiny, reflective surface. Think of decorative items or display pieces.
- Matte Varnish: Great for a sophisticated, non-reflective finish. Perfect for miniatures, models, and figurines.
- Polyurethane Sealant: Offers robust protection against wear and tear. Ideal for functional parts and outdoor objects.
- Epoxy Resin: Provides a thick, clear coat that enhances color depth and durability. Best applied on showpieces and complex models.
| Type | Finish | Use Case |
|---|---|---|
| Gloss | Shiny | Decorative Items |
| Matte | Non-Reflective | Miniatures |
| Polyurethane | Protective | Functional Parts |
| Epoxy Resin | Clear, Thick | Showpieces |
Q&A
Q&A: Mastering Post-Processing and Finishing for 3D Printed Objects
Q1: Why is post-processing important for 3D printed objects?
A1: Think of post-processing as the cherry on top of a sundae! It’s what takes your 3D printed object from ‘pretty cool’ to ‘absolutely wow.’ It smooths out rough edges, enhances durability, and can give you that professional, polished look. It’s the final flourish that brings your creation to life!
Q2: What are some common post-processing techniques?
A2: Oh, there’s a whole treasure chest of techniques! Here are a few favorites:
- Sanding: This is your go-to for smoothing out layer lines. Start with a coarse grit and work your way to finer grits.
- Priming and Painting: Ready to add color? Priming prepares the surface, and painting lets you play with hues and finishes.
- Acetone Smoothing: Perfect for ABS prints, this method uses acetone vapor to give your object a smooth, shiny surface.
- Polishing: When you want that mirror-like finish, polishing can make your prints “shine bright like a diamond!”
- Gap Filling: Sometimes prints have small imperfections or gaps. Fillers can help you achieve a seamless surface.
Q3: Any tips for sanding 3D printed parts?
A3: Absolutely! Here’s the scoop on sanding:
- Patience is key! Start with a low grit (about 100-200) to take off the bulk of the roughness, then move up to higher grits (400-600) for a finer finish.
- Sand in a circular motion for even results.
- Use water or a little soapy water to keep the dust down, especially with resin prints.
- If there are tiny crevices, consider using a small file or sandpaper wrapped around a stick for precision sanding.
Q4: What’s the best way to prime and paint 3D prints?
A4: Priming and painting are where your print can really start to tell its story! Here’s how:
- Clean First: Make sure your print is clean and free of debris. A quick rinse or a wipe with isopropyl alcohol can do wonders.
- Prime Time: Use a spray primer for even coverage. A couple of light coats are better than one thick, mucky coat.
- Paint Away: For painting, acrylics are a popular choice. Use multiple thin layers to avoid drips.
- Seal It: A clear sealant can protect your paint job and add a gloss or matte finish, depending on your preference.
Q5: When would I use acetone smoothing, and how does it work?
A5: Acetone smoothing is like giving your 3D print a spa day—but it only works with ABS plastic. It’s great for achieving a smooth, almost injection-molded look. Here’s the lowdown:
- Safety First: Acetone is flammable and has strong fumes, so work in a well-ventilated area, and wear gloves and a mask.
- Set Up: You need an acetone vapor chamber. This can be a glass jar with a small amount of acetone at the bottom (the object should never touch the liquid).
- Timing: Place your print on a platform inside the chamber. The vapor will gradually smooth the surface. Monitor closely; the process usually takes 10-20 minutes.
- Cure: Let the print sit in a dust-free area while the acetone evaporates completely, leaving a beautiful sheen.
Q6: Can 3D printed parts be polished like metal or plastic objects?
A6: You bet! To polish, you’ll typically need:
- Wet Sanding: Start by wet sanding with very fine grit sandpaper (800 to 2000 grit).
- Polishing Compound: Apply a plastic or metal polishing compound with a cloth.
- Buffing: Buff with a rotary tool for extra shine.
- Polishing can turn a good print into a masterpiece, giving it a professional, high-gloss finish.
Q7: How do I fill gaps or imperfections in my 3D print?
A7: Filling gaps is like a little magic trick. Here’s how you can perform it:
- Choose Your Filler: Use a plastic filler or putty designed for models.
- Application: Apply the filler to the gaps or imperfections, smooth it out with a putty knife or a similar tool.
- Dry and Sand: Allow it to dry completely, then sand it down until it’s flush with the surface of your print.
- After filling and smoothing, you can proceed with priming and painting for a flawless finish.
Q8: Any final advice for someone new to post-processing 3D prints?
A8: Dive in and enjoy the process! Every technique can feel like a small adventure. Don’t be afraid to experiment and make mistakes—that’s how you learn. And remember, each print is unique, so what works for one might need tweaking for another. Happy printing and even happier post-processing!
Got more questions or a cool tip of your own? Share it with us! Let’s keep this creative community thriving. 🌟
Wrapping Up
As the final layers of our 3D printed adventure come together, it’s clear that the journey of post-processing and finishing our creations is as critical as the initial printing itself. With each sanded edge, every perfectly applied coat of paint, and every meticulous detail, we breathe life and personality into our printed objects. Whether you’re achieving a flawless, polished look or embracing the raw, rugged charm, your artistry shines through these finishing touches. So, as you hold your transformed pieces proudly in hand, remember that every creation is a testament to your skills and creativity. Keep experimenting, keep refining, and most importantly, keep printing your way to perfection. Until next time, happy printing and happy finishing!