
How to Make a Cardboard VR Headset: Step into Virtual Reality
Welcome to the captivating world of virtual reality, where imagination meets innovation! Have you ever wondered how to make a cardboard VR headset, transforming everyday materials into a portal for extraordinary experiences? Today, we invite you to join our creative journey as we explore the steps to crafting your very own virtual reality marvel.With just a few simple materials adn a sprinkle of curiosity, you can unlock a universe of adventure right from the comfort of your home. Dive in with us as we unfold the blueprint to creating an immersive escape that’s not only affordable but also incredibly fun to make. Ready to step into your homemade virtual reality wonderland? Let’s get started!
Crafting Your own Virtual Reality Viewfinder
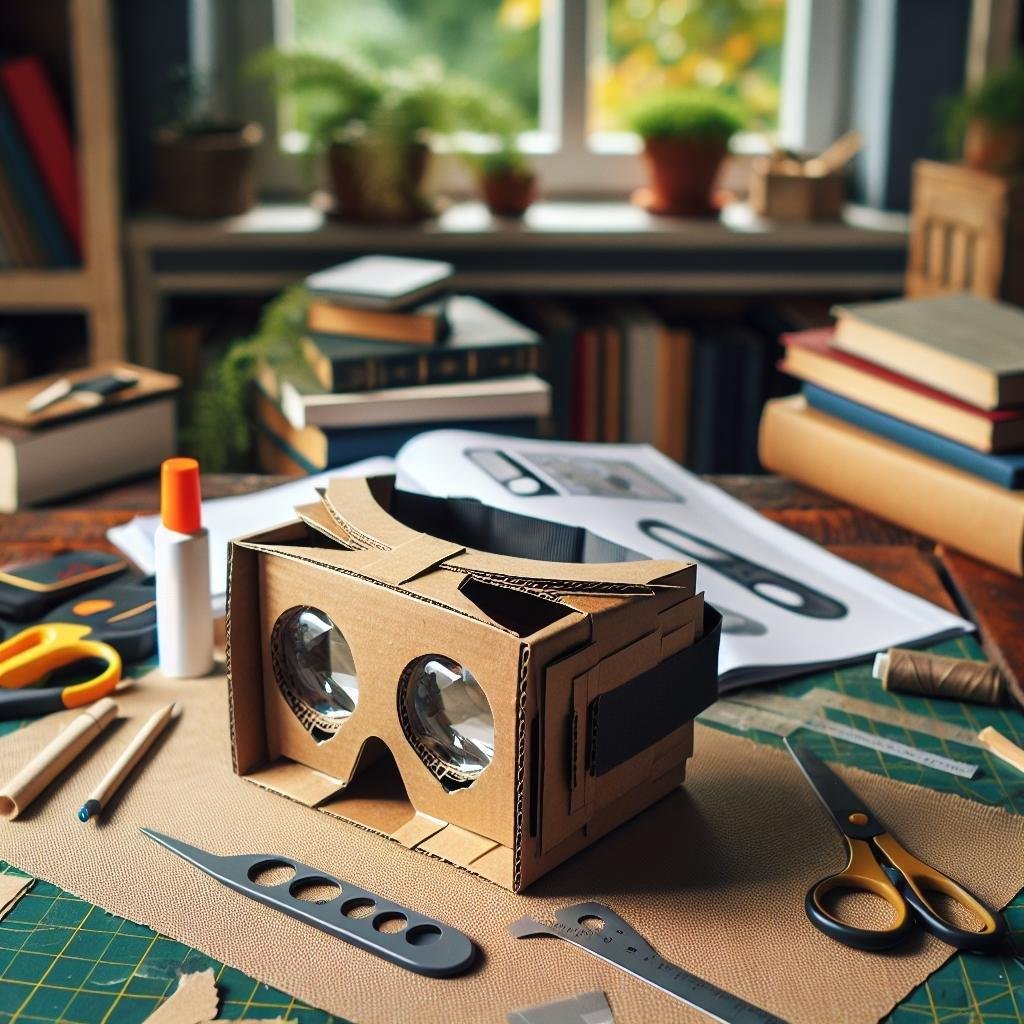
Creating your very own cardboard viewfinder for virtual reality adventures is an exhilarating blend of DIY creativity and tech wizardry. With just a few inexpensive materials, you can dive into the immersive world of VR. To kick off your project, begin with a piece of sturdy cardboard that will serve as the foundation of your viewfinder. This core material is both approachable and flexible, making it ideal for beginner VR enthusiasts.Other essential supplies include lenses, a head strap, and, of course, your trusty smartphone to bring VR experiences to life. Browse through recycling bins or old packaging to find the perfect piece of cardboard, and remember to keep your creative spirit at full throttle!
To further enhance your VR viewfinder, augment it with a few agreeable and polished features. Consider adding a foam cushion to the edges for a snug, face-friendly fit. Velcro strips can be utilized to secure your smartphone in place, ensuring it stays put even during the most thrilling virtual escapades. Lastly, give it a dash of personality with a customized design or pattern on the exterior. Below is a quick list of optional yet effective enhancements:
- Soft foam padding for comfort
- Durable Velcro fasteners
- Attractive external design customization
| Material | Purpose |
|---|---|
| Cardboard | Structural Frame |
| Lenses | Visual Clarity |
| Foam Padding | Comfort |
| Velcro | Phone Security |

Essential Tools and materials for a Cardboard VR headset
Key Components for Building Your DIY VR Headset
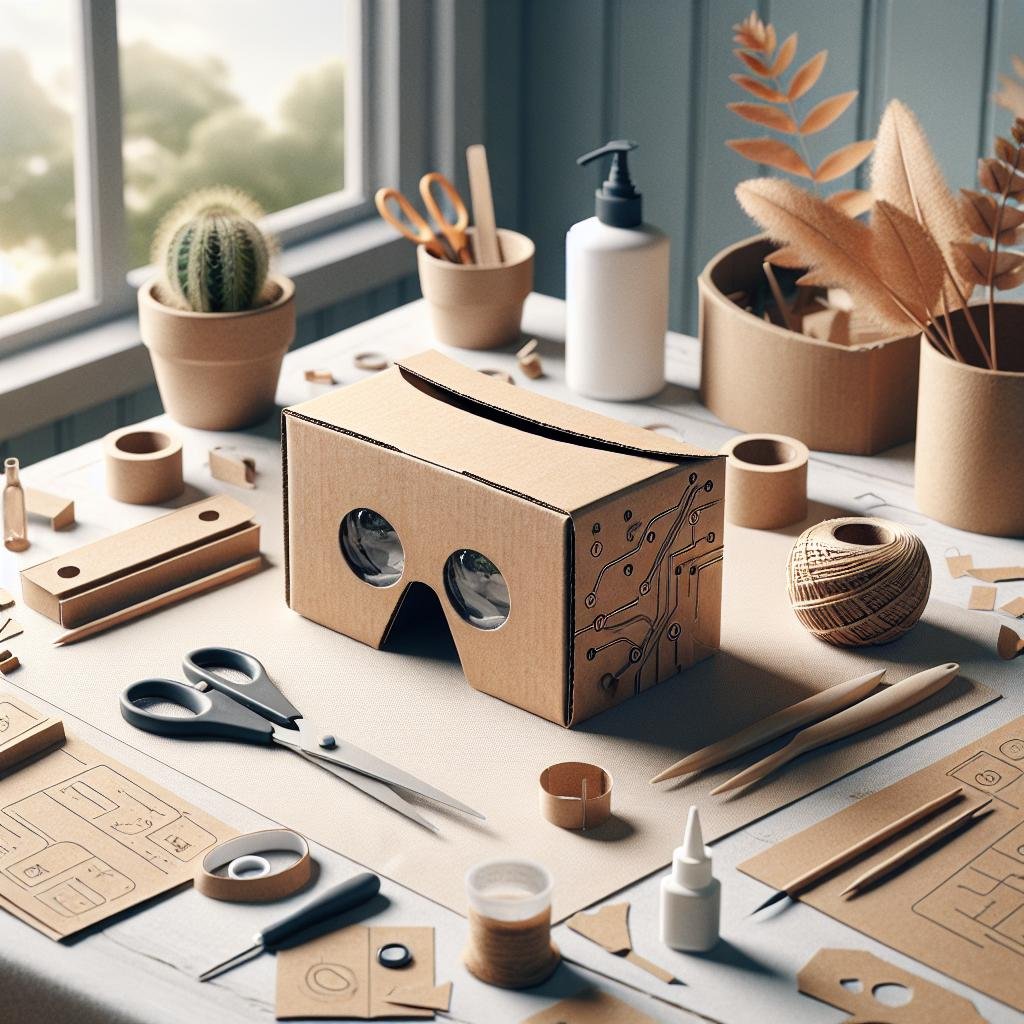
Embarking on the journey of creating a cardboard VR headset transforms an ordinary cardboard piece into a portal of endless virtual realities. To ensure the success of this innovative adventure, certain materials are imperative. cardboard is, unsurprisingly, the star of the show. Opt for a piece that is both sturdy and easy to cut; corrugated cardboard frequently enough works best. Apart from that, a pair of biconvex lenses plays a crucial role in magnifying and enhancing the virtual experience. Lenses with around 25 mm diameter and 45 mm focal length shoudl suffice for optimal focus and comfort.
The unsung heroes of this project lie in the essential tools that make the assembly seamless. A precision utility knife or a pair of scissors is indispensable for cutting your cardboard to size. Ensure you have strong glue or double-sided tape to fix everything in place. Pair this with a ruler for precise measurements and a pen for marking your cutting lines. if comfort tops your list, consider investing in soft foam strips to pad the edges of your headset, ensuring a snug yet comfortable fit for prolonged virtual exploration. Let’s encapsulate the essential tools in a compact table for quick reference:
| Tool/Material | Purpose |
|---|---|
| Cardboard | Main Structure |
| Biconvex Lenses | Image magnification |
| Utility Knife/Scissors | Cutting Shapes |
| Glue/Tape | Assembly |
| Ruler & Pen | Precision & Marking |
| Foam strips | Comfort Padding |
Step-by-Step Guide to building a DIY VR Experience
Assemble Your DIY VR Headset
To transform an everyday item into a portal to virtual worlds, all you need to do is gather a few simple materials. Here’s what you’ll need to get started:
- Sturdy cardboard – enough to create a strong frame
- A pair of biconvex lenses
- Velcro straps
- Scissors and a craft knife
- Duct tape or glue
- Double-sided adhesive tape
- A smartphone
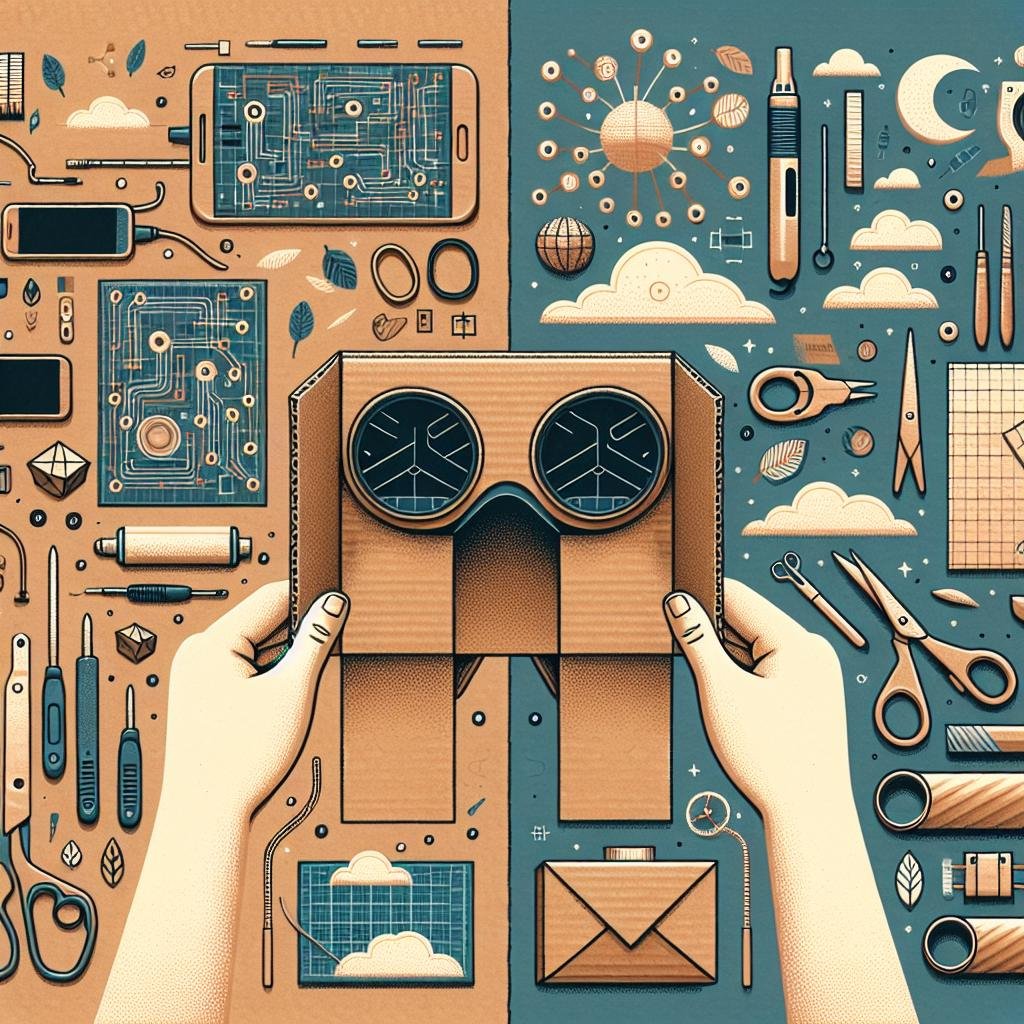
start by sketching the outlines of the headset on the cardboard. Cut out the pieces carefully, using scissors for the curves and the knife for detailed sections.Remember, precision is key! Once your pieces are ready, assemble them into a box shape with compartments for your smartphone and lenses. Use the duct tape or glue to fasten the edges securely. Next, snugly place the lenses at a comfortable viewing distance from where the screen will sit, ensuring they’re firmly secured. attach the Velcro straps for a secure fit around your head.Congratulations! You’ve created your very own DIY cardboard VR headset.
Optimize for Virtual Reality
Now that your headset is complete, let’s get it ready for action. Start by downloading a VR app compatible with your smartphone, as this will be the basis for your virtual explorations. Insert your phone into the front compartment, ensuring that the display is centered with the lenses. Here’s how you can ensure an optimal experience:
- Adjust the straps for comfort
- Calibrate the app settings to match the alignment of your lenses
- Test different apps to explore a diverse selection of VR environments
Remember to take a break every so often to avoid eye strain! By following these creative steps, your homemade VR headset will provide a uniquely tailored virtual reality experience, all while having fun in the process.
Tips and Tricks for the Perfect Fit and Enhanced Immersion
Finding the Right Fit for Maximum Comfort
Crafting your own cardboard VR headset can be a fun and cost-effective way to dive into immersive worlds without breaking the bank. To ensure you have the perfect fit, start by measuring your head carefully with a flexible measuring tape. Select a design template that matches your measurements. Cardboard is an adaptable material, allowing you to make small modifications with ease using tools like scissors or a cutting knife. Adjust the straps for a snug but comfortable grip, ensuring that your VR adventures are all about the experience, not frustrating adjustments.
- Measure the distance between your eyes carefully to align lenses perfectly.
- Experiment with different types of foam and padding for enhanced comfort.
- Use double-sided tape to secure delicate pieces and avoid unstable connections.
- Consider using an anti-fog solution to keep your view crystal clear.
Enhance the Immersion with DIY Tips
Once you’ve got the perfect fit, elevate your VR experience by focusing on the finer details. Customize the headset with non-intrusive decorations that don’t hinder its functionality. Improving the immersion is not only about the visuals but also about the sound; hence adding a small opening or mesh design around your ear placement can considerably enhance audio quality. Ensure the smartphone you are using is clean and runs the VR apps smoothly to prevent distractions from smudges or constant buffering.
| Enhancement | benefit |
|---|---|
| Add Shoulder Straps | Further stability during movement |
| Artistic Designs | Personalized aesthetic appeal |
Q&A
Article title: Dive into Virtual Reality: Crafting Your Own Cardboard VR Headset
Q&A Section
Q1: What exactly is a cardboard VR headset,and why should I make one?
A1: Picture this: stepping into the world of virtual reality without breaking the bank! A cardboard VR headset is a cost-effective,DIY device that allows you to enjoy VR experiences using your smartphone.It’s like holding the key to a parallel universe made of pixels—immersive and thrilling. Making one is an eco-friendly and affordable adventure that combines crafting with tech!
Q2: What materials will I need to get started?
A2: Think of building a castle with basic building blocks. Here’s your list: stiff cardboard (old shoebox or delivery box),lenses (25 mm focal length recommended),magnets (like those on your fridge),hook and loop fasteners (Velcro works great),rubber band(s),a pair of scissors,glue,double-sided tape,and a cutting tool (X-Acto knife or a box cutter).
Q3: How do I create the headset’s body?
A3: First, download a cardboard VR template online—there are many free designs available! Cut out the template and trace it onto your cardboard. With your cutting tool, carefully slice out the shape of your VR headset.Fold along the lines and glue or tape the edges.It’s like crafting a unique crown that’ll soon transform into a portal!
Q4: What about the lenses? How do I set them up?
A4: The lenses are magic portals that bring VR to life! Secure them into the corresponding spaces on your cardboard structure. Ensure they’re fixed firmly with glue so your immersive experience stays sharp. These lenses help focus the pixels and make your VR world appear 3D.
Q5: How do I keep my smartphone steady in the VR headset?
A5: Your phone is the heart of the VR headset, so it needs to feel comfy! Use the hook and loop fasteners to set up a snug slot and use rubber bands to secure your phone in place. Make sure the screen aligns perfectly with the lenses for optimal visuals. Adjust as needed to ensure the viewing angles make your visuals pop!
Q6: Are there any final touches I should add?
A6: Think of personalization! Decorate the exterior to reflect your style or paint it for a vibrant splash. You might want to cushion the nose and forehead areas with foam for extra comfort. Double-check all parts are secure and everything is in working order.Now, slide your smartphone into place and you’re ready!
Q7: What kind of adventures can I embark on with my new VR headset?
A7: The universe is your playground! Explore virtual travel, diving the depths of the oceans, or flying through galaxies far far away.There are myriad apps available on smartphone app stores for VR adventures, games, educational content, and more. Get ready to indulge in incredible experiences, all from the comfort of your cardboard-crafted adventure gear!
Q8: Any tips for making the experience even better?
A8: absolutely! Ensure your phone’s brightness and volume are set to optimal levels for the best experience. Invest in a pair of headphones for an immersive audio experience.Lastly, keep the lens and screen clean and free of smudges to enhance visuals. Now, step into your VR journey, knowing you created this experience with your own hands. Enjoy the ride!
The Way Forward
As we draw the curtain on this cardboard VR headset crafting adventure, imagine the world you’ve just unlocked with a few simple materials and a dash of creativity. Your new device is more than a headset; it’s a passport to immersive journeys, a testament to ingenuity, and a fun project that has transformed ordinary cardboard into extraordinary experiences. Whether you’re exploring distant galaxies or embarking on virtual roller coasters, remember that creativity is the key that opens countless doors. Now, step into your VR world, and let your imagination soar—after all, the best adventures are the ones you create yourself! Happy exploring!