
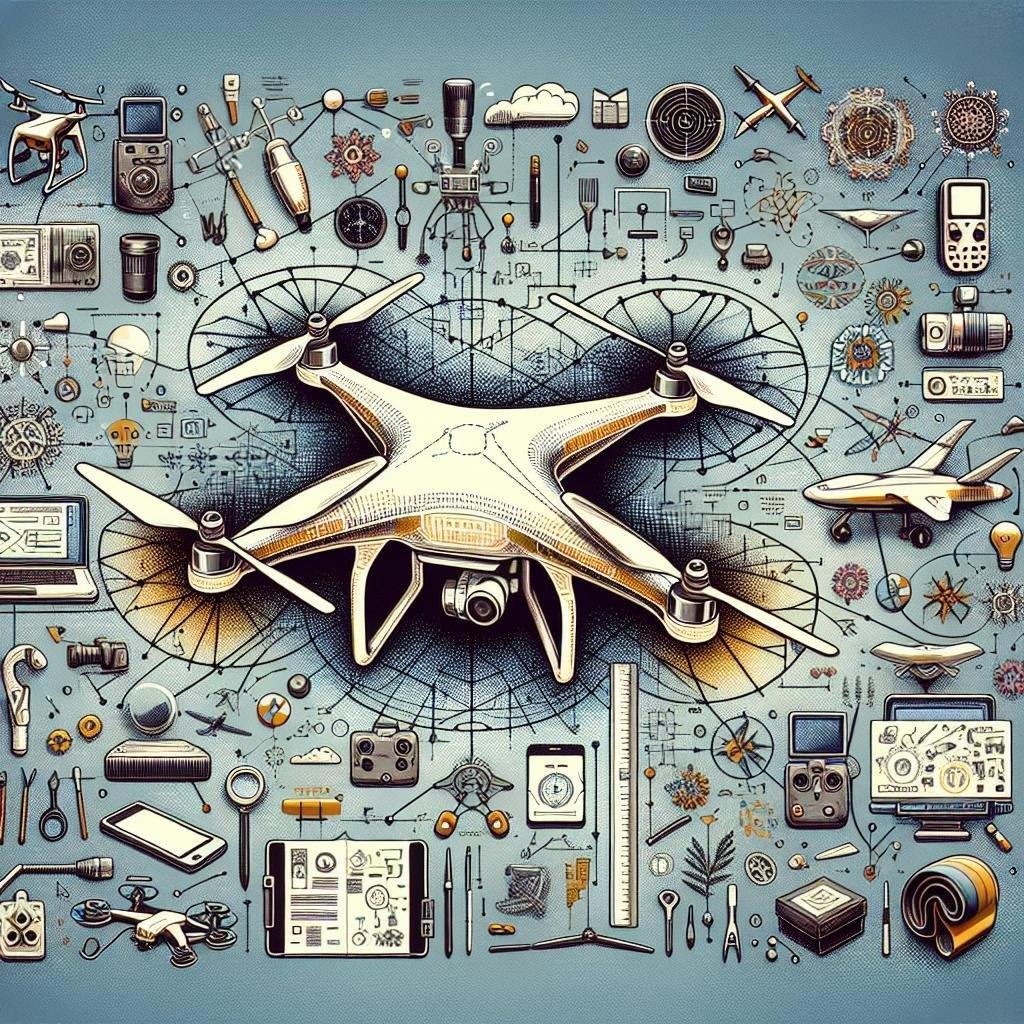
In an era where the sky’s no longer the limit but a thrilling playground for innovation, building a remote-controlled drone has emerged as a captivating venture for hobbyists and tech enthusiasts alike. Whether you’re an aspiring aviator dreaming of mastering the skies or a tech tinkerer keen on your next challenging project, constructing your own drone is an exhilarating journey of creativity, precision, and discovery. In this guide, we’ll navigate through the labyrinth of components, design choices, and technical know-how, transforming the complex into the conceivable, and the conceivable into your own airborne marvel. Prepare to delve into the art and science of drone-building, where the only ceiling on your ambition is the atmosphere itself.
Choosing the Right Components for Your Drones Brain
When embarking on the journey to build a remote-controlled drone, selecting the appropriate components for its brain is crucial. The flight controller acts as the nerve center, processing input from sensors and the remote control to manage the drone’s stability, orientation, and maneuverability. There are numerous flight controllers on the market, each with unique features and capabilities. Here are a few vital components to consider:
- Processing Power: Opt for a flight controller with sufficient processing power to handle complex flight algorithms.
- Sensor Compatibility: Ensure compatibility with various sensors such as gyroscopes, accelerometers, and GPS modules.
- Firmware Support: Choose one that supports popular open-source firmware platforms like Betaflight or ArduPilot.
- Connectivity Options: Look for customizable I/O options, including USB, UART, I2C, and CAN ports.
- Expandability: Future-proof your drone by selecting a board that allows for easy hardware upgrades.
| Feature | Importance | Examples |
|---|---|---|
| Processing Power | High | STM32, ARM Cortex |
| Sensor Compatibility | Essential | MPU6000, ICM-20602 |
| Firmware Support | Crucial | Betaflight, ArduPilot |
| Connectivity | High | USB, UART, I2C |
| Expandability | Moderate | Stackable boards |

Assembling the Frame and Motors with Precision
Precision is paramount when bringing your drone frame and motors together. Begin by meticulously laying out your frame components. Avoid snugging everything too tight until all parts are perfectly aligned. Consider using thread-lock glue on screws to ensure stability against the vibration of flight. Adhering to a clean workspace, lay each piece out in an organized fashion and match them up according to your blueprint. This practice ensures you won’t miss any connections or secure the wrong parts. A pro tip: using a small spirit level can help confirm that your build is perfectly even. Do not rush this phase; a solid foundation is key to a steady drone.
For the motors, proper alignment is essential. Start by attaching the motor mounts to the frame, guaranteeing they are firmly screwed in place. Next, install the motors, ensuring the wiring is oriented correctly for connection to your electronic speed controllers (ESCs). Here’s a quick reference to remember for smooth installation:
| Step | Task |
|---|---|
| 1 | Align mounts with holes |
| 2 | Screw in the mounts |
| 3 | Position motors on mounts |
| 4 | Connect wiring |
Double-check all connections and run a gentle hand test to make sure nothing wobbles or feels loose. Ensuring a tight and precise assembly will contribute significantly to the performance and longevity of your drone.

Programming the Flight Controller for Seamless Operation
To achieve seamless operations with your flight controller, you need to ensure that your hardware and software are in sync. Begin by configuring your flight controller firmware using dedicated software like Betaflight or iNAV. Here, you’ll adjust crucial settings such as PID tuning, motor configurations, and sensor calibrations. Make sure to understand the various flight modes and set them according to your needs, such as angle mode for stable flights or acro mode for more dynamic movement. Properly map the channels on your controller to the corresponding functions on your flight controller, ensuring smooth communication between them.
For a more streamlined configuration process, keep in mind these key elements:
- ESC Calibration: Ensure your ESCs are correctly calibrated with your flight controller for responsive throttle commands.
- Failsafe Settings: Program your failsafe to dictate how your drone reacts when it loses signal, enhancing safety.
- Telemetry: Enable telemetry to receive real-time data such as battery voltage and signal strength on your transmitter.
- Mode Switches: Configure switches on your remote to toggle between flight modes effortlessly.
| Feature | Purpose |
|---|---|
| PID Tuning | Optimizes flight stability and response. |
| Motor Configuration | Sets up motor direction and type. |
| Sensor Calibration | Ensures accurate flight data. |
| Failsafe | Safety protocol for signal loss. |

Testing and Fine-Tuning Your Drone for Optimal Performance
To ensure your drone flies seamlessly, it’s essential to run comprehensive tests and make precise adjustments. Start with a thorough pre-flight check to confirm that all components are functioning correctly. Inspect the propellers for any signs of wear or damage, and make sure they are securely fastened to their motors. Next, power up your drone in a safe, open area to calibrate the gyroscope and compass. This calibration process, typically accessible through your drone’s control app, helps maintain stability and accurate navigation during flight. Don’t forget to test the drone’s failsafe features, such as return-to-home functions, to ensure they work in case your drone loses signal or power mid-flight.
After initial tests, move on to tuning the flight parameters to optimize performance. Pay attention to:
- PID (Proportional, Integral, Differential) settings: Adjust these to fine-tune the responsiveness and stability of your drone.
- Battery performance: Use telemetry data to monitor voltage and usage, ensuring adequate power for your flight time.
- Motor calibration: Verify that all motors are synchronized to avoid uneven thrust.
For a more detailed analysis, consider using a flight log to record and review flight data. Here’s a basic overview you can refer to:
| Parameter | Optimal Range |
|---|---|
| Battery Voltage | 3.7V – 4.2V per cell |
| Motor RPM | 2000 – 2400 RPM |
| P (Proportional) | 1.2 – 1.5 |
| I (Integral) | 0.04 - 0.1 |
| D (Differential) | 0.008 - 0.020 |
Q&A
Q&A: How to Build a Remote-Controlled Drone
Q: What are the fundamental components needed to build a remote-controlled drone?
A: The core components for building a remote-controlled drone include a frame, motors, propellers, an electronic speed controller (ESC) for each motor, a flight controller, a remote control transmitter and receiver, a battery, and optional parts such as a camera for aerial photography. Each piece plays a crucial role in ensuring the drone’s stability, maneuverability, and overall performance.
Q: What tools and materials are required to assemble these components?
A: Essential tools include a soldering iron, screwdrivers (preferably both Phillips and flat-head), hex keys, pliers, wire cutters, and a heat shrink tube kit. Additional helpful materials can include zip ties, double-sided tape, and a multimeter for electrical troubleshooting.
Q: How important is the frame design and what considerations should be taken when choosing one?
A: The frame design is vital as it provides the structural backbone of the drone. Key considerations include durability, weight, and size. Lightweight yet sturdy materials like carbon fiber are often preferred. The frame size should accommodate your selected components and intended use—smaller frames for agility and larger ones for stability and longer flight times.
Q: Can you explain the role of the flight controller and how to choose the right one?
A: The flight controller is the brain of the drone, processing information from sensors and controlling the motors accordingly. When choosing a flight controller, consider compatibility with other components, the type of sensors included (gyroscopes, accelerometers), and the firmware it supports, such as Betaflight or ArduPilot. An easy-to-configure flight controller with robust community support can simplify troubleshooting and enhancements.
Q: What steps are involved in attaching the motors and ESCs to the frame?
A: First, mount the motors to the designated points on your frame using screws. Ensure they’re securely fastened. Next, solder the power wires from each motor to the corresponding ESCs. It’s crucial to connect them correctly to avoid issues with rotation direction, which can be adjusted if initially incorrect. mount the ESCs onto the frame using zip ties or double-sided tape, ensuring minimal wire slack to prevent entanglement.
Q: How do you install and configure the remote control system?
A: The remote control system includes a transmitter (the handheld controller) and a receiver (mounted on the drone). Start by binding the receiver to the transmitter based on the manufacturer’s instructions. Once bound, connect the receiver to your flight controller using the appropriate wires or connectors. Configuration involves setting up the control parameters through the flight controller’s software, ensuring responsive and accurate commands during flight.
Q: Why is battery selection critical, and what should you consider when choosing one?
A: The battery is the drone’s power source, directly affecting flight time, performance, and weight. Key factors include capacity (measured in mAh), discharge rate (C-rating), and weight. A higher capacity means longer flight time but also adds weight. Balance is essential—opt for a battery that meets your power needs without overly compromising the drone’s agility or flight duration.
Q: What safety precautions should be taken during the build process?
A: Safety should always be a priority. When soldering, use protective eyewear and work in a well-ventilated area to avoid inhaling fumes. Double-check all electrical connections to prevent shorts. Ensure the propellers are not attached when testing motors to avoid accidental start-ups causing injury. Lastly, perform all calibrations and test flights in open, unobstructed areas to mitigate risk.
Q: How do you perform the first test flight and ensure everything is working correctly?
A: Before taking off, make sure all connections are secure, calibrate the flight controller, and double-check the propeller orientation. Begin with a low hover to check stability and responsiveness. Gradually test different maneuvers and controls to ensure the drone reacts appropriately. It’s prudent to have a checklist and take notes, adjusting settings if any issues arise to ensure smooth and safe operation.
The Way Forward
As we draw the curtains on our journey through the skies, take a moment to reflect on the intricate dance of technology and creativity that has culminated in your own remote-controlled drone. From the humblest of components to the soaring heights of your maiden flight, you’ve navigated not just blueprints and soldering challenges, but the exhilarating promise of innovation.
Imagine what new vistas lie ahead—both in the air and in your growing repertoire of skills. Whether you find yourself tinkering further to push boundaries or simply reveling in the joy of flight, remember that every success story starts with a first step. Keep curious, stay bold, and who knows? The next great aerial adventure might just take off from your own backyard.
The sky is not the limit; it’s merely the beginning.
Happy flying!