
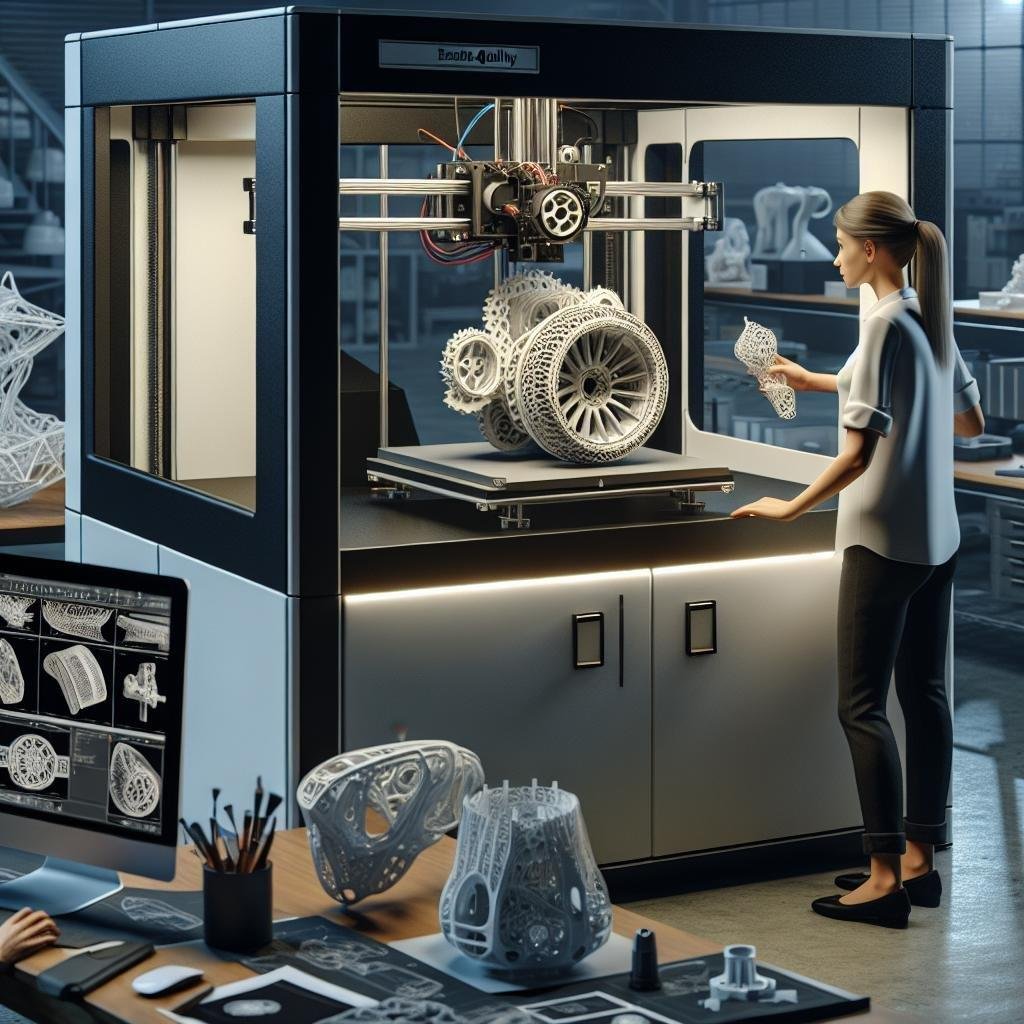
In the bustling intersection of inventiveness and innovation, 3D printing stands as a beacon of endless possibilities. Ever imagined holding your ideas in the palm of your hand just moments after they spring to life in your mind? Welcome to the mesmerizing world of 3D printing, where high-quality functional prototypes are not just dreams but tangible realities. Whether your an aspiring engineer, an inventive hobbyist, or a seasoned designer, crafting these prototypes can be your ticket to transforming abstract ideas into remarkable real-world solutions. Grab your digital toolkit and join us on this creative journey; together, we’ll unravel the secrets to mastering the art of 3D printing and empower your visions to leap from flat sketches to dynamic, practical models.
Mastering the Art of Designing for 3D Printing
When diving into the world of 3D printing, it’s essential to understand the nuances that differentiate a mediocre design from a top-notch prototype. mastery begins with meticulous attention to model alignment and orientation. Proper alignment minimizes supports, reducing material waste and achieving smoother surfaces. consider, too, the intricate balance between layer height and speed. Opt for finer layers to enhance detail, or speed things up when you need to iterate rapidly. Use the table below to explore the trade-offs between these choices:
| Feature | Finer Layers | Coarser Layers |
|---|---|---|
| Detail | High | moderate |
| Speed | Slower | Faster |
| Material Use | Higher | Lower |
Beyond the basics of slicing, don’t underestimate the power of material selection. Not all filaments are created equal; each offers unique properties that can affect durability, flexibility, and print quality. As an exmaple,PLA is ideal for prototyping with ease but lacks the durability of ABS or PETG,which are more suited for functional parts.Similarly, the importance of post-processing cannot be overlooked. Techniques like sanding, painting, or chemical treatments can substantially elevate the finish of your prototypes, making them truly presentation-worthy. Remember, each design decision is part of the journey towards creating precise and functional 3D printed prototypes.

Navigating the Sea of Materials for Your Perfect Print
Diving into the material selection for your 3D printing projects feels like exploring a treasure trove, rich with diverse options, each promising a different combination of strength, flexibility, and finish. ABS (Acrylonitrile Butadiene Styrene), frequently enough celebrated in the world of industrial design, is known for its durability and resistance to impact.It’s ideal for producing items that need to withstand wear and tear.PLA (Polylactic Acid), on the other hand, boasts eco-friendliness and ease of use, making it perfect for rapid prototyping where surface finish and detail are meaningful.Meanwhile, PETG (Polyethylene Terephthalate Glycol) offers a delightful compromise, mixing the ease of PLA with the strength of ABS. When choosing nylon or TPU (Thermoplastic Polyurethane), you’re entering the realm of flexibility and elasticity, necessary for parts that bend without breaking.
- PLA: Easy to print, biodegradable, and offers a smooth finish.
- ABS: Durable, high-temperature resistance, and can be post-processed for a glossy finish.
- PETG: Strong, flexible, with a glossy and smooth appearance.
- Nylon: Highly durable,resistant to abrasion,and flexible.
- TPU: Flexible, impact-resistant, and offers a rubber-like texture.
when the decision gets overwhelming, use the below quick reference to help narrow down your choices based on key attributes. This can be a lifesaver when you’re experimenting with different functionalities.
| Material | Strength | Flexibility | Ease of Use |
|---|---|---|---|
| PLA | Moderate | low | High |
| ABS | High | Low | Moderate |
| PETG | High | moderate | Moderate |
| Nylon | High | High | Low |
| TPU | Moderate | Very High | Low |

Optimizing Print Settings for Precision and Quality
When setting out to create high-quality functional prototypes with a 3D printer, tweaking your print settings can make a world of difference. Ensuring optimal layer height is crucial, as it directly impacts the surface finish. For high-resolution prints, aim for a layer height of 0.1 mm to 0.2 mm. Not only does this enhance surface smoothness,but it also ensures delicate features are accurately defined. Similarly, the print speed should be carefully adjusted.While it might be tempting to increase speed for quicker results, slowing it down, especially for complex geometries, can significantly improve accuracy and detail. A recommended starting point is a speed between 30-60 mm/s.Don’t forget the extrusion width; keeping this around 120% of the nozzle diameter generally offers a good balance between detail and strength.
- Temperature Settings: Fine-tune nozzle temperatures depending on the filament type. As an example, PLA works great around 190°C – 210°C, while ABS might require 230°C.
- Bed Adhesion: Use adhesion aids such as brim or raft for designs with a small footprint to prevent warping.
- Infill Density: For prototypes that need to be functional, adjust the infill to 20%-50% to maintain structural integrity.
| Setting | Value | Benefits |
|---|---|---|
| Layer height | 0.1 - 0.2 mm | Smooth Finish |
| Print Speed | 30-60 mm/s | Improved Detail |
| Infill Density | 20%-50% | Structural Strength |

Post-Processing Techniques to Elevate Your prototype
Onc your 3D print is complete, post-processing is where the magic happens. transforming a just-out-of-the-printer object into a high-quality prototype requires a few specific techniques. One common method is sanding,which helps achieve a smoother surface finish. Start with a coarser grit and gradually move to finer grits for optimal results. Not to be overlooked is the art of acetone vapor smoothing, especially for ABS prints. This technique uses acetone vapors to gently melt the surface, resulting in a glossy finish.Remember, safety first—ensure you’re working in a well-ventilated area.
Painting can add a whole new dimension to your prototype. A coat of primer is frequently enough the first step to cover any imperfections and provide a good base for paints. For a professional appearance, consider using an airbrush for a smooth, even coat. For those intricate details,brush painting with fine detailing brushes can achieve remarkable results. To encapsulate these post-processing steps, here’s a quick reference:
- Sanding: Start coarse and go fine.
- Acetone Smoothing: Shiny and smooth with careful handling.
- Priming and Painting: Use primer for a flawless finish, airbrush for seamless coating.
| Technique | Details |
|---|---|
| Sanding | Coarse to fine grit for smooth surfaces |
| Acetone Smoothing | Use in ventilated areas for ABS plastics |
| Priming | Covers imperfections, prepares for paint |
| Painting | Airbrush for even coverage, brushes for details |
Q&A
Q&A: How to 3D Print High-quality Functional Prototypes
welcome to our creative corner where we unravel the mysteries of 3D printing, turning imaginative ideas into tangible, functional prototypes. Whether you’re a seasoned printer enthusiast or just dipping your toes into this engaging world, we’ve got you covered with amiable advice and helpful tips. let’s dive into some common questions!
Q1: What’s the first step to ensure my prototype turns out high-quality?
A1: Great question! It all starts with a solid design. Think of your blueprint as a recipe for success. invest time in using robust CAD (Computer-aided Design) software to refine your model, paying attention to details and functionality. Remember, the better your design, the better your print!
Q2: How do I choose the right material for my prototype?
A2: Ah, the age-old material conundrum! The right material depends on what your prototype will be used for. If it’s meant to withstand heat, consider ABS (Acrylonitrile Butadiene Styrene); for flexibility, try TPU (Thermoplastic Polyurethane). PLA (Polylactic Acid) is perfect for general, non-stress applications. Consider both mechanical requirements and environmental factors when making your decision.
Q3: How critically importent is a good 3D printer, really?
A3: Think of your 3D printer as the magical tool that brings your visions to life. Investing in a reliable printer with good reviews can make a world of difference. Look for features like a heated bed,stable frame,and precise layer resolution. Trust us, your future self will thank you for not skimping here!
Q4: I’ve got my design and printer ready. What’s next?
A4: Time to hit print! But wait, don’t forget about slicer settings.This is the step where you translate your digital design into printer language. Adjust layer height for detail, print speed for precision, and infill percentage for strength. A small tweak can have a big impact,so feel free to experiment.
Q5: My prints aren’t turning out as was to be expected. What should I do?
A5: Troubleshooting is part of the 3D printing adventure. If your prints are misbehaving, check common culprits like nozzle clogs or bed leveling. Keep an eye out for under-extrusion issues or warping. Patience and perseverance are your best friends—testing different solutions will frequently enough lead you to the aha moment!
Q6: Any tips for post-processing my prototype?
A6: Absolutely! Post-processing adds that final touch of polish. Sand your print to smooth out any imperfections, use a heat gun for minor adjustments, or apply primer and paint for a professional finish. Get creative because this is where your prototype goes from “that’s cool” to “wow, that’s unbelievable!”
Q7: How do I maintain my 3D printer for consistent quality?
A7: Regular maintenance is key! Clean your printer’s nozzles and bed, check for loose screws, and keep the firmware updated. Think of it like taking care of a car—routine checks prolong its life and ensure smooth operation. A well-maintained printer paves the way for higher success rates in printing!
As you venture into the world of 3D printing functional prototypes, remember that each print is a learning experience. Be patient, have fun, and never stop exploring new possibilities. Happy printing!
Wrapping Up
As we wrap up this journey into the realm of 3D printing high-quality functional prototypes, we hope you’ve gained a treasure trove of insights and inspiration. much like a sculptor with clay, you now stand at the edge of endless creative possibilities, armed with the knowledge to transform mere concepts into tangible masterpieces.
Embrace the dance between precision and creativity, where each layer and filament choice whispers the promise of innovation. Remember, the world doesn’t just belong to the dreamers, but to the makers—those with the courage to craft visions into reality. So, dust off that printer, unleash your imagination, and empower your ideas to leap from the digital canvas into the palm of your hand.Stay curious, stay adventurous, and may your future prototypes not only meet your expectations but transcend them. Until next time, happy printing!