
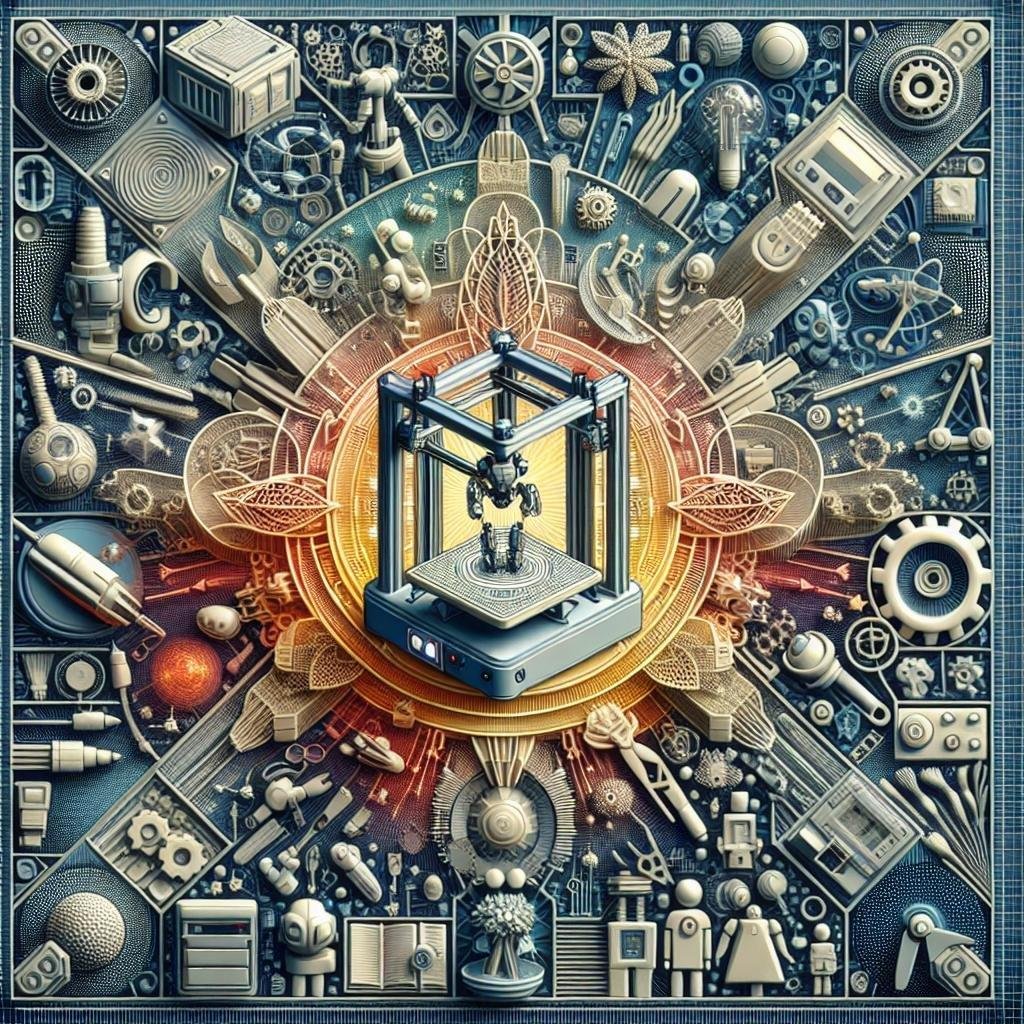
In a world where robots are no longer confined to sci-fi fantasies and futuristic films, the realm of functional robotics and automation is blossoming into a playground for innovators and tinkerers alike. Imagine a space where your inventiveness takes tangible form,where bits and bytes transform into gears and grippers,all thanks to the marvel of 3D printing. This accessible technology is reshaping how we approach design and manufacturing, bringing the power of creation into our very homes and workshops.Whether you’re a seasoned engineer or a curious hobbyist, the journey to building your own robotic wonders starts with understanding the alchemy of 3D printing. In this article, we’ll explore the secrets to designing and printing durable, functional components that serve as the backbone of your robotic creations. So, grab your digital blueprints and join us on an adventure where creativity and technology converge, unlocking the door to a future brimming with possibility.
Materials and Filaments: Choosing the Right Ingredients for Your Robotic Masterpiece
In the world of 3D printing for robotics, selecting the right materials is akin to a chef choosing fresh ingredients for a gourmet dish. Filament types like PLA, ABS, and PETG each bring their unique characteristics to the table. PLA is user-pleasant and ideal for prototyping, offering a smooth finish and decent detail at low cost. ABS is celebrated for its robust and heat-resistant nature, making it perfect for parts that need durability. Meanwhile, PETG combines the best of both worlds, showcasing versatility along with strength, albeit requiring the right settings to avoid stringing.
When delving into more advanced robotics, consider experimenting with filaments like Nylon or TPU. However, matching the material with the functional needs of your component is key. Are you printing gears or moving parts? Think Nylon for its resilience. Need something soft yet durable for grippers or dampers? TPU might just be the solution. To compare thes options quickly:
| Material | Strength | Flexibility | Best Use |
|---|---|---|---|
| PLA | Medium | Low | prototyping |
| ABS | High | Medium | Durable Parts |
| PETG | High | Medium | Functional Parts |
| Nylon | Very High | High | Gears, Moving Parts |
| TPU | Medium | Very High | Grippers, Dampers |
Selecting the perfect filament might just transform your robotics project from a mere print to a true masterpiece, harmonizing both function and form seamlessly.

Designing with Precision: CAD Software Tips for Perfect 3D Models
In the ever-evolving world of robotics,achieving precision when designing your 3D models is crucial. While conceptualizing your functional components in CAD software,it’s vital to not only rely on the basic geometric shapes but to dive deeper into tools like parametric modeling and constraints. this allows your designs to adapt to changes efficiently, a necessity for robotics where each part must interact seamlessly. Consider utilizing simulation features to foresee how components will behave under real conditions, which is highly beneficial when designing gears, joints, or moving parts. Moreover, don’t underestimate the power of layer management, which can definitely help in organizing your model’s components and making troubleshooting much more manageable.
For more tangible tips, once your design is ready for print, always inspect and repair your model.Utilize CAD software’s built-in error-checking tools to spot issues such as non-manifold edges or holes in the model’s surface,which could disrupt the printing process. Furthermore, when transferring CAD models to slicing software, maintain high mesh density to ensure surface smoothness. Here’s a swift reminder checklist:
- Apply Fillets: enhance strength by reducing stress concentration.
- Include Tolerances: Critical for component interoperability.
- Use Proper Units: Consistency is key for precision.
Integrating these practices will not only amplify your design precision but also ensure every printed component fits and functions as intended.
| Feature | Benefit |
|---|---|
| Simulation Tools | Visualize stress, heat, and movement before printing. |
| Error Checking | Detects critical errors preventing costly misprints. |
| Parametric Modeling | Allows easy adjustments and iterative improvements. |

From Prototype to Perfection: Calibrating Your 3D Printer for Optimal Results
Calibrating your 3D printer is the secret weapon to elevate your creations from mere prototypes to fully functional robotic components. the process demands precision—ensuring that every part operates harmoniously within your robotic or automation system. Begin by performing a thorough bed leveling and nozzle height adjustment to improve adhesion and accuracy.Utilize a feeler gauge to achieve the ideal starting position for your nozzle. Don’t forget to dial in your extruder steps/mm,which directly impacts filament flow accuracy. Adjust the firmware settings to match the material specifications you’re using: PLA, PETG, or ABS.
Moreover, optimize your print settings to prioritize strength and durability, which are crucial for functional components.Examine the best configuration of infill density, print speed, and temperature settings. Here’s a handy reference:
| Setting | PLA | PETG | ABS |
|---|---|---|---|
| Temperature | 190-210°C | 230-250°C | 230-250°C |
| Infill Density | 20-40% | 30-50% | 40-60% |
| Print Speed | 60-100 mm/s | 40-60 mm/s | 40-60 mm/s |
| Bed Temperature | 60°C | 75-85°C | 90-110°C |
Remember, achieving perfection is about making minute adjustments. Maintain a log of changes and their outcomes to better understand the impacts on your prints, ensuring you produce the highest caliber of functional parts for your robotics and automation projects.Experiment and enjoy the journey toward mastering your 3D printer!

Enhancing Durability: Post-Processing Techniques for Long-Lasting Components
Post-processing is a critical step in enhancing the longevity and performance of 3D printed components, especially when targeting the high-demand world of robotics and automation. Key techniques involve heat treatment, which alleviates internal stresses and increases material strength, and surface finishing, enhancing both the aesthetic and functional aspects through methods like sanding, tumbling, or chemical smoothing. Surface finishing is especially beneficial for reducing friction in moving parts, thereby extending their life. These processes, combined with strategic use of durable materials, can considerably improve your component’s lifespan and reliability.
Popular Post-Processing Techniques Include:
- Annealing: By uniformly heating a piece, then allowing it to cool, you relieve stress and increase toughness.
- Vapor Polishing: This technique uses solvent vapors to smooth surfaces, ideal for parts that require a clean, professional look.
- Electroplating: Coat your prints in metal for added strength and resistance to wear and tear.
| Technique | Benefits | Applications |
|---|---|---|
| Annealing | Increases Strength | Structural Parts |
| Vapor Polishing | Improved Finish | Visibly Exposed Parts |
| Electroplating | Higher Durability | Gear Mechanisms |
Q&A
Title: Unleashing Creativity: Your Guide to 3D Printing Functional Robotics and automation Components
Q1: Why should I consider using 3D printing for robotics and automation components?
A1: Ah, the magic of 3D printing! Not only does it empower you to design complex structures with remarkable accuracy, but it also allows for cost-effective prototyping and personalized customization. Imagine designing intricate gears, housings, or even robot arms, all tailored to your unique specifications. Plus, the quick turnaround time means you’ll be pushing the boundaries of innovation in no time!
Q2: What materials can I use for 3D printing functional components?
A2: Great question! While PLA and ABS are common, for sturdier components you might want to explore options like PETG, Nylon, or even carbon fiber-infused filaments. These materials provide enhanced strength and durability, perfect for robotics applications that need to withstand wear and tear. It’s like choosing the right armor for your robot warrior!
Q3: How do I ensure the precision and accuracy of my 3D printed parts?
A3: Precision is key! Start by fine-tuning your printer settings—layer height and print speed can drastically affect the quality of your prints. Also, consider calibrating your printer regularly and using supports or rafts when necessary. And don’t forget the post-processing touches, like sanding or acetone smoothing, to give your components a professional finish. Your robots will thank you!
Q4: What are some nifty design tips for functional robotics components?
A4: Designing for 3D printing is an art! Embrace geometric shapes that can enhance strength without adding weight. Adding fillets to edges can reduce stress concentrations and avoid breakage. Also, consider the orientation of parts on the print bed to optimize strength in critical areas. Think of it as giving your robot the superpower of resilience!
Q5: Any beginner-friendly projects to get started with?
A5: Absolutely! A simple and rewarding project is to start with a robotic gripper or a small servo motor mount. These are great for gaining experience and understanding the mechanics behind robotics while keeping it light and fun. As you grow more confident, you can move on to more ambitious projects like an autonomous rover or a robotic arm.
Q6: How can I make my 3D printed components more efficient in an automation system?
A6: Efficiency comes from smart design and strategic planning. Consider integrating cable management features or sensor mounts directly into your designs. By thinking ahead, you can reduce assembly time and enhance functionality. Keep the energy flowing smoothly through your robotics projects; it’s all about synergy and collaboration!
Q7: What are some common pitfalls to avoid when using 3D printing in robotics?
A7: Every innovator faces a few snags along the way! One common pitfall is neglecting tolerances, which can lead to parts that don’t fit together properly. Another is underestimating the wear and tear certain materials can endure in functional settings. Always consider the operational habitat and stress-test your components to avoid these hiccups. Learning from these challenges is part of the exhilarating journey!
Q8: Where can I find resources and a community to support my journey?
A8: You’re not alone on this adventure! Explore online forums like Reddit’s 3D Printing or Robotics communities, which are bustling with enthusiasts ready to share tips and tricks. Websites like Thingiverse and GrabCAD offer a treasure trove of free models and inspiration.Whether you’re a seasoned pro or a curious beginner, the 3D printing community is a welcoming place to exchange ideas and cultivate your passion.
Conclusion:
Diving into the world of 3D printing for robotics is like stepping into a realm where creativity meets technology. With a dash of imagination and the right tools, you’re well on your way to creating components that are not just functional but also fantastically yours. Happy printing, and may your robots thrive!
In Summary
As we close the chapter on exploring the intricacies of 3D printing functional robotics and automation components, it’s clear that the future is not just knocking at our door—it’s inviting itself in for tea! Armed with a treasure trove of knowledge, you’re now ready to turn your ambitious ideas into tangible, mechanical marvels. Every 3D-printed gear, hinge, and sensor housing represents not just a step forward in technology but a leap into the boundless realm of innovation. So, fuel your creativity, roll up your sleeves, and let your printer be the brush that paints the future. Embrace the challenge,relish in the process,and remember,in the world of robotics and automation,the horizon is just the beginning. Until next time, happy printing, and may your creations move with the rhythm of possibility!