
🎵 Imagine a world where your musical dreams aren’t limited by store inventory or cookie-cutter designs. Picture yourself strumming a one-of-a-kind ukulele, the vibrant colors and intricate patterns a direct reflection of your creativity. Envision enhancing your beloved guitar with custom picks and personalized accessories, each one tailored to fit your unique style and playability needs. Welcome to the magical realm of 3D printing, where the symphony of innovation meets the harmony of craftsmanship.
This article will be your maestro, guiding you step by step through the exhilarating process of 3D printing custom musical instruments and accessories. Whether you’re a seasoned musician looking to add a personal touch to your gear or a hobbyist eager to break new ground, we’ve got you covered. So, get ready to transform your musical ideas from the abstract to the tangible – because in this concert of creativity, you are the virtuoso. 🎶
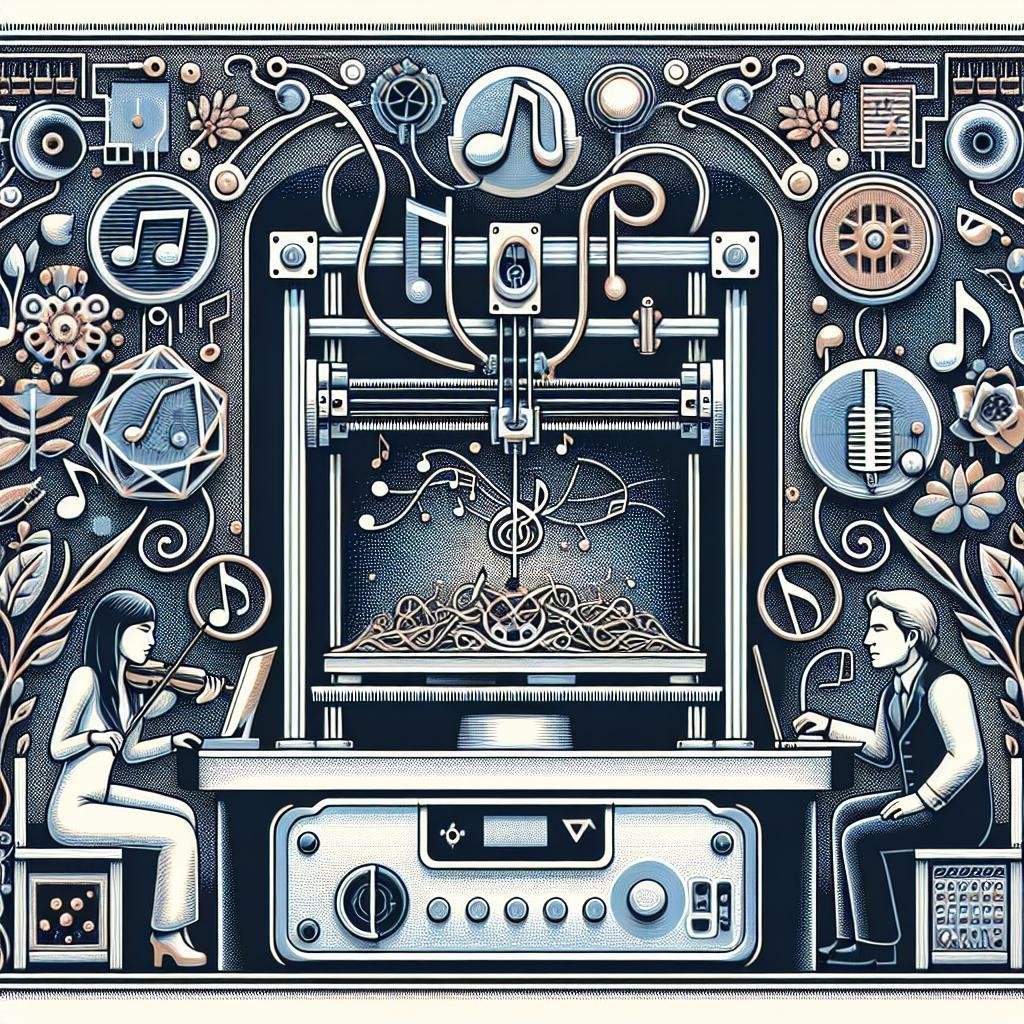
Exploring the Melodic Possibilities: Choosing the Right Instrument Design
Embracing the joy of music making with 3D printing opens up a playground of opportunities to innovate and personalize. Selecting the right design for your custom instrument requires consideration of both aesthetic appeal and functionality. Consider these factors while choosing your design:
- Material Compatibility: Not all designs suit all filament types. PLA offers smooth surface finishes and is beginner-friendly, while ABS provides greater durability.
- Acoustic Properties: Shape and size of the instrument impact sound quality. Experiment with different design variations to perfect the tonal output.
- Ergonomics: Ensure comfortable handling—essential for lengthy jam sessions.
Allowing creativity to flow, imagine a customizable modular flute that fits together like a puzzle or a keyboard with reconfigurable key clusters tailored to each musician’s style. For those intrigued by the tech-savvy aspect, pairing your printed instrument with innovative accessories amplifies musical versatility. Here’s a glimpse at enhancing your creations with tech:
| Accessory | Purpose | Design Tip |
|---|---|---|
| Custom Finger Pads | Enhanced Grip | Use flexible filaments |
| Sound Modulator Casings | Fine-tuning pitches | Incorporate vents and resonance chambers |
| Clip-on LED Lights | Visual Feedback | Integrate power-efficient LEDs |

Crafting Harmony: Essential 3D Printing Materials and Tools
Creating your own musical instruments through 3D printing allows for unparalleled customization and experimentation. To start, you’ll need an array of essential materials. PLA (Polylactic Acid) is a top choice due to its ease of use and environmental friendliness. However, for parts that demand higher durability, such as reeds or mouthpieces, ABS (Acrylonitrile Butadiene Styrene) might be more suitable. Nylon is excellent for components requiring flexibility, like drum stick tips or guitar picks. Don’t overlook PETG (Polyethylene Terephthalate Glycol-Modified) for items that need both flexibility and toughness, such as custom-shaped instrument holders.
A well-equipped toolkit ensures smooth operation and top-quality results. Key tools include a caliper for precision measurements, needle files for smoothing out rough edges, and a deburring tool to refine intricate parts. To secure the pieces, a range of clamps are indispensable. For post-processing, you’ll benefit from having sandpaper of various grits and a soldering iron for welding plastic components together. Add an isopropyl alcohol spray bottle to clean the build surface and ensure impeccable adhesion.
| Material | Properties | Best Uses |
|---|---|---|
| PLA | Easy to print, eco-friendly | Body structures, decorative parts |
| ABS | Durable, heat-resistant | Mouthpieces, reeds |
| Nylon | Flexible, strong | Drum stick tips, flexible components |
| PETG | Tough, flexible | Instrument holders |

Fine-Tuning Your Creation: Post-Processing Techniques for Perfect Sound
Once you’ve successfully 3D printed your musical instrument or accessory, you’re only halfway to achieving the perfect sound. Post-processing is where the magic happens, transforming raw prints into masterpieces. Start with sanding; this step smooths out any imperfections. Use varying grit sizes, commencing with a coarse grit and progressing to finer ones. Next, consider priming and painting to not only enhance aesthetics but also to seal surfaces, which can improve sound quality by creating a more uniform structure. Additionally, acetone vapor smoothing works wonders for ABS printed components, providing a glossy finish and reducing air pockets that might interfere with acoustics.
Another essential step involves tuning the instrument—literally. Post-processing is an excellent time to test and tweak the sound. Changing infill patterns and densities can significantly alter the tonal properties of your print. You might need to experiment with different software settings and print orientations. Equally crucial is adding reinforcements like wooden bridges, metal screws, or even strings tailored specifically for the instrument. Here’s a handy guide to materials and adjustments:
| Material | Adjustment |
|---|---|
| PLA | Tune with layers and infill |
| ABS | Acetone smoothing |
| Wood PLA | Sanding and staining |

Taking the Stage: Customizing Accessories for Performance and Style
Imagine stepping onto the stage with instruments and accessories that don’t just sound great but are also tailor-made to your unique style and performance needs. With 3D printing, musicians have the liberty to create everything from customized guitar picks and drumstick grips to entirely new instrumental pieces. By leveraging open-source design software, you can tweak designs down to the finest details, merging innovation with personal flair. Think about including unique etchings, personalized engravings, or even experimenting with non-traditional materials like durable bio-plastics that add a unique texture and color to your items. This blend of functionality and creativity opens up endless possibilities for musical expression.
Moreover, customizing musical accessories with 3D printing isn’t just limited to aesthetics. You can also optimize for performance enhancements. Here are a few ideas:
- Ergonomic instrument handles for comfort during long performances
- Intricately designed mouthpieces for wind instruments, improving airflow and sound quality
- Weighted tuning pegs that provide stability and improved tuning for string instruments
To give you a head start, here’s a quick comparison table of typical accessories vs. their 3D printed counterparts:
| Traditional Accessory | 3D Printed Upgrade |
|---|---|
| Standard Guitar Pick | Ergonomic Pick with Grip Enhancements |
| Wooden Drumsticks | Customized Drumsticks with Anti-Vibration Core |
| Metal Mouthpiece | Acoustically Tuned, Lightweight Mouthpiece |
Q&A
Q: What makes 3D printing perfect for creating custom musical instruments and accessories?
A: Great question! 3D printing opens up a world of possibilities for musicians and tinkerers alike. Imagine being able to design and produce an instrument tailored exactly to your liking, or crafting unique, personalized accessories without the limitations of traditional manufacturing. With 3D printing, you can experiment with shapes, materials, and acoustics in ways that weren’t previously possible. It’s like having a magic wand for making music!
Q: Where should I start if I want to 3D print my own musical instrument?
A: The first step is to get familiar with the basics of 3D printing technology. You’ll need a 3D printer, of course, and some design software like Tinkercad or Fusion 360. Start with something simple, like a small accessory or a part of an instrument. There are plenty of free design files available online for beginners. Once you’re comfortable, you can move on to more complex projects, like a full instrument.
Q: What kinds of materials are best for printing musical instruments?
A: The choice of material can significantly impact the acoustics and durability of your instrument. PLA and ABS plastics are commonly used and easy to work with. For parts requiring more strength, nylon or carbon fiber composites could be a great choice. Some adventurous creators even experiment with wood-infused filaments for a more traditional resonance. Remember, part of the fun is experimenting to find what sounds best!
Q: Can 3D printed instruments really sound good?
A: Absolutely! While the sound may differ slightly from traditional instruments, many musicians have found 3D printed instruments to be both playable and pleasing to the ear. Factors such as design precision, material choice, and post-processing (like sanding or polishing) can greatly enhance the sound quality. For example, a well-designed 3D printed violin can produce beautiful music, and there are even 3D printed wind instruments that sound remarkably traditional!
Q: How can I customize my 3D printed accessory or instrument?
A: The sky’s the limit when it comes to customization. You can personalize the shape, size, and structural elements to fit your needs or playing style. Use design software to add intricate patterns, logos, or even your name. If you’re crafty, you can also paint and finish your printed pieces to give them a professional look. Furthermore, you can adjust the internal designs to modify the acoustics and resonance to get that perfect sound.
Q: Are there any common mistakes to avoid when 3D printing musical instruments?
A: Like any new venture, you’ll hit a few bumps along the way. One common mistake is not accounting for the tolerances and stability needed for musical performance. It’s important to ensure that moving parts fit together smoothly and that overall structure is robust. Also, don’t forget post-processing; rough edges can affect both playability and sound quality. Lastly, be patient – trial and error is a part of the learning curve!
Q: Where can I find inspiration or examples of 3D printed musical instruments?
A: Inspiration is all around you! Start by exploring online communities like Thingiverse or MyMiniFactory, where creators share their 3D designs. Social media platforms and forums dedicated to 3D printing or musical instruments are also great places to connect with others, share ideas, and get feedback. And don’t forget YouTube – it’s full of tutorials and demos that can spark your creativity.
Dive in and let your imagination take the lead. Soon, you’ll be strumming, plucking, or blowing into something truly unique and tailor-made by you! Happy printing!
To Wrap It Up
As the final notes resonate and fade, our harmonious journey into the world of 3D printing custom musical instruments and accessories draws to a close. From the initial spark of an idea to the exhilarating crescendo of seeing your creation come to life, we’ve explored the intricate dance of technology and artistry. So, whether you’re dreaming of a bespoke guitar pick, a uniquely shaped mouthpiece, or an entirely new musical marvel, remember: the symphony of your creativity combined with the precision of 3D printing knows no limits. Strike your first chord, press print, and let the music of innovation play on. Until next time, happy printing and may your tunes be ever custom-crafted and uniquely yours! 🎶✨