
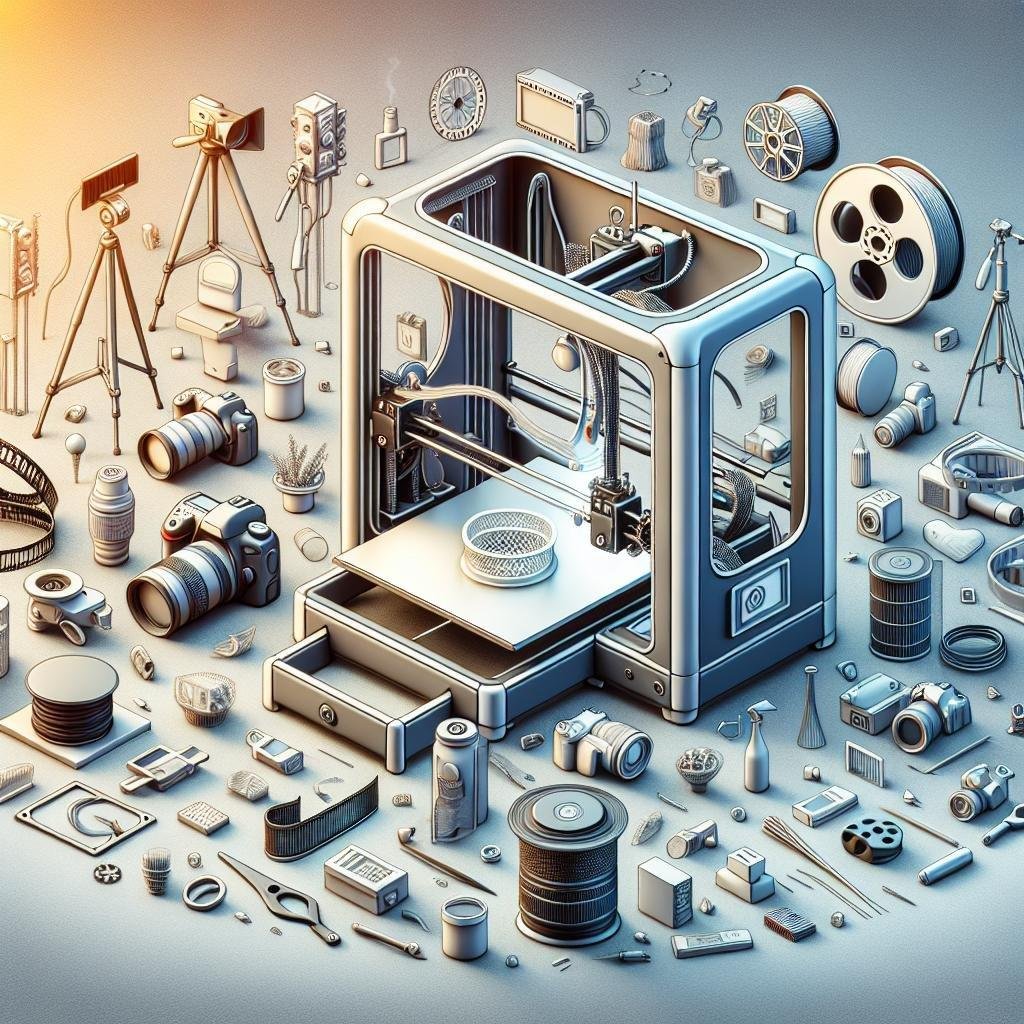
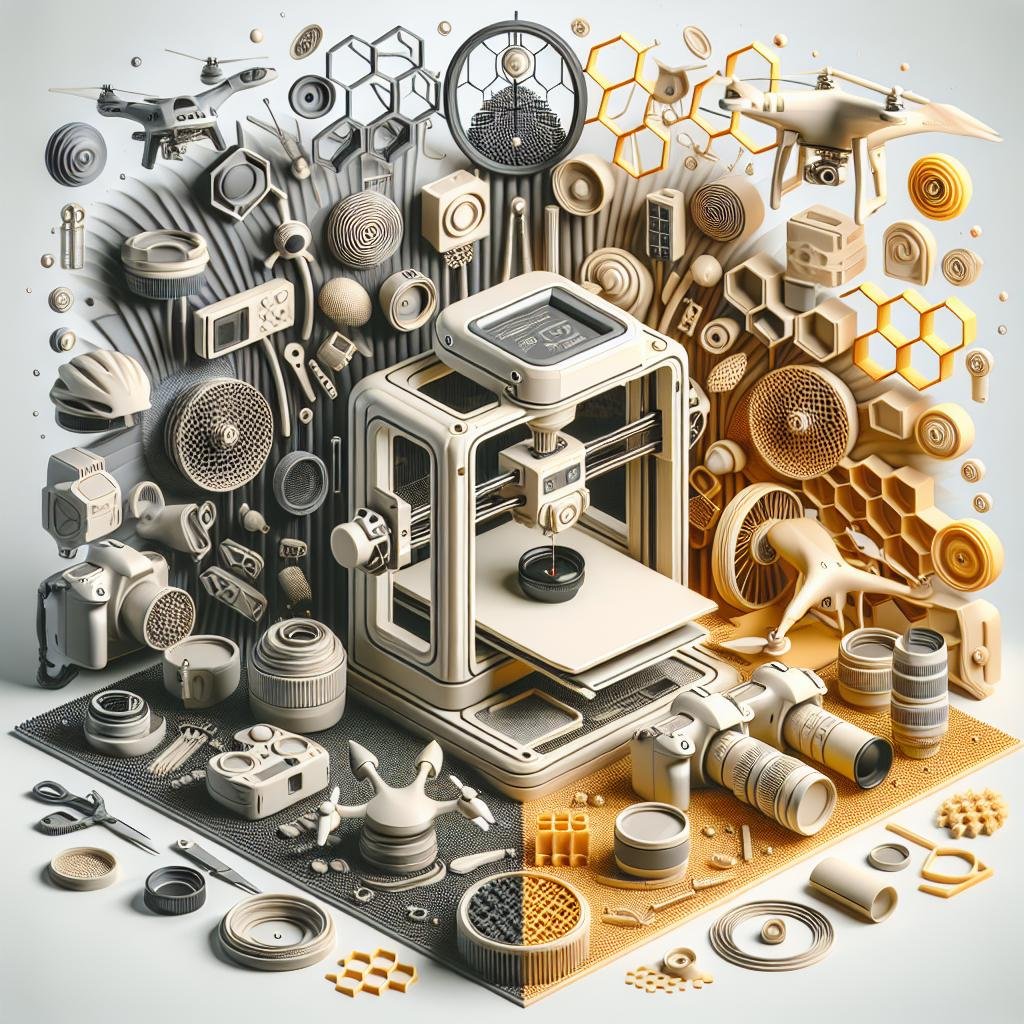
In the ever-evolving world of photography and videography, creativity isn’t just confined to the images you capture or the stories you tell through your lenses. Imagine being able to craft the very tools that elevate your art, forging custom equipment that feels like a natural extension of your creative vision. Welcome to the world of 3D printing, where innovation meets imagination, allowing you to design and print accessories tailored precisely to your needs. Whether you’re dreaming of a unique lens hood that reduces flare in those tricky lighting situations or a custom grip that makes shooting feel as intuitive as breathing, this guide will unlock the secrets of turning raw filament into indispensable tools of the trade. Dive in with us as we explore the fascinating intersection of technology and artistry, and discover how you can 3D print your way to a more personalized photography and videography experience.
Choosing the Right Materials for Lasting Durability
When crafting customized accessories for your photography or videography projects, the choice of materials significantly impacts the longevity and functionality of the items. Polycarbonate is widely favored due to its high impact resistance, making it perfect for pieces like protective lens covers or durable mounting brackets. PLA (Polylactic Acid) offers ease of use and biodegradability, but it’s better suited for non-load-bearing accessories such as decorative camera attachments. For pieces requiring a balance between flexibility and toughness, PETG is your go-to material, providing resilience while maintaining clarity for items like light diffusers or softboxes.
- Polycarbonate: Impact resistance, ideal for protective components.
- PLA: User-friendly and biodegradable, suited for decorative parts.
- PETG: Offers flexibility and toughness, great for light-modifying accessories.
Here’s a quick comparison to help you identify the best material for your specific accessory needs:
| Material | Strength | Flexibility | Applications |
|---|---|---|---|
| Polycarbonate | High | Medium | Protective Covers |
| PLA | Low | Low | Decorative Parts |
| PETG | Medium | High | Light Diffusers |
Mastering the Design Process with User-Friendly Software
Embarking on the journey of creating custom accessories for your photography and videography setup is as exciting as it is rewarding. Thankfully, with user-friendly software, mastering this process becomes a less daunting task. Many of these software solutions come with intuitive drag-and-drop interfaces, helping you get from idea to design with minimal frustration. You’ll find design tools that cater to various skill levels, ensuring everyone from beginners to experienced creators can craft bespoke camera mounts, lens caps, or even innovative lighting attachments. All you need is a touch of creativity and a dash of passion, and you’ll be ready to print accessories that elevate your shooting experience.
Before sending your designs off to the 3D printer, consider the following essential software features that significantly ease the design process:
- Template Libraries: Offering a versatile range of premade designs that you can customize to fit your specific needs.
- Material Simulation: Allowing you to visualize how different materials will affect the final product.
- Collaboration Tools: Perfect for receiving feedback and input from fellow enthusiasts or professionals.
For a quick comparison of some popular user-friendly 3D design tools, consider the following:
| Software | Key Features | Level |
|---|---|---|
| TinkerCAD | Simple Interface, Online Platform | Beginner |
| Fusion 360 | Advanced Tools, Cloud Collaboration | Intermediate |
| Blender | Open Source, Extensive Tutorials | Advanced |
Optimizing Print Settings for Precision and Quality
Achieving high precision and impeccable quality in your 3D printed photography and videography accessories takes more than just hitting the print button. You begin by fine-tuning the layer height, which dictates the surface smoothness and detail clarity. A lower layer height, such as 0.1mm, provides the meticulous detail necessary for intricate designs, like custom lens caps or tripod connectors. But remember, patience is a virtue; finer layers might increase the print time significantly. Another crucial factor is the print speed. While it’s tempting to speed things up, slower print speeds often lead to better adhesion and fewer errors, ensuring that your custom accessory fits snugly into your gear setup.
Experimenting with filament types can also play a pivotal role in the quality of your prints. PLA is popular for its ease of use, but consider switching to ABS or PETG for added durability or flexibility, especially for parts subjected to outdoor conditions. Enhance your prints with these additional tweaks:
- Temperature settings: Adjusting the nozzle and bed temperatures can drastically affect print adhesion and the final surface finish.
- Infill density: Higher infill densities provide sturdy outputs, crucial for load-bearing components like flash brackets.
- Support structures: Using the right support type and placement can prevent overhang issues and reduce post-processing time.
| Setting | Description | Recommended Adjustments |
|---|---|---|
| Layer Height | Determines vertical resolution | 0.1mm for high detail |
| Print Speed | Affects time and quality | 40-60 mm/s for balanced quality |
| Infill Density | Influences weight and strength | 20%-50% depending on use |
Essential Post-Processing Tips for a Professional Finish
Bringing your 3D printed photography and videography accessories to life requires careful attention to post-processing. By focusing on techniques like sanding and priming, you can ensure that each piece has a sleek, professional finish. Sanding smooths out the layers and removes any visible print lines, while priming helps create a uniform surface that’s perfect for painting. Additionally, consider using acetone vapor smoothing for certain filament types like ABS. This technique can leave your accessory with a glossy, polished look as if it had been manufactured in a factory.
For an added touch of professionalism, painting your 3D prints can make a world of difference. Choose from acrylic or spray paints that work well with your filament. You can enhance the durability and aesthetics by applying a clear coat finish. Here’s a quick look at some options:
| Paint Type | Recommended Use |
|---|---|
| Acrylic Paint | Great for detailed hand-painting |
| Spray Paint | Ideal for quick, even coverage |
| Epoxy Paint | Extremely durable, glossy finish |
Remember to allow sufficient drying time between paint coats to avoid smudges. Incorporating these finishing touches will surely help your DIY accessories stand out in any photography or videography setup.
Q&A
Q&A: How to 3D Print Custom Accessories for Photography and Videography
Q1: Why should I consider 3D printing custom accessories for my photography and videography needs?
A1: Great question! 3D printing allows you to create tailor-made solutions that perfectly fit your gear and shooting style. Whether it’s a unique lens hood, a specialized filter holder, or a custom cable organizer, 3D printing empowers you to design accessories that are not only functional but also align with your creative vision. Plus, it can save you money and time searching for something that might not even exist!
Q2: What kind of 3D printer do I need for this?
A2: You don’t need a high-end 3D printer to get started. A simple, consumer-grade printer will work perfectly for most accessories. Look for models with a decent build volume and precision, such as the Creality Ender-3 or Anycubic i3 Mega, both of which are great starting points. As you gain experience, you might explore options with more advanced features, but starting small is absolutely okay!
Q3: I’m not a designer. How can I create custom designs?
A3: Don’t worry! You don’t have to be a design wizard to create custom accessories. Start by exploring existing online repositories like Thingiverse or MyMiniFactory, where you can find a plethora of camera accessory designs. If you want to custom-make your own designs, user-friendly software like Tinkercad or Fusion 360 are excellent options. Both offer tutorials and community support to help you through the process.
Q4: What materials should I use for printing?
A4: The material you choose depends on the accessory’s function. PLA is a great all-rounder—easy to use and eco-friendly, perfect for less demanding accessories. For items requiring more strength or flexibility, consider using PETG or ABS. These materials provide durability, especially for items that might see a lot of wear and tear, such as camera mounts or clips.
Q5: Are there any special tips for designing camera accessories?
A5: Absolutely! When designing, consider the accessory’s interaction with your equipment: ensure it fits snugly but can be removed easily. Think about the accessory’s purpose and any environmental factors it might endure—water-resistant designs are excellent for outdoor shoots. Lastly, test and iterate; the beauty of 3D printing is that you can easily refine your designs until they’re perfect.
Q6: How can I ensure the printed accessory won’t damage my equipment?
A6: Safety first! Check design dimensions carefully and always test with a small section before printing the entire piece. Use light materials where possible and add padding or protective layers to contact points to prevent scratches or damage. It’s also wise to do a dry run—test the accessory separately before attaching it to your beloved camera gear.
Q7: Can I use 3D printing for commercial purposes in photography?
A7: Certainly! Crafting unique, customized accessories can set your work apart in competitive fields like photography and videography. Whether you’re improving workflow efficiency or offering bespoke solutions to clients, 3D printing can be a game-changer. Just be sure to consider any licensing implications if you’re printing designs that you didn’t create yourself.
Q8: Where can I find a community of enthusiasts to share and grow with?
A8: Welcome to the community! Platforms like Reddit’s r/3Dprinting, Facebook groups, and 3D printing forums are fantastic places filled with enthusiasts who are eager to share advice and inspiration. You can also explore specialized forums or groups dedicated to photography and videography accessories. It’s a collaborative space, so don’t hesitate to ask questions, share your creations, and learn from others.
Happy printing, and may your creativity flow as smoothly as molten filament!
Future Outlook
As we wrap up our journey into the fascinating world of 3D printing custom accessories for photography and videography, remember that the possibilities are limited only by your imagination. With the click of a mouse and the hum of a 3D printer, you can unlock a new level of creativity, personalizing your gear in ways you never thought possible. Whether you’re crafting a tailor-made lens hood or an innovative gimbal accessory, these tools can add both flair and functionality to your work.
Embrace the process as a dance between technology and artistry, where every print is a step closer to capturing your vision just as you intend. So, get your creative juices flowing, dive into design software, and watch your ideas come to life in vibrant layers of filament. Who knows? You might spark a trend or inspire a fellow shutterbug along the way.
Happy printing, and may your shots always be as unique as the gear that captured them!