
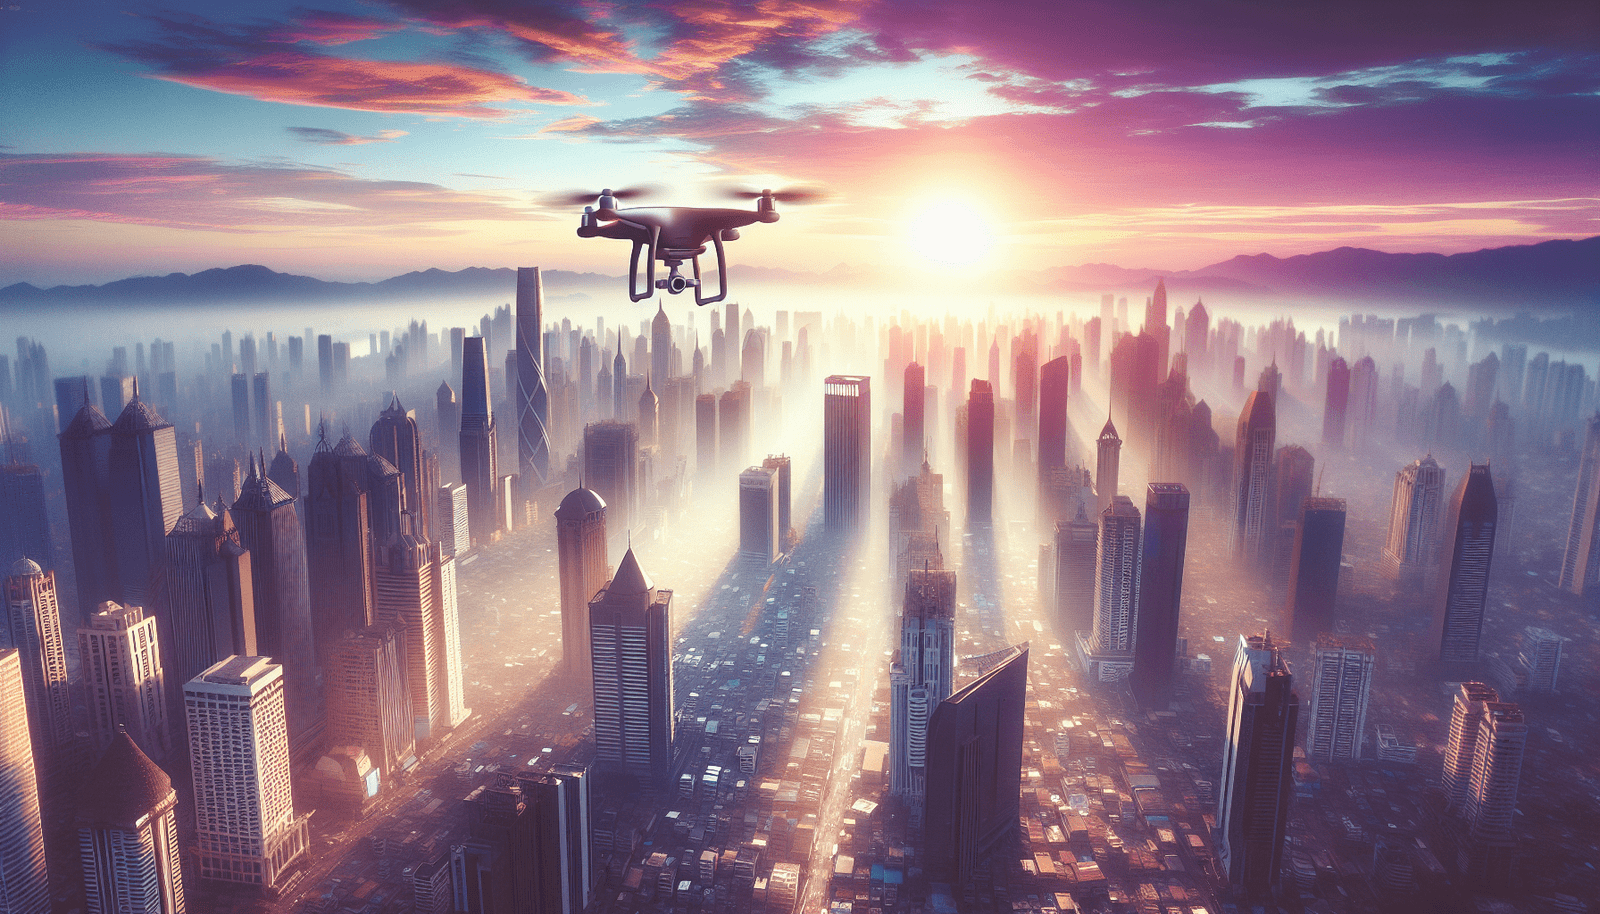
Imagine soaring through the sky, capturing breathtaking views from above and creating stunning aerial photographs with just a flick of your wrist. With the ever-growing popularity of drones, this once unattainable dream is now within reach for anyone with a sense of adventure and a knack for creativity. In this article, we will explore the best techniques and tips to help you capture the most mesmerizing aerial photography using a drone. Whether you’re a seasoned professional or a beginner soaring into the world of aerial photography, these methods will elevate your photography game to new heights. Get ready to unleash your inner artist and embark on a journey that will leave you captivated by the beauty of the world from above.

Choose the Right Drone
Consider the camera quality
When it comes to choosing a drone for aerial photography, one of the most important factors to consider is the quality of the camera. Look for a drone that offers high-resolution images and videos, preferably with at least 12 megapixels for photos and 4K resolution for videos. This will ensure that your aerial shots are sharp, detailed, and vibrant, allowing you to capture stunning visuals from above.
Look for stability features
To ensure shake-free and smooth footage, it is crucial to choose a drone with stability features. Look for drones that are equipped with a gimbal, which is a pivoted support that helps stabilize the camera and reduces vibrations during flight. Additionally, opt for drones with built-in obstacle avoidance technology to prevent any accidents or interruptions during your aerial photography sessions.
Check battery life and flight time
Another important consideration when choosing a drone is the battery life and flight time. Ensure that the drone you select has a decent battery life that allows for a sufficient amount of flight time. The longer the battery life, the more opportunities you will have to capture breathtaking shots. Additionally, consider investing in extra batteries to prolong your shooting sessions without any interruptions.
Master the Basics of Drone Photography
Understand the drone’s controls
Before you start capturing stunning aerial photography, it is essential to familiarize yourself with the controls of your drone. Learn how to operate the drone, adjust altitude, and control the camera remotely. Practice flying your drone in a controlled environment to gain confidence and improve your maneuvering skills. Understanding the controls will enable you to capture the shots you envision with ease and precision.
Learn the different flight modes
Drones come with various flight modes that can enhance your aerial photography experience. Spend time understanding and experimenting with different flight modes such as GPS mode, which allows the drone to hold its position accurately, or sport mode, which enables faster and more agile movements. Each flight mode offers unique capabilities that can help you capture different types of shots, so make sure to explore and practice with all available options.
Practice flying in open spaces
To master the basics of drone photography, it is crucial to practice flying in open spaces. Find a location away from crowded areas and obstacles where you can safely fly your drone without any interference. This will allow you to improve your flying skills, experiment with different movements, and get comfortable with the drone’s capabilities. Flying in open spaces will also give you the freedom to capture expansive and breathtaking aerial shots.
Plan Your Shot
Research the location
Before you head out to capture aerial photography, spend some time researching the location. Familiarize yourself with the topography, landmarks, and points of interest in the area. This will help you plan the composition of your shots and ensure that you capture the most visually appealing angles. Researching the location will also give you an idea of any potential challenges or restrictions you may face, allowing you to be fully prepared.
Consider the time of day
The time of day plays a significant role in the quality and mood of your aerial shots. Golden hour, which occurs during the first and last hour of sunlight, offers soft and warm lighting that can add a magical touch to your photos. Alternatively, capturing shots during blue hour, which is the period before sunrise or after sunset, can result in stunning images with a cool, serene ambiance. Consider the time of day and plan your aerial photography accordingly to achieve the desired look and feel.
Pay attention to weather conditions
Weather conditions can greatly impact your aerial photography experience. Keep a close eye on the weather forecast and avoid flying your drone in unfavorable conditions such as strong winds, rain, or fog. Ideal weather conditions for aerial photography include clear skies, calm winds, and good visibility. By paying attention to weather conditions, you can ensure the safety of your drone and capture stunning shots without any hindrances.

Use Composition Techniques
Rule of thirds
The rule of thirds is a fundamental composition technique that can greatly enhance your aerial photography. Imagine dividing your frame into a 3×3 grid, and aim to place key elements in your shot along these gridlines or their intersections. By following this rule, you can create a more balanced and visually appealing composition.
Leading lines
Leading lines are another powerful composition technique that can guide the viewer’s gaze and add depth to your aerial shots. Look for natural or man-made elements such as roads, rivers, or buildings that create leading lines within your frame. These lines can lead the viewer’s eye towards the main subject of your photo, creating a sense of movement and visual interest.
Foreground interest
Adding a compelling foreground element can make your aerial shots more captivating. Look for interesting objects such as trees, buildings, or people that can be included in the foreground of your composition. This will not only add depth and scale but also create a stronger focal point for your photo. Experiment with different foreground elements to create unique and visually stunning aerial shots.
Experiment with Camera Settings
Adjust ISO settings
ISO determines the sensitivity of your camera’s sensor to light. In bright lighting conditions, use a lower ISO setting to capture sharp and noise-free images. However, in low-light situations, you may need to increase the ISO to maintain a balanced exposure. Experiment with different ISO settings to get a feel for how they affect your aerial shots and use the appropriate setting based on the lighting conditions.
Set the right shutter speed
Shutter speed controls the amount of time the camera’s sensor is exposed to light. A fast shutter speed, such as 1/1000th of a second, can freeze motion and capture sharp details, while a slower shutter speed, like 1/30th of a second, can create motion blur and convey a sense of movement. Adjust the shutter speed according to the desired effect you want to achieve in your aerial shots.
Use the appropriate aperture
Aperture refers to the size of the camera’s lens opening. It affects the depth of field in your photos, determining how much of the scene is in focus. A wider aperture, represented by a lower f-stop number (e.g., f/2.8), creates a shallow depth of field, blurring the background and placing emphasis on the main subject. On the other hand, a narrower aperture, represented by a higher f-stop number (e.g., f/16), increases the depth of field, keeping more of the scene in focus. Consider the effect you want to achieve and adjust the aperture accordingly.
Utilize Intelligent Flight Modes
ActiveTrack for subject tracking
ActiveTrack is an intelligent flight mode that enables the drone to track a moving subject while capturing smooth and stabilized footage. This is particularly useful when capturing action shots or when you want to keep a subject in frame while the drone is in motion. Simply select the subject on your screen, and the drone will automatically follow and keep it in focus, allowing you to capture dynamic and engaging shots effortlessly.
Follow Me mode for dynamic shots
Follow Me mode is another fantastic flight mode that allows the drone to autonomously follow you as you move. This is perfect for capturing dynamic shots of yourself or any other subject in motion. Whether you’re hiking, biking, or engaging in any other outdoor activity, the drone will keep you in frame, capturing stunning footage from unique perspectives.
Waypoints for precise control
Waypoints mode allows you to pre-plan and program a specific flight path for your drone. You can select various points of interest or specific locations that you want the drone to fly to, and the drone will autonomously follow that path, capturing footage along the way. This flight mode is perfect for capturing precise shots or creating stunning aerial time-lapse videos. Explore the possibilities and unleash your creativity by utilizing the waypoints feature.
Capture Unique Perspectives
Shoot from different altitudes
One of the advantages of aerial photography with a drone is the ability to shoot from various altitudes. Experiment with different heights to capture unique perspectives that are not possible from ground level. Fly your drone low to showcase intricate details or fly higher to capture broader, sweeping landscape shots. By varying your altitude, you can explore different angles and create visually stunning aerial photographs.
Try different angles and viewpoints
Don’t be afraid to get creative with your angles and viewpoints when capturing aerial photography. Tilt the camera to capture shots from different angles, whether it’s straight down, at an oblique angle, or looking up. By experimenting with different angles, you can add a new and exciting dimension to your aerial shots, resulting in photographs that stand out from the crowd.
Explore creative camera tilt
Camera tilt refers to the angle at which the camera is tilted while capturing shots. Experiment with tilting the camera upwards or downwards to add a unique and creative perspective to your aerial photography. Tilting the camera slightly downwards can create a bird’s-eye view, while tilting it upwards can give a sense of height and elevation. Let your imagination run wild and explore different camera tilt angles to capture stunning and innovative shots.
Use Filters for Enhanced Results
Neutral density (ND) filters
Neutral density filters are essential tools for aerial photographers. They help reduce the amount of light that enters the camera, allowing you to use slower shutter speeds and achieve smooth, cinematic footage even in bright lighting conditions. ND filters are particularly useful when capturing aerial shots of landscapes or water bodies, as they can create a sense of movement and emphasize the textures and colors in the scene.
Circular polarizer filters (CPL)
CPL filters are another valuable accessory for aerial photography. They help reduce reflections and glare, enhance colors, and improve overall image quality. CPL filters are especially useful when capturing shots of landscapes, water bodies, or during midday when the sunlight is harsh. By using a CPL filter, you can achieve more vibrant and well-balanced aerial photographs with improved contrast and saturation.
Graduated filters for balancing exposure
Graduated filters are useful when you have a scene with a significant difference in brightness between the sky and the foreground. These filters have a gradual transition from dark to clear, allowing you to balance the exposure between the sky and the rest of the scene. By using a graduated filter, you can effectively capture details in both the bright sky and the darker areas of the image, resulting in well-exposed and visually pleasing aerial shots.
Master Post-Processing
Import and organize your photos
Once you have captured your aerial shots, it’s time to import and organize them in a post-processing software. Create a structured filing system that allows you to easily locate and categorize your photos. This will help streamline your workflow and make it easier to manage and edit your aerial photographs.
Enhance colors and contrast
Post-processing is an excellent opportunity to enhance the colors and contrast of your aerial shots. Adjust the saturation, vibrance, and contrast levels to make the colors pop and create a more visually appealing image. Experiment with different settings to find the perfect balance and ensure that your aerial photographs reflect the beauty of the scene you captured.
Remove unwanted elements
Sometimes, unwanted elements such as dust spots or distracting objects may appear in your aerial shots. Use post-processing software to remove these elements and make your images look clean and polished. Whether it’s using the spot healing tool or cloning out objects, take the time to carefully remove any imperfections and distractions from your aerial photographs.
Follow Safety Regulations
Observe local drone laws
Before flying your drone for aerial photography, it is crucial to familiarize yourself with the local drone laws and regulations in your area. Be aware of any restrictions or permits that may be required, and always fly your drone within the legal boundaries. This will not only ensure your safety but also prevent any legal issues that may arise from violating drone laws.
Respect privacy and airspace
As an aerial photographer, it is essential to respect the privacy of others and the airspace you are flying in. Avoid capturing shots of private properties or individuals without their consent. Additionally, be mindful of any restricted airspace or areas where drones are not allowed to fly, such as airports or government buildings. By respecting privacy and airspace, you can enjoy your aerial photography hobby responsibly and ethically.
Maintain line of sight
Maintaining visual line of sight with your drone is crucial for safe and responsible flying. Always keep your drone within your line of sight during the entire flight and avoid flying it too far away or behind obstacles that obstruct your view. This will enable you to quickly react to any potential hazards or situations that may arise during your aerial photography sessions.
In conclusion, capturing stunning aerial photography with a drone requires careful consideration of the drone’s features, mastering the basics of drone photography, planning your shots, utilizing composition techniques, experimenting with camera settings, utilizing intelligent flight modes, capturing unique perspectives, using filters for enhanced results, mastering post-processing, and following safety regulations. By following these guidelines and continuously practicing and honing your skills, you can capture breathtaking aerial photographs that are sure to impress. So grab your drone, head out to beautiful locations, and let your creativity soar in the skies!