
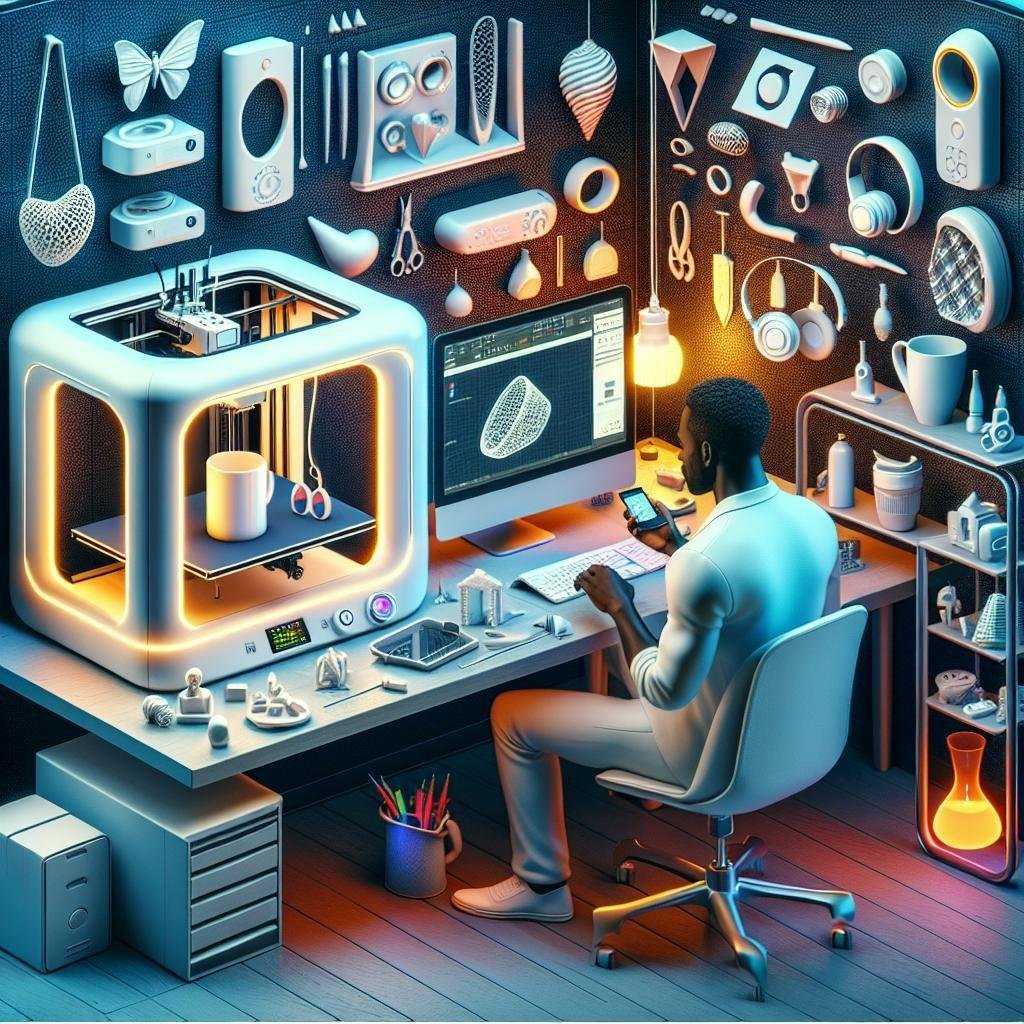
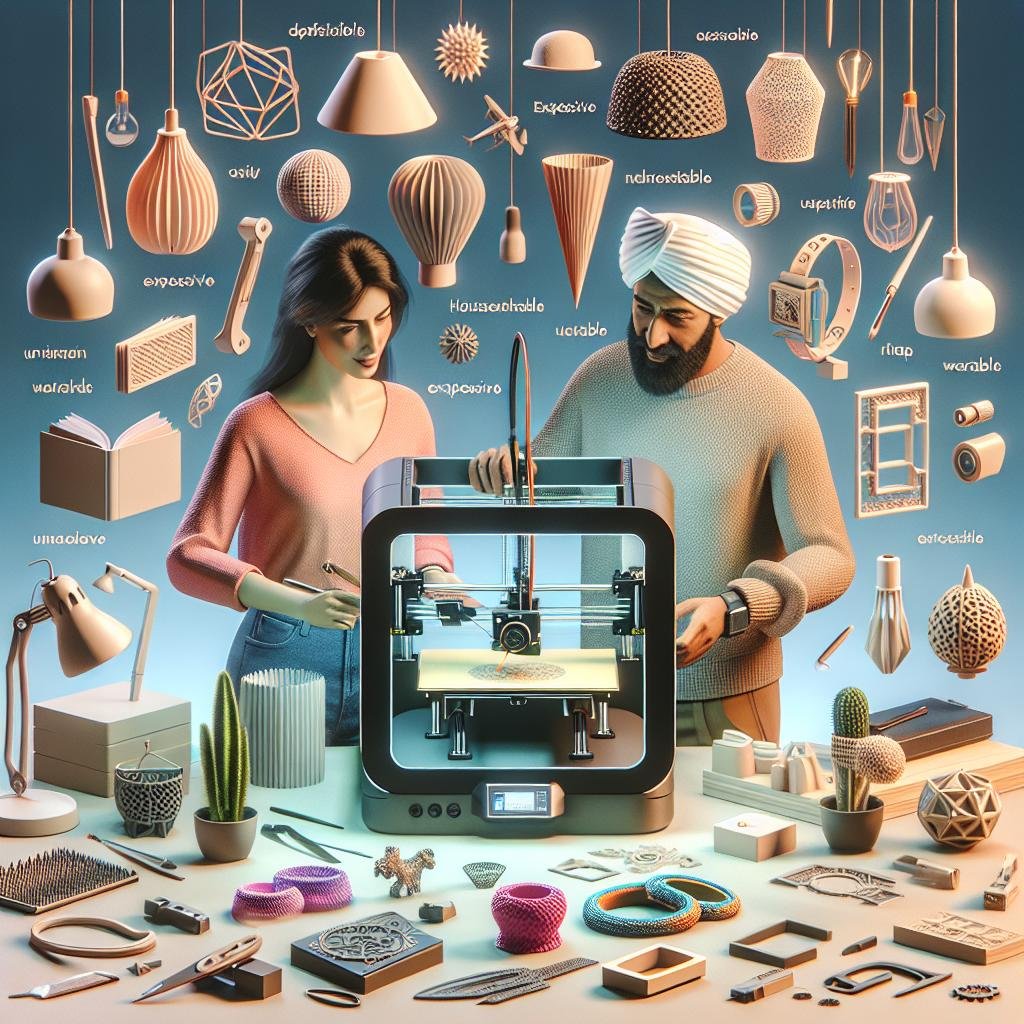
in a world where customization reigns supreme, the magic of 3D printing opens the door to a realm of endless possibilities. Imagine transforming simple ideas into tangible reality, where ordinary becomes extraordinary with just a touch of innovation. Welcome to the captivating journey of crafting custom gadgets and accessories for everyday use—one layer at a time! Whether you’re dreaming of a personalized phone holder that perfectly cradles your device, a keychain bearing your unique design, or even a quirky utensil that brings a smile to your face, 3D printing empowers you to be the creator of your own treasures. Join us as we delve into this friendly, colorful world of creation, where your imagination is the only limit, and discover just how easy—and fun—it can be to bring your ideas to life from the comfort of your home. Let’s embark on this adventure together and unleash the artist within you!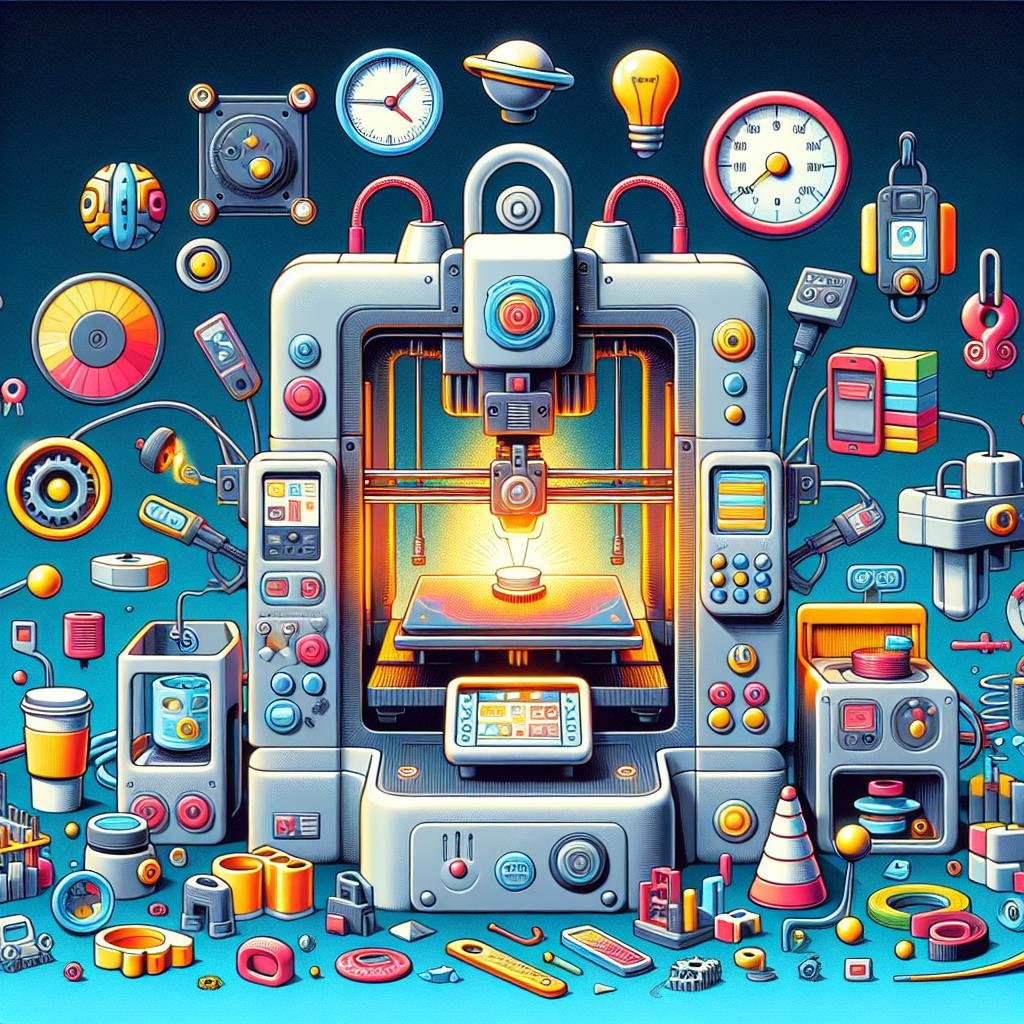
Crafting the Perfect Design: Tips for Beginners in 3D Modeling
Embarking on the journey of 3D modeling can be an exhilarating adventure. the magic of transforming a digital blueprint into a tangible object is mesmerizing. As beginners, it’s important to start with the basics to build a strong foundation. Learning design principles is crucial for creating efficient and aesthetically pleasing models. Focus on mastering simple shapes and combining them to form more complex structures. Using symmetry to your advantage can help ensure balance while keeping your designs functional.Believe it or not, imperfections can become part of your design’s charm, but make sure they are intentional. By familiarizing yourself with shortcuts and tools within your software, you’ll enhance your productivity and open up new avenues for creativity.
Experimentation is key in 3D modeling, and trial and error are valuable learning tools.Here are some tips that can guide you on this path:
- Start with small projects, such as keychains or phone stands.
- Leverage online resources and communities for tutorials and feedback.
- Don’t be afraid to mix materials or textures for unique results.
| Technique | Benefit |
|---|---|
| Layer Modeling | Allows detailed design enhancements |
| Parametric Design | makes adjusting size and shape easy |
Remember, every experienced 3D modeler was once a beginner. With patience, practice, and passion, you’ll soon create custom gadgets that are both practical and personalized, perfectly suited for you.
Choosing the Right Materials: A Guide to Filaments and Resins
When diving into the world of 3D printing for custom gadgets and accessories, selecting the right materials is crucial to your project’s success. Filaments and resins form the backbone of 3D printing, each offering unique properties tailored to specific needs. If your project calls for strength and reliability, consider using PLA and PETG. PLA (Polylactic Acid) stands out for it’s ease of use, biodegradability, and range of vibrant colors, making it perfect for swift prototypes and decorative items. PETG combines the best of PLA and ABS, offering chemical resistance and durability without sacrificing ease of printing. For projects that require flexibility or impact resistance, TPU (Thermoplastic polyurethane) is your go-to choice, perfect for phone cases or wearable tech accessories. Choose ABS (Acrylonitrile Butadiene Styrene) when you need parts that can withstand high temperatures and mechanical stress.
When it comes to resins, the versatility expands even further for more detailed and smoother finishes. For fine detail and a smooth surface finish,opt for Standard Resin — a staple for creating intricate accessories. If your project involves components that experience stress or require higher impact resistance, Tough Resin is a worthy investment. Additionally, Flexible Resin can unlock possibilities in creating bendable, durable objects, mirroring the benefits of TPU in filament form. For the hobbyists delving into the realm of dental or jewelry models, Castable Resin offers a burn-out capability critical for investment casting. Here’s a brief comparison to help guide your choice:
| Material | Primary Use | Pros | Cons |
|---|---|---|---|
| PLA | Prototypes, Decor | Biodegradable, Easy to use | Brittle, Low Heat Resistance |
| PETG | Functional Parts | Durable, Chemical resistant | Can String, UV Sensitivity |
| Standard Resin | Detailed Models | Smooth Finish | Brittle Under Stress |
| Tough Resin | Functional Parts | Impact Resistant | More Expensive |
Printing like a Pro: Essential Techniques for High-Quality Prints
To master the art of 3D printing, it’s crucial to understand the foundational techniques that can elevate your projects from basic to brilliant. Start with selecting the right filament material — whether it’s PLA for ease of use, ABS for durability, or PETG for flexibility. Calibrating your printer is another non-negotiable step to ensure quality results; take the time to align the print bed perfectly and fine-tune nozzle temperature settings. Post-processing can significantly refine your results, so consider sanding, painting, or even electroplating your prints. you’ll find that small tweaks can make a big difference in the final appearance and functionality.
A seamless production requires familiarity with slicing software. Leveraging software tools like Cura or PrusaSlicer allows you to experiment with infill patterns and supports. Here are a few tips for slicing your models effectively:
- Layer height: Balance detail with speed by choosing an appropriate height.
- Infill Density: Increase this for stronger objects but keep it low for decorative pieces.
- support Structures: Use these wisely to maintain overhang stability without excessive material use.
When it comes to creating custom gadgets, think about what makes your design unique. For example, you might want to combine multiple functions into a single accessory or innovate with smart embedding of sensors. Take time to prototype and test to achieve the perfect integrated accessory for daily tasks.
Finishing Touches: Post-Processing Tips for a Polished Look
After the excitement of watching your 3D printer bring your design to life, the real magic happens with those often-overlooked finishing touches. The post-processing stage is where your printed gadgets and accessories transform from great to extraordinary.Start by carefully removing the support structures if any where used during printing; use needle-nose pliers or specialized tools to get into small crevices. Next, gently sand any rough edges with varying levels of grit paper to achieve a smooth surface—going from coarse to fine can make all the difference. if your piece needs additional detailing, consider applying a coat of primer before painting to ensure even color distribution. Don’t forget to experiment with different types of paint and finishes depending on whether you want a matte, satin, or glossy effect.
Once you’ve created a masterpiece to the eye, it’s time to enhance its durability and functionality. Applying a clear coat can do wonders in strengthening your printed piece against daily wear and tear. For accessories that face heavy handling,such as keychains or phone mounts,this step is especially crucial. Incorporate sealants or specialty sprays that are compatible with the material used in your 3D print. Consider adding some felt pads or rubber grips for gadgets that require a soft touch or stable placement. Whether you’re working with PLA, ABS, or PETG, matching the right post-processing technique with material specifications ensures not only aesthetic appeal but a longer-lasting product.Remember, finesse is key in wrapping up your 3D printing venture!
| Material | Recommended Coating |
|---|---|
| PLA | Spray Lacquer |
| ABS | Acetone Vapor |
| PETG | Polyurethane |
Q&A
Article Title: Mastering the Art of 3D Printing: Crafting Your Custom Gadgets and Accessories
Q&A Section
Q1: Why should I consider 3D printing my own gadgets and accessories?
A1: Imagine a world where you need a unique phone holder, a one-of-a-kind bookmark, or a quirky kitchen utensil, and you can create it all by yourself! 3D printing opens up endless possibilities for tailoring products to your specific needs and taste. it’s environmentally savvy, cost-effective, and let’s be honest–showing off your own custom creations is an instant conversation starter!
Q2: I’ve heard about 3D printers, but where should a complete beginner start?
A2: fear not, aspiring creator! Start by researching beginner-friendly 3D printers such as the Creality Ender 3 or the Anycubic i3 Mega. These models are affordable, have vibrant online communities, and offer endless tutorials on YouTube. Grab some PLA filament (it’s eco-friendly and easy to work with) and begin with simple templates available on platforms like Thingiverse. Baby steps, but soon you’ll be a 3D printing wizard!
Q3: How do I design my own gadgets? Isn’t that for engineers and experts?
A3: You don’t need a degree in engineering to play designer. software like Tinkercad and fusion 360 are user-friendly and perfect for beginners. Tinkercad operates right from your browser and offers drag-and-drop ease, while Fusion 360 grows with you as you gain skills and confidence. Dive into online tutorials or join a local maker group to exchange ideas and tips–creativity is your only limit.
Q4: What kind of everyday gadgets can I print?
A4: If you can dream it,you can print it! start with keychains,custom stamps,or cable organizers. As you gain confidence, consider more complex items like ergonomic pens, phone stands, or even customized planter pots. Design and practicality are your paint and canvas. The glory of 3D printing is tailoring the mundane into the extraordinary.
Q5: Are there any safety tips I should know?
A5: Safety first, adventurous maker! Always handle your 3D printer in a well-ventilated area to avoid inhaling fumes. Never leave the printer unattended for long periods, and keep your curious pets or little ones at a distance. It’s also wise to wear gloves and a face mask when working with filaments and machine parts. In the realm of creation, caution is always key.
Q6: How can I troubleshoot common 3D printing issues?
A6: Every creator faces challenges, but we learn and grow from them! If your print doesn’t stick to the bed, ensure it’s level and clean. If the extruder is jammed, double-check the nozzle for clogs and experiment with different temperature settings. Rely on the vibrant online 3D printing communities—they’re filled with helpful tips and tweaked solutions for every bump you might face on your creative journey.
Q7: Can I monetize my 3D printed items?
A7: absolutely! Once you get the hang of designing and printing unique items, consider selling them on platforms like Etsy or at local craft fairs. Create a brand that reflects your unique style and craftsmanship. Remember, people love personal touches, so offering customization options is a fantastic selling point. Transform your passion into a thriving hobby that pays!
Q8: What’s the future of 3D printing in everyday life?
A8: 3D printing is poised to revolutionize the manufacturing landscape, bringing customization to the forefront.Imagine a world where repairs are just a design and print away, reducing waste and personalizing everything around us. Whether it’s healthcare, fashion, or everyday household items, 3D printing will continue to redefine what’s possible. Embrace the journey, as the future beckons with creativity and innovation at every layer!
Embark on this creative adventure, and happy printing!
To Conclude
As you embark on your journey into the exciting world of 3D printing, remember that the only limit is your imagination. Picture the endless possibilities—from personalized keychains and bespoke phone stands to intricate jewelry and custom kitchen tools—each creation a testament to your ingenuity and flair. With every layer your 3D printer lays down, a new possibility arises to transform mundane items into extraordinary essentials uniquely yours. So, dust off that digital design, grab your filament of choice, and set your creativity free.Whether you’re a seasoned maker or a curious newbie, your adventure in crafting custom gadgets and accessories is bound to be as rewarding as the creations themselves. Happy printing! 🖨✨