

in today’s adventure-driven world, where every moment outdoors feels like a frame from a storybook, cyclists and outdoor enthusiasts crave gear that is as unique as their journey. Enter the thrilling realm of 3D printing—a modern alchemy transforming digital designs into tangible reality. Imagine effortlessly crafting tailor-made accessories that aren’t just worn, but are an extension of who you are and where you roam. From custom bike mounts diligently holding your GPS steady through rugged trails to personalized hydration solutions ensuring you never miss a beat, 3D printing empowers you to embrace innovation in the great outdoors.Join us as we explore the art and science of creating bespoke cycling and adventure accessories, turning imagination into reality layer by captivating layer. Welcome to your new favorite pastime.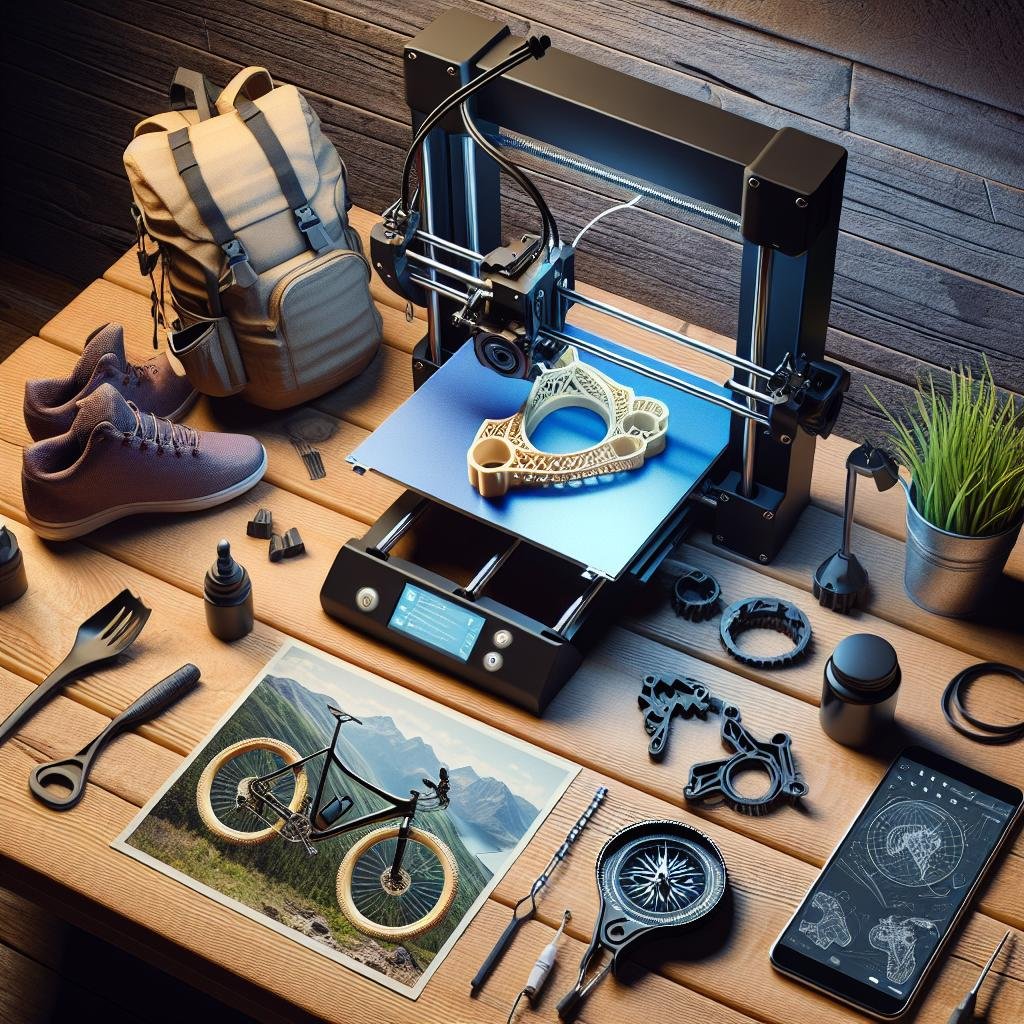
Exploring the World of 3D Printing for Outdoor Gear
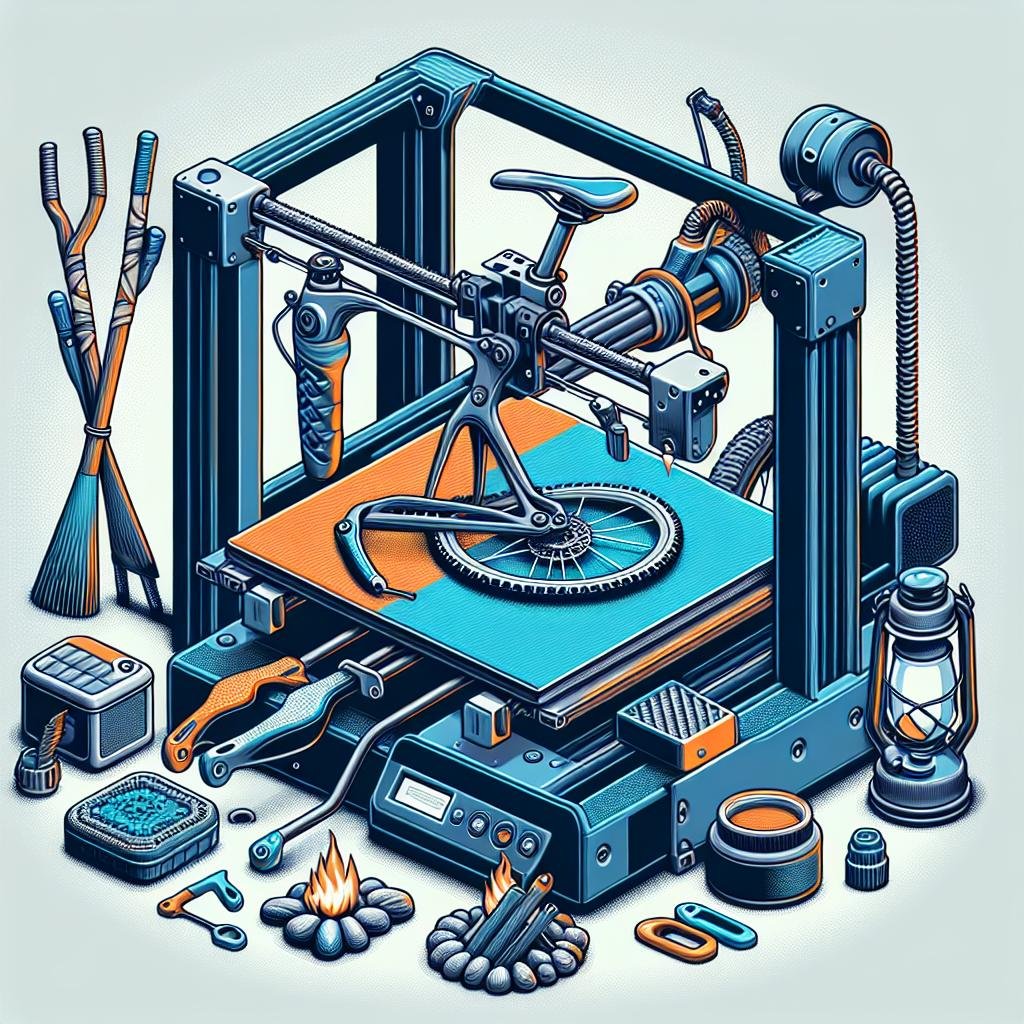
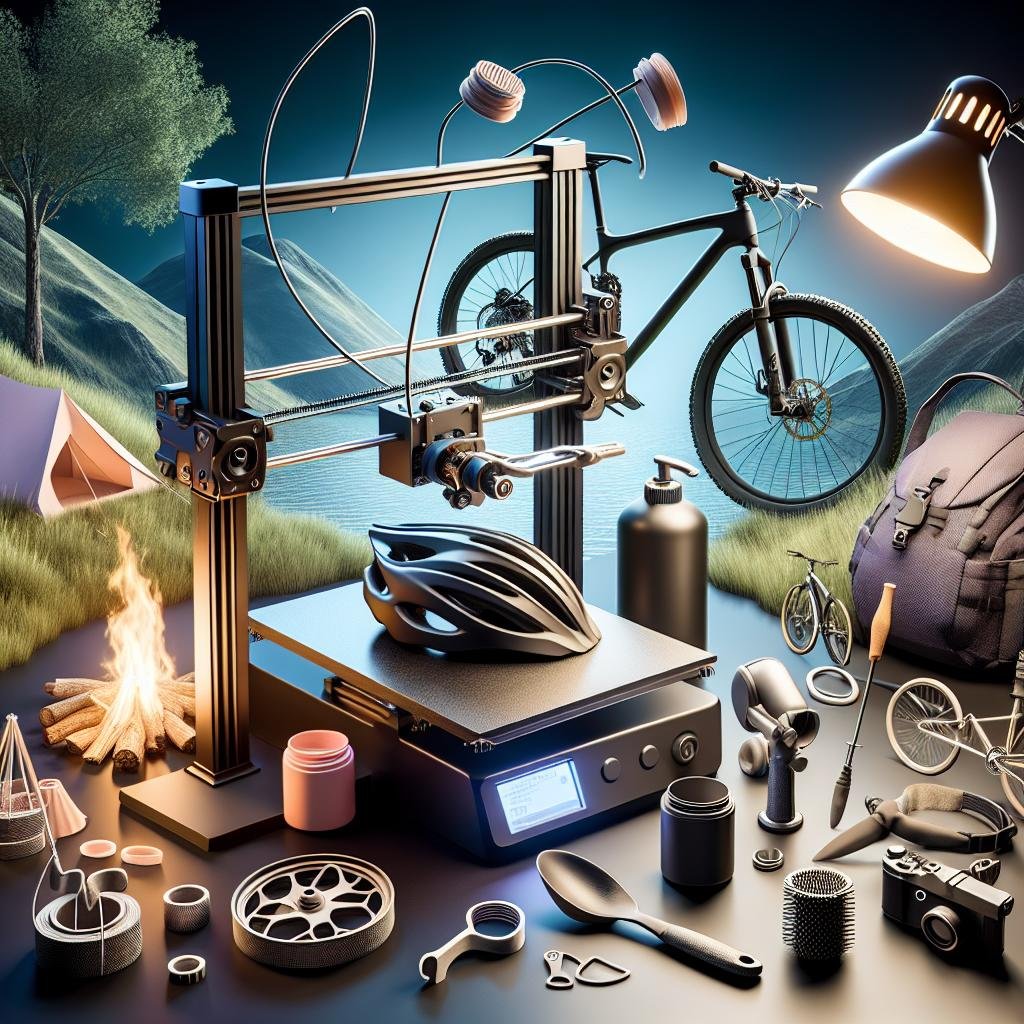
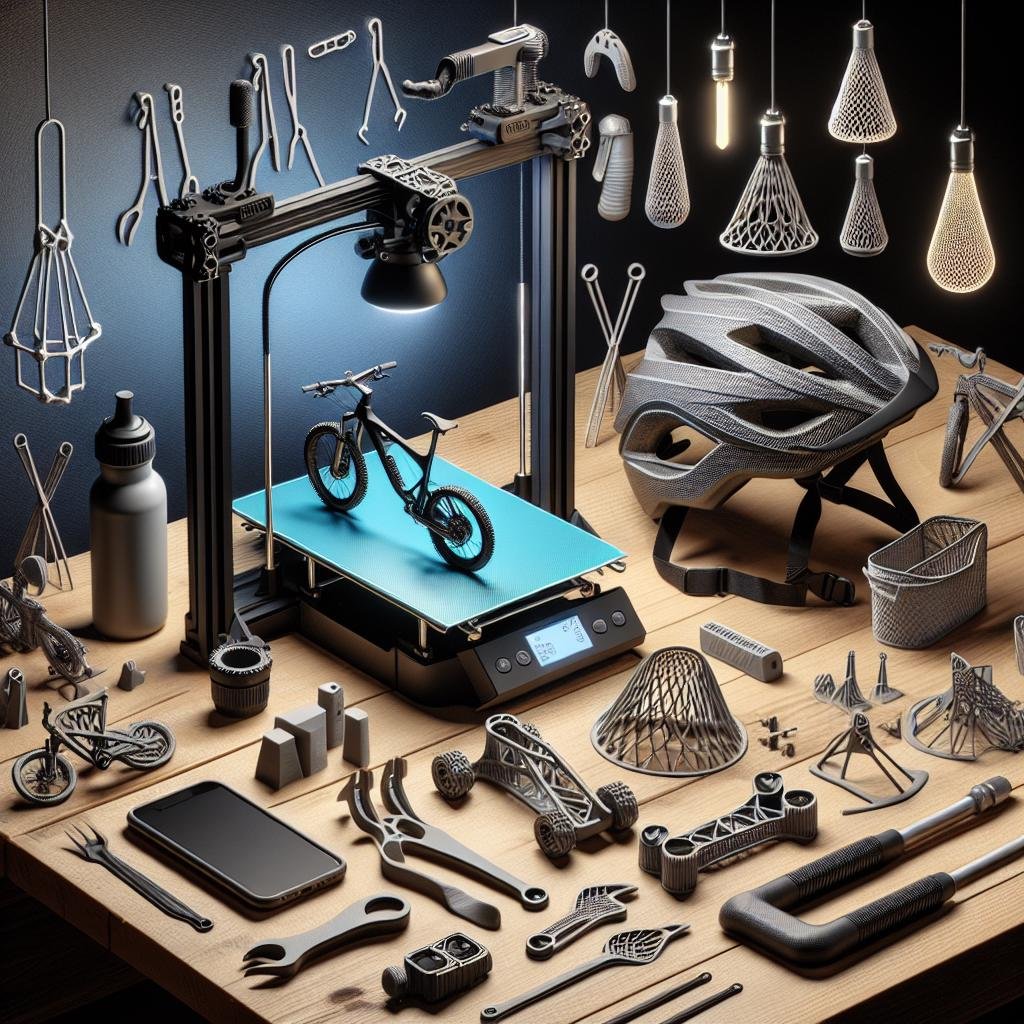
Dive into the world of endless possibilities as 3D printing transforms every outdoor expedition by enabling enthusiasts to create personalized gear that complements their adventurous spirit. Whether it’s custom bottle cages or ergonomic handlebar grips,the ability to tailor your equipment specifically to your needs brings an unparalleled level of control and satisfaction. With this technology,you can seamlessly merge functionality and creativity,ensuring that your equipment not only performs optimally but also reflects your personal style. Consider the satisfaction of riding through trails with a set of one-of-a-kind bike accessories that nobody else has. The process begins by designing these accessories using 3D modelling software, taking into account the unique aspects of your equipment and printing them with materials robust enough to withstand the rugged outdoors.
Using PLA, ABS, or even more specialized filaments like carbon fiber infused filaments, you can create a variety of gear such as:
- Mountable compass holders
- Customized gear levers
- protective casing for gadgets
| Filament Type | durability | Price Range |
|---|---|---|
| PLA | Moderate | $$ |
| ABS | High | $$$ |
| Carbon Fiber Infused | Very High | $$$$ |
Each step of the design and printing process is an adventure in itself, requiring you to understand the dynamics of your gear to improve upon it. These bespoke creations not only enhance your safety and comfort on the trail but also empower you to push the boundaries of what you can achieve outdoors.
Choosing the right 3D printer and Materials for Your Projects
When venturing into the world of custom 3D printed accessories for your cycling and outdoor escapades, the initial step involves selecting the best printer to suit your projects. Think about your budget, precision needs, and material compatibility. For entry-level enthusiasts,a Fused Deposition Modeling (FDM) printer such as the Prusa i3 MK3 offers reliability and ease of use,making it perfect for creating parts like handlebar grips or water bottle holders. However, if your looking for higher detail and a smoother finish, Stereolithography (SLA) printers might be your best bet. Brands like Formlabs provide top-notch SLA printers that create impressive, high-detail accessories, from helmet mounts to GPS holders.
Equally crucial is the selection of materials suitable for your outdoor gear dreams. PLA might be a great start for prototypes, but for functional and enduring pieces, consider more robust materials like PETG or ABS. Each has its attributes:
- PETG: resistant to impact, UV, and moisture, ideal for outdoor exposure.
- ABS: Durable and heat-resistant, perfect for parts subject to stress and sunlight.
- TPU: Flexible yet strong, excellent for grips and shock-absorbing mounts.
Below is a quick-glance table for comparing these materials:
| Material | Benefits | Ideal Use |
|---|---|---|
| PLA | Easy to print, biodegradable | Prototypes |
| PETG | Impact-resistant, UV-stable | Outdoor gear |
| ABS | Heat-resistant, durable | Stress-bearing parts |
| TPU | Flexible, strong | Grips, mounts |
Choose materials based on your project’s environment and use-case to ensure your custom creations stand the test of time in the great outdoors.
Design Tips to Make your Custom Cycling Accessories Stand Out
When crafting your cycling accessories, effective use of color can turn heads on the trail. Aim for a vibrant palette that complements your bike’s existing tones, yet provides a noticeable contrast. Incorporating reflective materials not only aids in visibility but also adds a futuristic sheen,especially under low-light conditions. Additionally, consider aerodynamic shapes; these not only boost aesthetics but also enhance performance. By integrating elements such as ventilation features or incorporating practical yet sleek storage solutions,you ensure both style and substance are harmonized.
Don’t underestimate the power of personalization. Adding your name or emblem via 3D printing lets your accessories serve as an extension of your identity. Utilize modular designs that allow for easy swapping and adjusting, providing flexibility for different adventures. Here are some suggestions to elevate your design:
- Play with different textures for a tactile experience.
- Integrate elements like carbon fiber designs for a professional touch.
- Use minimalistic engravings to add subtle beauty.
| Design Element | Benefit |
|---|---|
| Reflective Strips | Improves visibility |
| Modular Clips | Customizable configurations |
| Textured Panels | Enhanced grip and style |
Troubleshooting Common 3D Printing Issues for Beginners
When diving into making custom accessories for your cycling and outdoor escapades,you might encounter a few bumps along the road. Stringing is a pesky issue many beginners face. It happens when filament drags between points, leaving unseemly strands on your creation. To tackle stringing, consider lowering the nozzle temperature or tweaking the retraction settings. warping is another common foe, especially with items like phone mounts or bottle cages. This pesky issue can be tackled by ensuring a level print bed, using a heated bed, or applying a good adhesive like a glue stick.Remember, different filament materials may require different settings, so don’t shy away from experimenting a little. That’s part of the fun!
- Layer Adhesion: Adjust the print temperature to ensure layers bond well.
- Infill Density: Tweak this to balance strength and flexibility of custom gear.
- Filament Quality: High-quality filament can make a meaningful difference.
For those creating items that require a more polished look like action camera mounts, surface finish can be a concern. Consider using finer print resolutions or post-processing techniques such as sanding, priming, or vapor smoothing.Equally, if you are making pieces like a GPS handlebar holder, you might run into dimensional inaccuracies. Checking your printer’s calibration regularly and adjusting the flow rate can enhance accuracy. Having a plan for tackling these issues will ensure that the only thing holding you back during your outdoor ventures is your adventurous spirit.
| Issue | Solution | Benefit |
|---|---|---|
| Stringing | Adjust temperature and retraction | Improved surface quality |
| warping | Use heated bed and adhesive | Better adhesion to bed |
Q&A
Article Title: Craft Your Own Path: 3D Printing Custom Accessories for cycling and Outdoor Adventures
Q&A Section
Q: What makes 3D printing a great choice for creating custom cycling and outdoor accessories?
A: Imagine having gear that’s perfectly tailored to your needs and style. 3D printing puts the power of customization directly in your hands. Whether you need a water bottle holder that fits just right on your bike frame or a unique GPS mount for your hiking backpack, 3D printing can create solutions that traditional manufacturing can’t always provide. Plus, it’s a fun and innovative way to bring your ideas to life!
Q: What types of accessories can I create for my cycling and outdoor adventures using a 3D printer?
A: The possibilities are as vast as your imagination! You could craft everything from bike-mounted GoPro holders, personalized handlebar grips, and custom mudguards for your cycling escapades, to compact multi-tools, lightweight headlamp clips, and bespoke carabiners for your outdoor quests. If you can dream it, you can likely print it!
Q: Is 3D printing challenging for beginners to learn?
A: Not at all! While the initial setup might seem daunting, there are countless resources available to guide you through the process. Online tutorials, communities, and even courses can help you get started. Many 3D printers come with user-friendly interfaces and pre-made templates to ease you into your new crafting adventure.
Q: What materials are best for outdoor gear when 3D printing?
A: When creating gear for the outdoors, it’s importent to consider durability and weather resistance. PLA is a popular beginner material,but for outdoor use,you might want to explore materials like PETG or nylon. These materials are sturdier and can withstand the elements a bit better. Always match your material choice to the specific demands of your accessory’s use.
Q: How can I ensure the 3D printed accessories are safe and reliable?
A: Safety and reliability start with good design. Use reliable design software and pay attention to settings like infill density for strength.It’s also wise to conduct stress tests, especially for weight-bearing items, to make sure they’ll stand up to real-world use. Consulting or collaborating with more experienced designers or digital modeling enthusiasts can also provide invaluable insights.
Q: Can I customize existing 3D designs,and where can I find them?
A: Absolutely! There are numerous online repositories like Thingiverse or MyMiniFactory where you can find a wealth of free and paid design files. These are perfect starting points for customization. With some basic knowledge of 3D modeling software, you can adjust and personalize designs to better suit your needs or preferences.
Q: What’s the most common challenge people face, and how can it be overcome?
A: A frequent hurdle is getting the print settings just right for high-quality output. Achieving the perfect balance might take some experimentation with settings like layer height, speed, and temperature. Patience is key, and so is learning from the 3D printing community. Don’t hesitate to seek advice from forums or groups – they’re often more than willing to help troubleshoot issues.
Q: Any tips for someone eager to start 3D printing their own custom accessories?
A: Dive in with curiosity and a willingness to experiment! Start with simpler projects to build your confidence and gradually tackle more complex designs. Invest time in learning the software and hardware, and don’t shy away from making mistakes – they’re part of the creative process. Most importantly, enjoy the journey of crafting personalized gear that enhances every adventure you embark on!
Wrapping Up
As we glide back from this journey through the world of 3D-printed cycling and outdoor accessories, imagine the limitless possibilities now at your fingertips. Whether you’re crafting the perfect bike-mounted phone holder or a bespoke camping gadget, the fusion of creativity and technology opens up new horizons for every adventure. Remember,the beauty of 3D printing lies not just in its ability to create,but in its power to transform your ideas into tangible reality,ready to tackle any trail or open road.
So, go ahead—ignite your imagination and let your printer be the tool that builds dreams one layer at a time. Your next great adventure starts not with a map, but with the whirring hum of your 3D printer, setting the stage for the myriad stories yet to unfold on your outdoor quests. Happy printing, and even happier trails!