
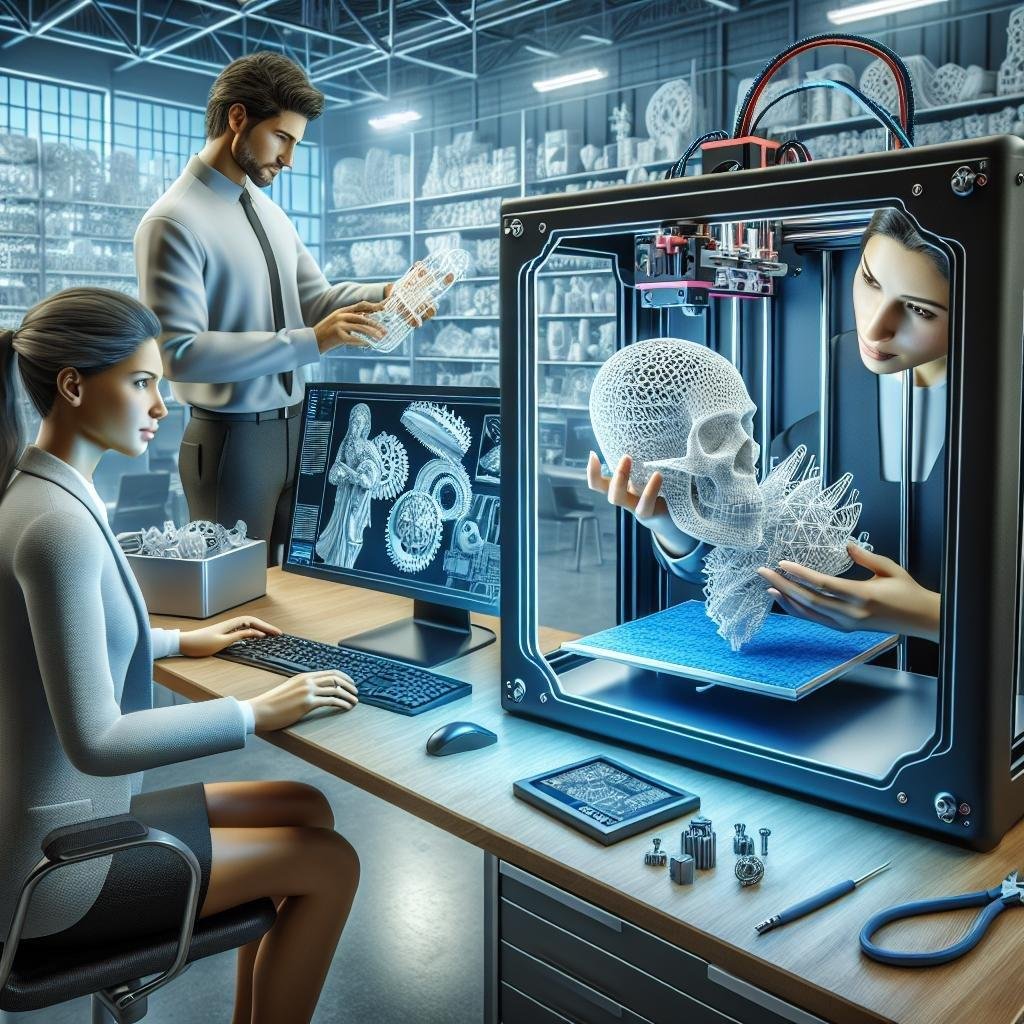
In a world where imagination merges seamlessly with technology, 3D printing stands as a gateway to limitless creativity. Picture this: a designer’s dream morphing from a sketch into a tangible reality, layer by mesmerizing layer. Welcome to the fascinating realm of designing for 3D printing—where the boundaries between concept and production blur, giving life to ideas that once danced only in the mind’s eye. Whether you’re a seasoned designer or a curious newcomer, this journey from imagination to innovation offers endless possibilities and a playground where creativity meets precision. Let’s embark on this adventure together, exploring the art and science of transforming visionary concepts into physical marvels.
Crafting the Blueprint: Ideation and Visualization Techniques
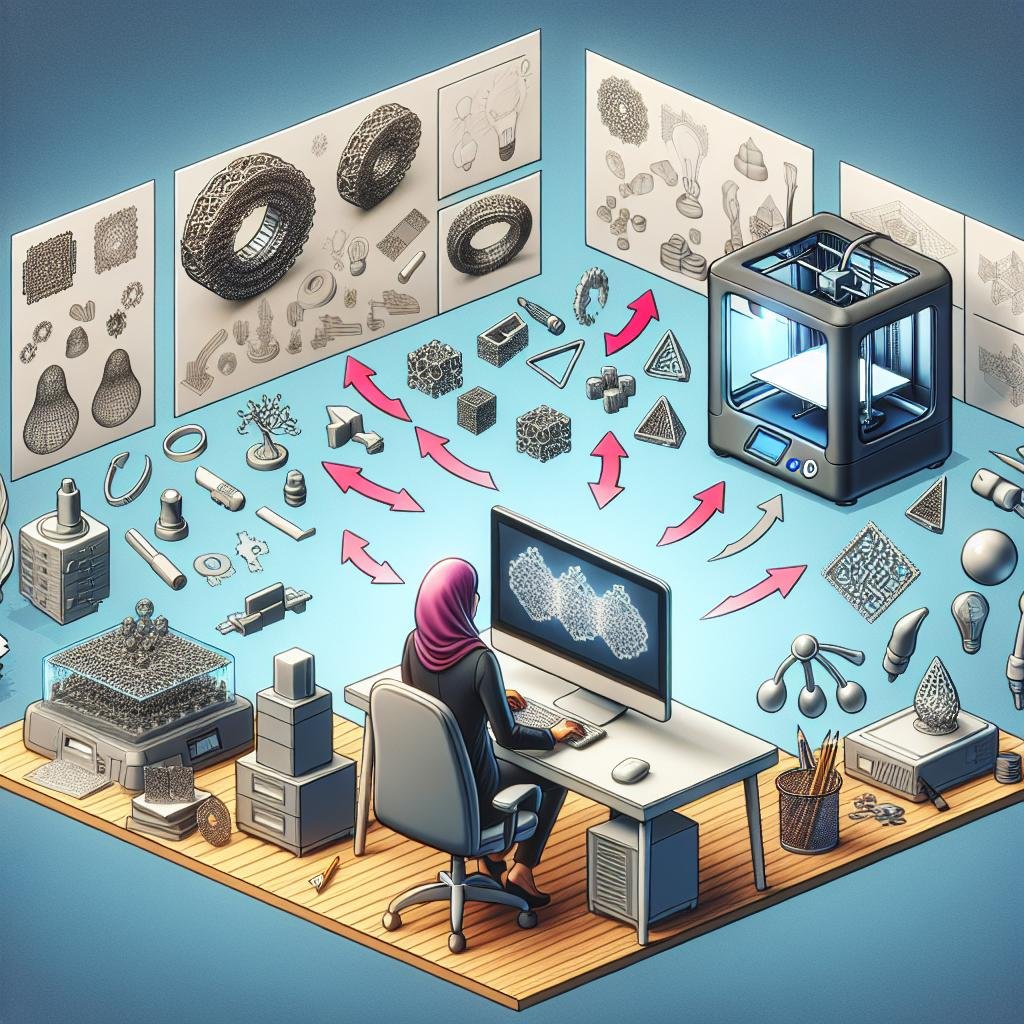
Embarking on the journey from concept to physical reality in 3D printing starts with a dash of inspiration and a sprinkle of creativity. To breathe life into your ideas, embrace brainstorming techniques that nourish the raw fragments of imagination. Start by jotting down stray thoughts, drawing rapid sketches on paper, or embracing digital mind maps. The beauty of brainstorming lies in its ability to foster boundless exploration. Consider bouncing your ideas around with a team—two minds (or more!) bring unique perspectives, prompting the birth of something entirely new. Similarly, leveraging mood boards can help curate visual inspiration and ensure that your concept aligns with your creative vision.
Once your ideas begin to take shape, it’s time to translate them into something more tangible. Visualization techniques play a crucial role in this transitional phase. Employ design software like Blender or Tinkercad to transform your sketches into digital models. Digital sculpting allows for intricate detail and modifications, acting as a visual rehearsal of what’s to come. Furthermore, consider creating an interactive 3D walkthrough or a dynamic assembly animation. This not only solidifies your design vision but also illuminates potential flaws or areas for enhancement. The use of such techniques effectively bridges the gap between imagination and iteration, laying the groundwork for a creative and successful 3D printing endeavor.
- Idea Jotting: Capture fleeting thoughts quickly.
- Mood Boards: Cultivate a collection of visual inspirations.
- Digital Sculpting: Fine-tune designs with intricate detail.
| Technique | Purpose |
|---|---|
| Brainstorming | Generate a pool of diverse ideas |
| Mind Mapping | Organize thoughts logically |
| 3D Walkthrough | Visualize the design surroundings |
Mastering CAD: Tips for Precision and Efficiency
To achieve precision in your CAD designs for 3D printing, start by focusing on alignment and scale. ensuring exact dimensions is crucial as even minor discrepancies can led to misfit parts. Utilize the grid snapping feature found in moast CAD software to aid in maintaining consistency throughout your design. Remember, a meticulous approach to scaling will prevent potential disappointments when your digital masterpiece is brought to life. Other valuable tips include making use of layers to separate different elements of your design, allowing you to edit small components without disrupting the whole model.Utilize these best practices to turn your creative visions into tangible reality seamlessly.
- Always double-check measurements and fit.
- Use parametric modeling to make adjustments swiftly.
- Keep an eye on material thickness when designing load-bearing parts.
- Optimize your design for the specific 3D printer you will use.
Efficiency in CAD design also hinges on the proficient use of keyboard shortcuts and customized tool menus to streamline your workflow. Familiarizing yourself with the essential shortcuts saves ample time and reduces repetitive strain. Another aspect is adopting an object management strategy by employing naming conventions and using color codes for different parts of your model. This is especially beneficial when dealing with complex assemblies, ensuring elements are quickly identifiable. Below is a table outlining essential shortcuts for some popular CAD platforms to enhance your efficiency.
| CAD Platform | Shortcut | Function |
|---|---|---|
| AutoCAD | CTRL + 0 | Clean Screen |
| Fusion 360 | A | Appearance |
| SolidWorks | CTRL + 8 | Normal to Face |
Material Matters: Choosing the Best for Your 3D Printed Design
When embarking on the exciting journey of 3D printing, selecting the ideal material for your creation is a pivotal step. The material you choose acts as the backbone of your design, influencing its durability, flexibility, and aesthetic appeal. PLA (Polylactic Acid) is a popular choice for beginners due to its simplicity and ease of use, and it’s derived from renewable resources, giving it an eco-kind edge. On the other hand, ABS (Acrylonitrile Butadiene Styrene) is known for its strength and impact resistance, making it a favorite for more functional parts and objects exposed to higher levels of stress or heat. Whether you’re designing a sleek piece of furniture or a detailed figurine, understanding the characteristics of your chosen medium is paramount for success.
- Durability: Consider if your design will be subject to wear and tear.
- Flexibility: Determine if your design requires bendable properties.
- Aesthetic Appeal: Choose a material that meets your visual expectations.
| material | Strength | Aesthetic Range | Ease of Use |
|---|---|---|---|
| PLA | Moderate | High | Easy |
| ABS | High | Moderate | Medium |
Advanced creators might explore PETG (Polyethylene Terephthalate Glycol-modified), which strikes an excellent balance between toughness and flexibility, perfect for objects that need to withstand stress and strain while maintaining clarity and strength. Additionally, Nylon offers astounding durability and isotropic properties, making it the perfect candidate for functional prototypes and mechanical parts.As your designs grow more complex, experimenting with different combinations such as composite filaments that blend materials (like wood or metal powder) can unleash an entirely new dimension of creativity and function. Remember, in the ever-evolving world of 3D printing, embracing the nuances of your materials can transform your conceptual blueprints into tangible masterpieces.

Streamlining Your Workflow: From Prototype to Product
When diving into the world of designing for 3D printing, turning a prototype into a polished product necessitates a thoughtfully structured workflow. Understanding the nuances of material selection, such as choosing between PLA, ABS, or even metallic filaments, can dramatically influence your design decisions and production outcomes.Consider creating a comprehensive checklist to help you navigate this phase smoothly:
- Define your product specifications and constraints.
- Select appropriate materials for your design needs.
- Utilize CAD software for accurate modeling.
- Perform iterative testing to identify potential issues early.
The transition from a static prototype to a functional product frequently enough involves several iterative steps aimed at refining the design and eliminating any possible flaws.Embrace techniques such as rapid prototyping to test different iterations swiftly. This not only helps in optimizing the design but also ensures a seamless transition from concept to production. Here’s an overview of a streamlined workflow process:
| Phase | Action |
|---|---|
| Design | Sketch ideas, Create CAD models |
| Prototype | Print initial design, Conduct tests |
| evaluation | Analyze feedback, Refine model |
| Production | Final adjustments, Mass production |
Q&A
Article Title: Designing for 3D Printing: From Concept to Production
Q1: What is the first step in designing for 3D printing?
A1: The adventure begins with an idea! Whether it springs from a moment of inspiration or a specific need, capturing your concept in a sketch or digital model is the starting point. Consider this phase as planting the seed of your design; it’s all about nurturing creativity while keeping in mind the fundamentals of 3D printing.
Q2: Which software is best for creating a 3D model?
A2: Choosing software is like picking the right pair of shoes; it should fit your needs and comfort level. Beginners might stride confidently with Tinkercad’s simple interface, while those seeking more sophistication might dance with Blender’s robust features. Others may find Fusion 360 or SolidWorks to be tailor-made for their project’s complexities. Explore and find what feels right for you!
Q3: How can you ensure your design is 3D-printable?
A3: It’s all about understanding the language of 3D printers. Imagine you’re planning a road trip: checking the terrain helps you prepare. Similarly, ensuring your design has proper wall thickness, understands support structures, and adheres to your printer’s limitations sets your project on the path to success. Use slicing software to preview and optimize your design for a smooth print journey.
Q4: What role do materials play in 3D printing design?
A4: Think of materials as the spices in your favorite dish.Each adds a unique flavor and texture to your creation. From the sturdy strength of PLA to the flexibility of TPU or the professional finish of resin, selecting the right material can enhance the functionality and aesthetics of your design. Just as with cooking, experimenting might lead to delightful outcomes!
Q5: How do you prepare for the production phase?
A5: Once your design passes the prototype stage, it’s time to rev up for production. Consider this the rehearsal before the big show! Test and refine your prototype, ensure the assembly process is smooth, and check for any design tweaks needed. Collaboration may play a crucial role here; feedback can add polish to your project, preparing it for its debut.
Q6: What’s the most common mistake to avoid in 3D design for printing?
A6: Imagine setting out with a map, only to realize it’s outdated. In 3D design, assumptions can lead astray! Misjudging scale, neglecting support needs, or overlooking post-processing steps can trip you up. Craft a checklist, stay curious, and remember: navigating challenges is part of the journey towards a successful print.
Q7: Any final tips for aspiring 3D designers?
A7: Embrace the adventure! Design is as much about exploration as execution. Don’t be afraid of setbacks; each adds a page to your experience storybook. Join a community,share your creations,and always keep learning. With passion and persistence, you’ll watch your concepts transition from thoughts to tangible realities, step by step.
End of Article
The Conclusion
As we wrap up our journey through the fascinating realm of designing for 3D printing, from the initial spark of inspiration to the triumphant moment of production, remember that you hold the power to turn ideas into tangible realities.3D printing isn’t just a technological advancement; it’s an invitation to revolutionize the way we think, create, and innovate. As you embark on your own design adventures, let curiosity be your guide and innovation your trusty companion.
Whether you’re a seasoned designer or a curious newcomer, embracing the challenges and joys of this modern craft will transform not only the products you create but also the way you perceive design itself. After all, every printed object begins with a simple idea — and who knows? Your next concept might just be the one to redefine what’s possible in the world of 3D printing.
So, fire up that printer, lean into the learning curve, and let your imagination take flight. The future of 3D design and printing is shining and boundless, and it’s yours to shape. happy printing!