
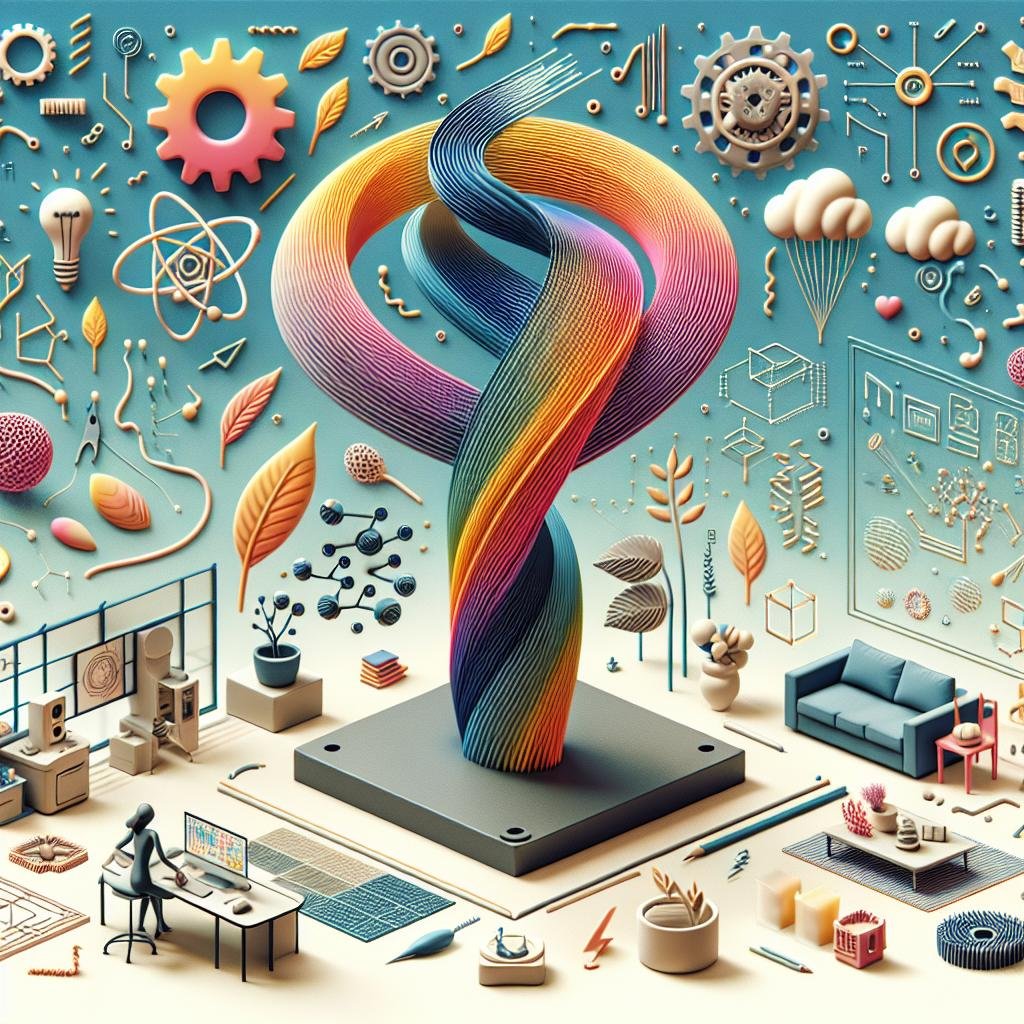
Imagine a world where the possibilities of creation are as limitless as your imagination. In this realm, you hold not just the power to conjure objects from thin air but also the ability to fine-tune every aspect of your masterpieces, right down to the raw materials. Welcome to the enchanting universe of 3D printing, where innovation knows no bounds.But beyond the printers and intricate designs lies an unsung hero—the filament. What if you could craft your own unique 3D printing filament, tailoring it to your specific needs and preferences? In this journey, we’ll explore the art and science of developing your own filament, empowering you to transform the ordinary into the unusual. with hands-on tips and creative insights, we’ll guide you through the process, unraveling the secrets to becoming not just a creator, but a true artisan in the world of 3D printing. So, grab your apron, ignite your curiosity, and let’s dive into the vibrant colors and textures of filament crafting, where your only limit is the horizon of your imagination.
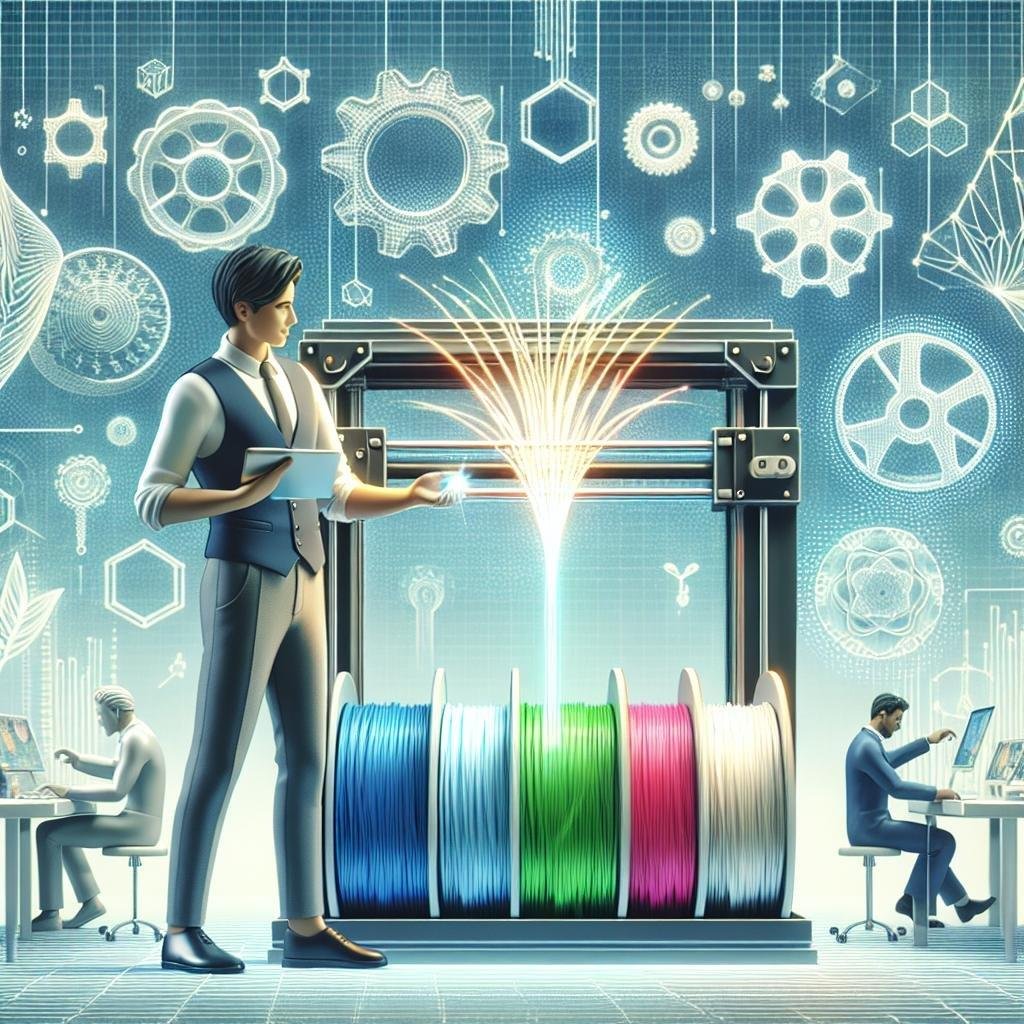
Selecting the Perfect Raw Materials for Your custom Filament
Choosing the ideal ingredients for your custom filament is all about understanding your project’s unique demands and your own personal touch. Begin by considering polymer type, as it forms the backbone of your filament. Your choice might range from PLA, known for its eco-friendliness, to ABS for its durability, or even PETG, which offers a blend of both. Each type offers distinctive properties, from flexibility and strength to temperature resistance, making them suitable for different applications. additionally, focus keenly on the additives—from colorants for vibrant hues to strengtheners like carbon fiber to ensure your filament meets the desired performance criteria. And let’s not overlook the wonders of using biodegradable compounds that make your product not just innovative but also environmentally responsible.
- PLA: Environmentally friendly,easy to print
- ABS: Durable,heat resistant
- PETG: Good strength,transparent
- Carbon Fiber Additives: Increase strength and rigidity
- Colorants: Vibrant,customizable colors
A close second in importance is ensuring a high degree of consistency in your raw materials. Look at factors such as the mm tolerance,which affects how evenly your filament will feed through the printer’s nozzle,and the moisture content,which can hinder the printing process by causing clogs or weaknesses in the final product. Consider sourcing your raw materials from reputable suppliers who have strict quality control measures in place to guarantee consistency in every batch. A handy comparison table can ease decision-making, outlining these factors to fit your project’s specific requirements:
| Factor | Ideal Range | Importance |
|---|---|---|
| MM Tolerance | ±0.02mm | High |
| Moisture Content | 1% or less | Medium |
| supplier Reputation | Verified | Essential |
Mastering the Art of Extrusion for Flawless Filament Production
Creating a superior filament begins with understanding the core principles of extrusion. Achieving consistency in diameter and tension is crucial for smooth 3D printing experiences. The art lies in carefully controlling the temperature and pressure, ensuring that the raw polymer melts evenly before being pushed through the dye. This fine balance is achieved with precision-tuned extruders that can adapt to varying materials and conditions. To maintain quality, it’s helpful to frequently clean the components, as this prevents contamination and ensures the reliability of your filament. Consider investing in equipment that allows for real-time monitoring to promptly spot and fix inconsistencies.
Another essential aspect is selecting the right materials and additives to experiment with. Different polymers impart distinct properties, like added strength or flexibility to the final print. Combining polymers can also offer unique characteristics suitable for specialized applications.Implementing a range of additives like colorants,UV protectors,and anti-static agents can further enhance the filament’s performance and aesthetics. Beginners may opt for a starting kit of polymers and additive packs, allowing experimentation without excess cost. Here’s a speedy reference table for the potential benefits of common additives:
| Additive | Benefit |
|---|---|
| Colorant | Vibrant and diverse colour output |
| UV Protector | Enhanced outdoor durability |
| Anti-Static Agent | Reduced static charge during operation |
By embracing these practices, you pave the way for creating premium-grade filament that stands out in quality and functionality.
Coloring Techniques That Bring Your 3D Prints to Life
Transforming your 3D prints from basic prototypes into mesmerizing art pieces involves more than just intricate design work. Employing innovative coloring techniques can add depth, highlights, and a sense of realism that truly brings your creations to life. One popular method is painting; using airbrushes or hand-painted details can introduce gradient colors and textures that resemble metal, wood, or even fabric. Hybrid techniques, like combining airbrushing with hand detailing, allow you to create effects such as weathered surfaces or aged patinas.
Another approach is using hydro-dipping, where your print is submerged through a layer of color film floating on water, achieving complex patterns that are difficult to replicate with other methods. For a subtler and more refined look, dyeing your filament in different hues before printing ensures that the colors penetrate deeply, resulting in a sleek, uniform appearance. Consider these exciting options to experiment with:
- Marbling: Pour inks into a liquid medium to create marble patterns on your print.
- Electroplating: Cover your prints with metallic finishes for a reflective and durable surface.
- Powder coating: Add vibrant, durable powder in layers for a stunning finish.
| Technique | Best Used For |
|---|---|
| Hand Painting | Complex color mixing and unique textures |
| Hydro-Dipping | Pattern-rich designs with a seamless finish |
| Dyeing | Consistent interior and exterior coloring |
Ensuring Quality and Consistency in Every Strand
Embarking on the journey of creating your own 3D printing filament is as much an art as it is a science. To achieve quality and consistency, it’s vital to focus on the intricacies of the manufacturing process. Precision is your best friend here. Consider the material composition; whether you choose PLA, ABS, or something more experimental, understanding each element’s melting point, durability, and flexibility sets the groundwork for quality. The extrusion temperature, humidity control, and cooling rate are critical parameters to achieving seamless consistency every time. Embrace experimentation with different color additives,though remember: a small variation can lead to a notable difference in print quality. Attention to detail transforms an average filament into an extraordinary one.
In addition to the production nuances, establishing a stringent quality assurance protocol will ensure that every spool meets your high standards. Implement a few cornerstone practices:
- Regular Diameter Checks: use calipers to ensure the filament remains within the desired diameter tolerance.
- Test Printing: Create a test object with each batch to evaluate print quality and consistency.
- Storage Solutions: Store filament in vacuum-sealed bags with desiccants to maintain material integrity.
| Parameter | ideal Range |
|---|---|
| Extrusion Temperature | 180°C – 230°C |
| Humidity Level | < 20% |
| Diameter Tolerance | ±0.02mm |
Q&A
Article Title: Crafting Your Own 3D Printing Filament: A DIY Journey
Q1: Why would someone want to make their own 3D printing filament?
A1: Great question! Making your own 3D printing filament allows you to customize colors, materials, and properties according to your project’s needs. It’s also a fantastic way to repurpose recyclable plastics, reduce costs, and explore your creativity. Plus, there’s a unique sense of pride in saying, “I made this from scratch!”
Q2: What materials can I use to make filament?
A2: You can use various thermoplastics such as PLA, ABS, PETG, and even recycled materials like plastic bottles. Each material has its own characteristics, so you’ll want to choose based on the properties you need for your project, like flexibility or strength.
Q3: What equipment do I need to start making my own filament?
A3: Starting this journey requires a few key pieces of equipment. You’ll need a filament extruder, which is the main tool for turning pellets into filament. A winder or spooler is essential for neatly storing your filament. Additionally, having a grinder to prepare materials and a dryer to remove moisture from pellets or recycled plastics can be quite beneficial.
Q4: How do I ensure the quality of my homemade filament?
A4: Ensuring quality involves controlling your extrusion process carefully. It’s crucial to monitor the temperature settings on your extruder and make sure they match the requirements of your chosen material. Additionally, maintaining a consistent speed and checking the diameter frequently will help you produce a filament with uniform thickness, which is vital for successful 3D printing.
Q5: Can I add color to my filament?
A5: Absolutely! Adding pigments to your base material is an exciting part of making custom filament. Pigments or dyes can be mixed in during the extrusion process. Experimenting with different color combinations can yield unique and eye-catching results for your 3D projects.
Q6: What safety precautions should I take when making filament?
A6: Safety is always a top priority. When working with thermoplastics, ensure your workspace is well-ventilated to avoid inhaling fumes. Wearing gloves and eye protection is also advisable to protect against heat and mechanical injuries. And, of course, always handle your equipment according to the manufacturer’s instructions.
Q7: what are some common challenges and how can I overcome them?
A7: One common challenge is maintaining filament consistency. If your filament diameter varies too much, it can lead to printing issues. Regularly calibrating your extruder and winder can definitely help mitigate this. Moisture in materials can also be problematic, so using a dryer is key. Don’t get discouraged—each hiccup is a learning step toward perfecting your craft!
Q8: What are some tips for beginners just starting this journey?
A8: Start small! Experiment with easy-to-use materials like PLA at first and gradually expand your repertoire. Join online communities or forums where you can share experiences and get advice from seasoned filament makers. and remember, patience and practice are your best allies on this creative adventure.
End of Article
We hope you’re excited to embark on your filament-making journey. It’s a fascinating process full of learning, experimentation, and innovation. Happy crafting!
The Conclusion
As you venture into the vibrant world of crafting your own 3D printing filament, you’re not just creating raw materials; you’re sculpting the future of your imaginative projects. Each spool you produce is a testament to your ingenuity, a personalized thread connecting the art of creation with the precision of technology.
Embrace every experiment, every texture, and every color as part of your journey, knowing that the filament you spin today could fuel the innovations of tomorrow. Whether you’re driven by sustainability, uniqueness, or the sheer joy of creation, remember that the world of 3D printing is as limitless as your imagination.
So, gather your tools, ignite your curiosity, and dive into this exhilarating realm where science meets art. Happy printing, fellow pioneers! May your creativity flow as endlessly as the filament you craft.